


Yesterday we drew panda bears in the Shore Art Club (an after school art program for 3rd-5th graders). We talked about value, contrast and shading to create lights and darks. Today I wanted to share my step by step instructions for drawing a panda bear.
First, I’ll share a great reference that I use when I’m working on drawings with kids. I got this book from Michaels years ago and have used it over and over again.

It has some simple step by step animal drawings that my 11 year old used to practice with and some great examples of value scales. I printed this page out to share with my students.
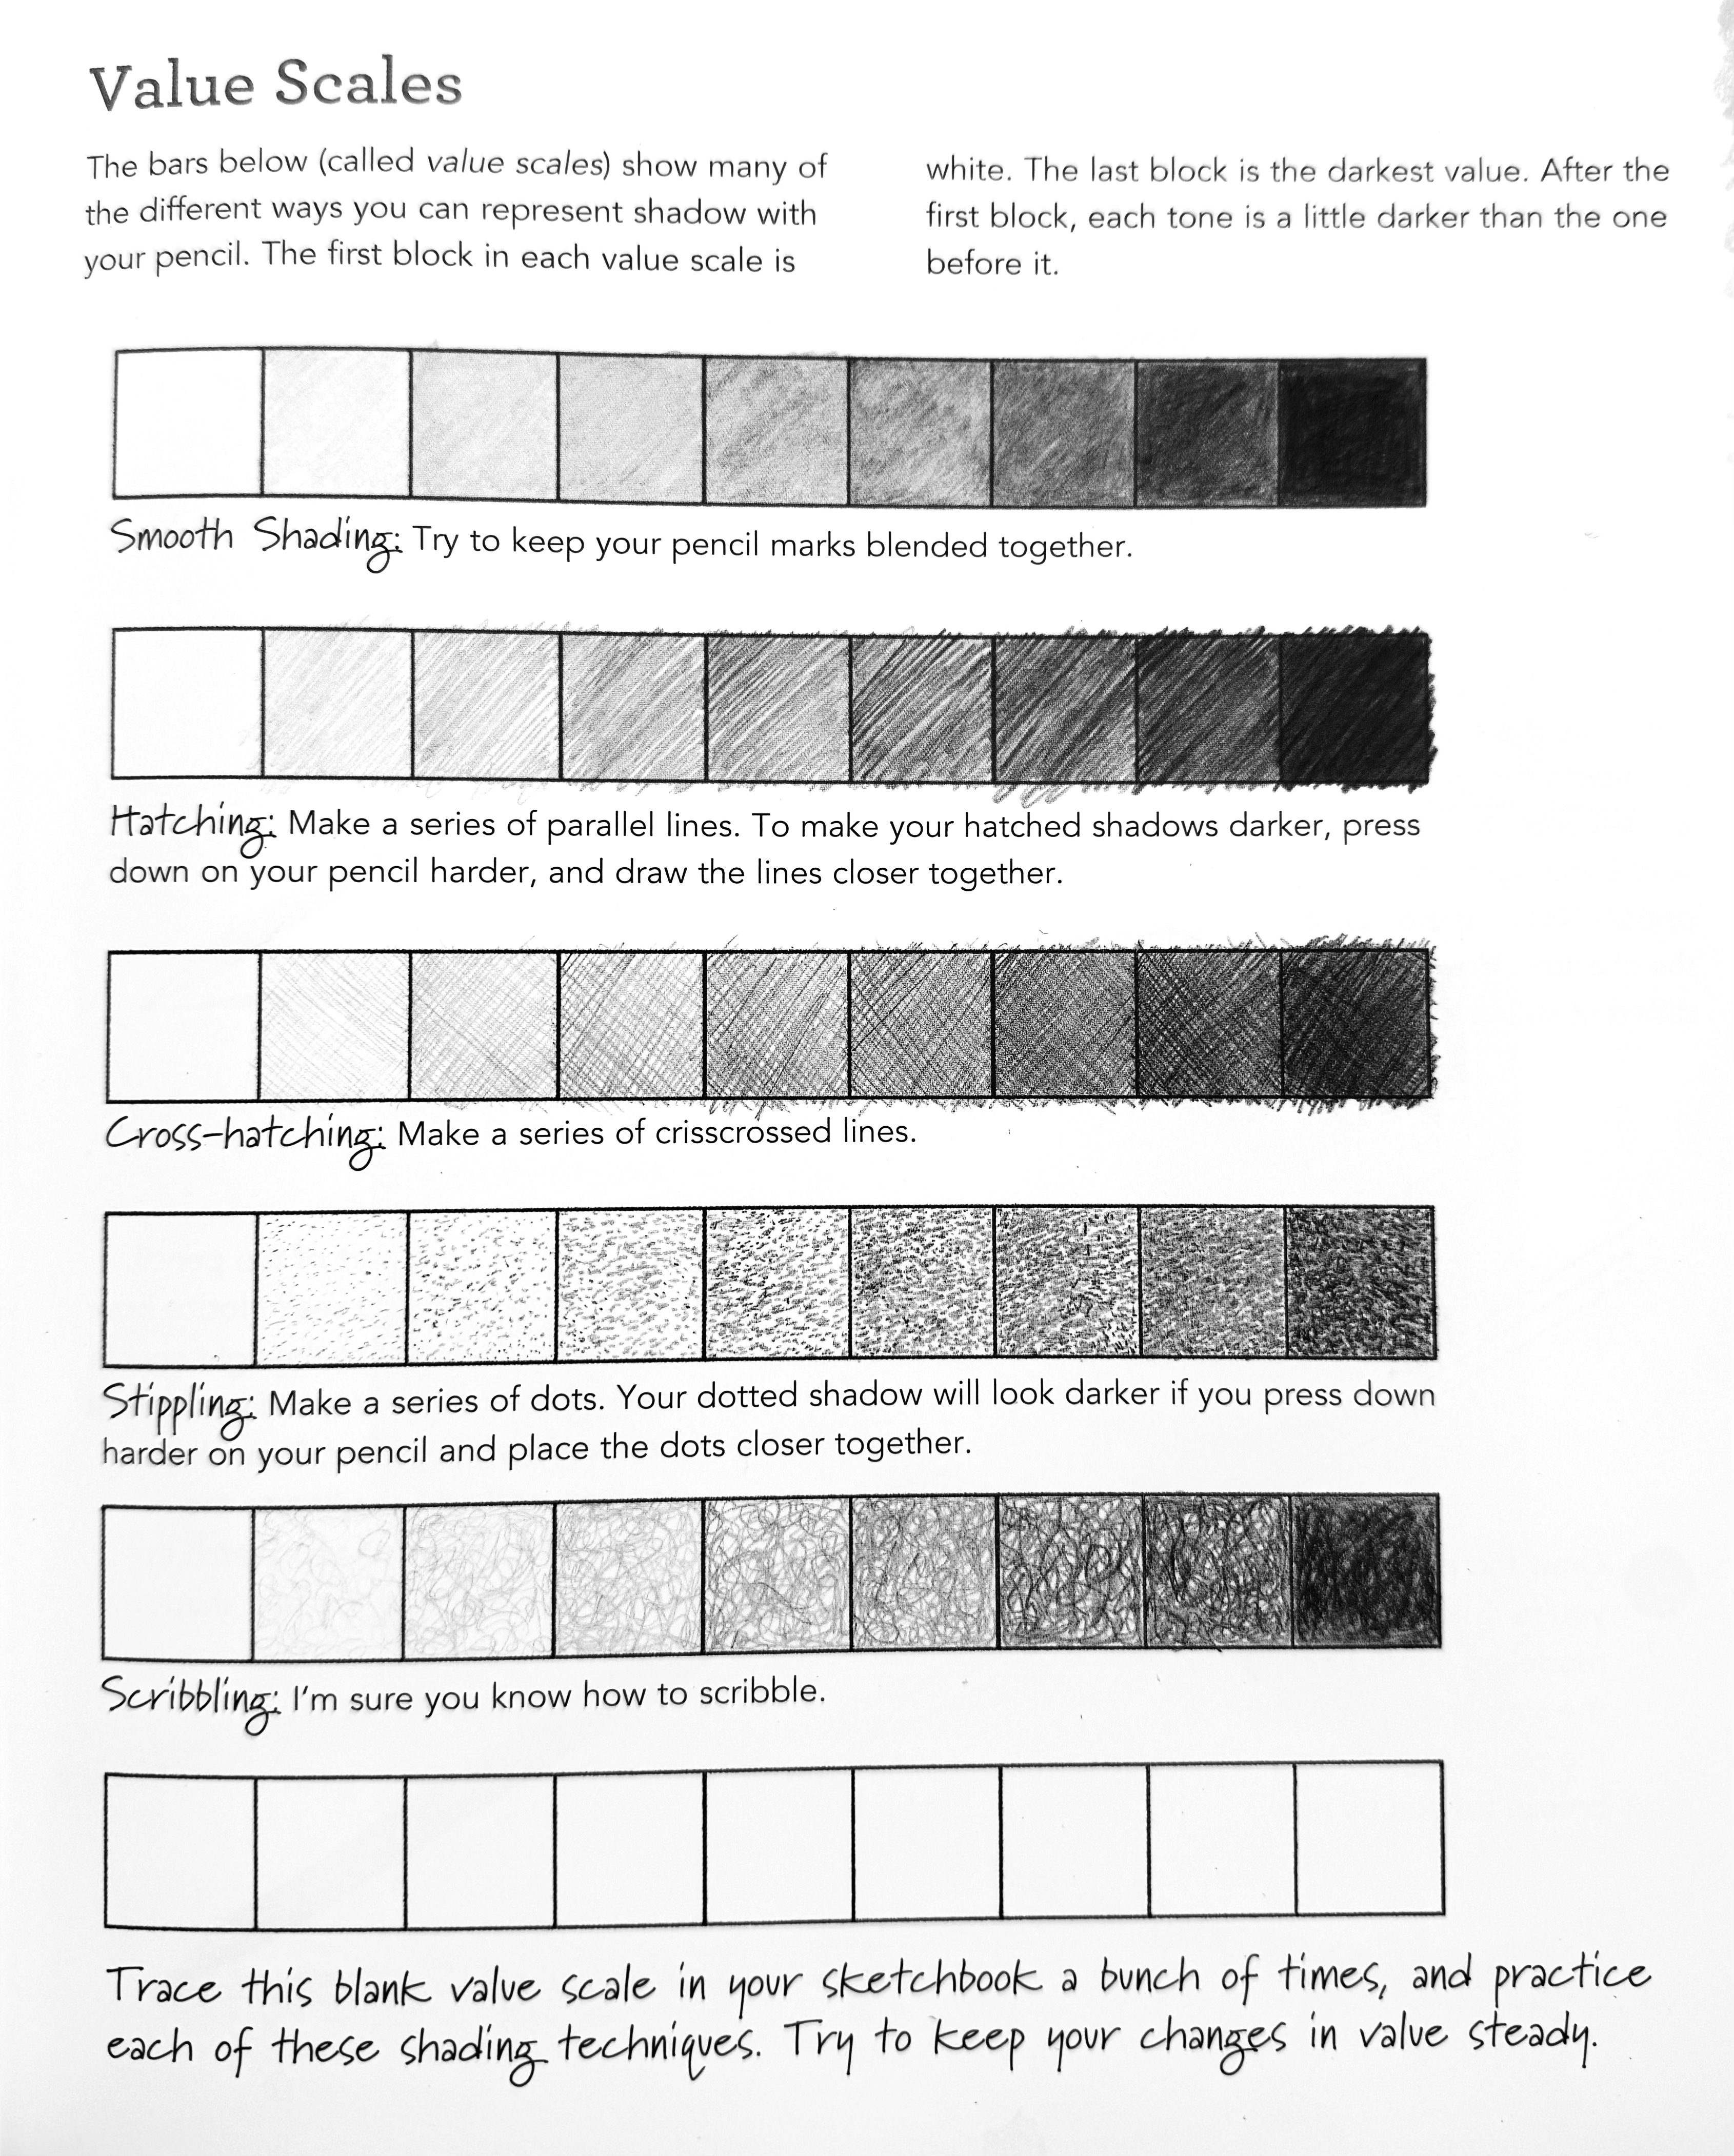
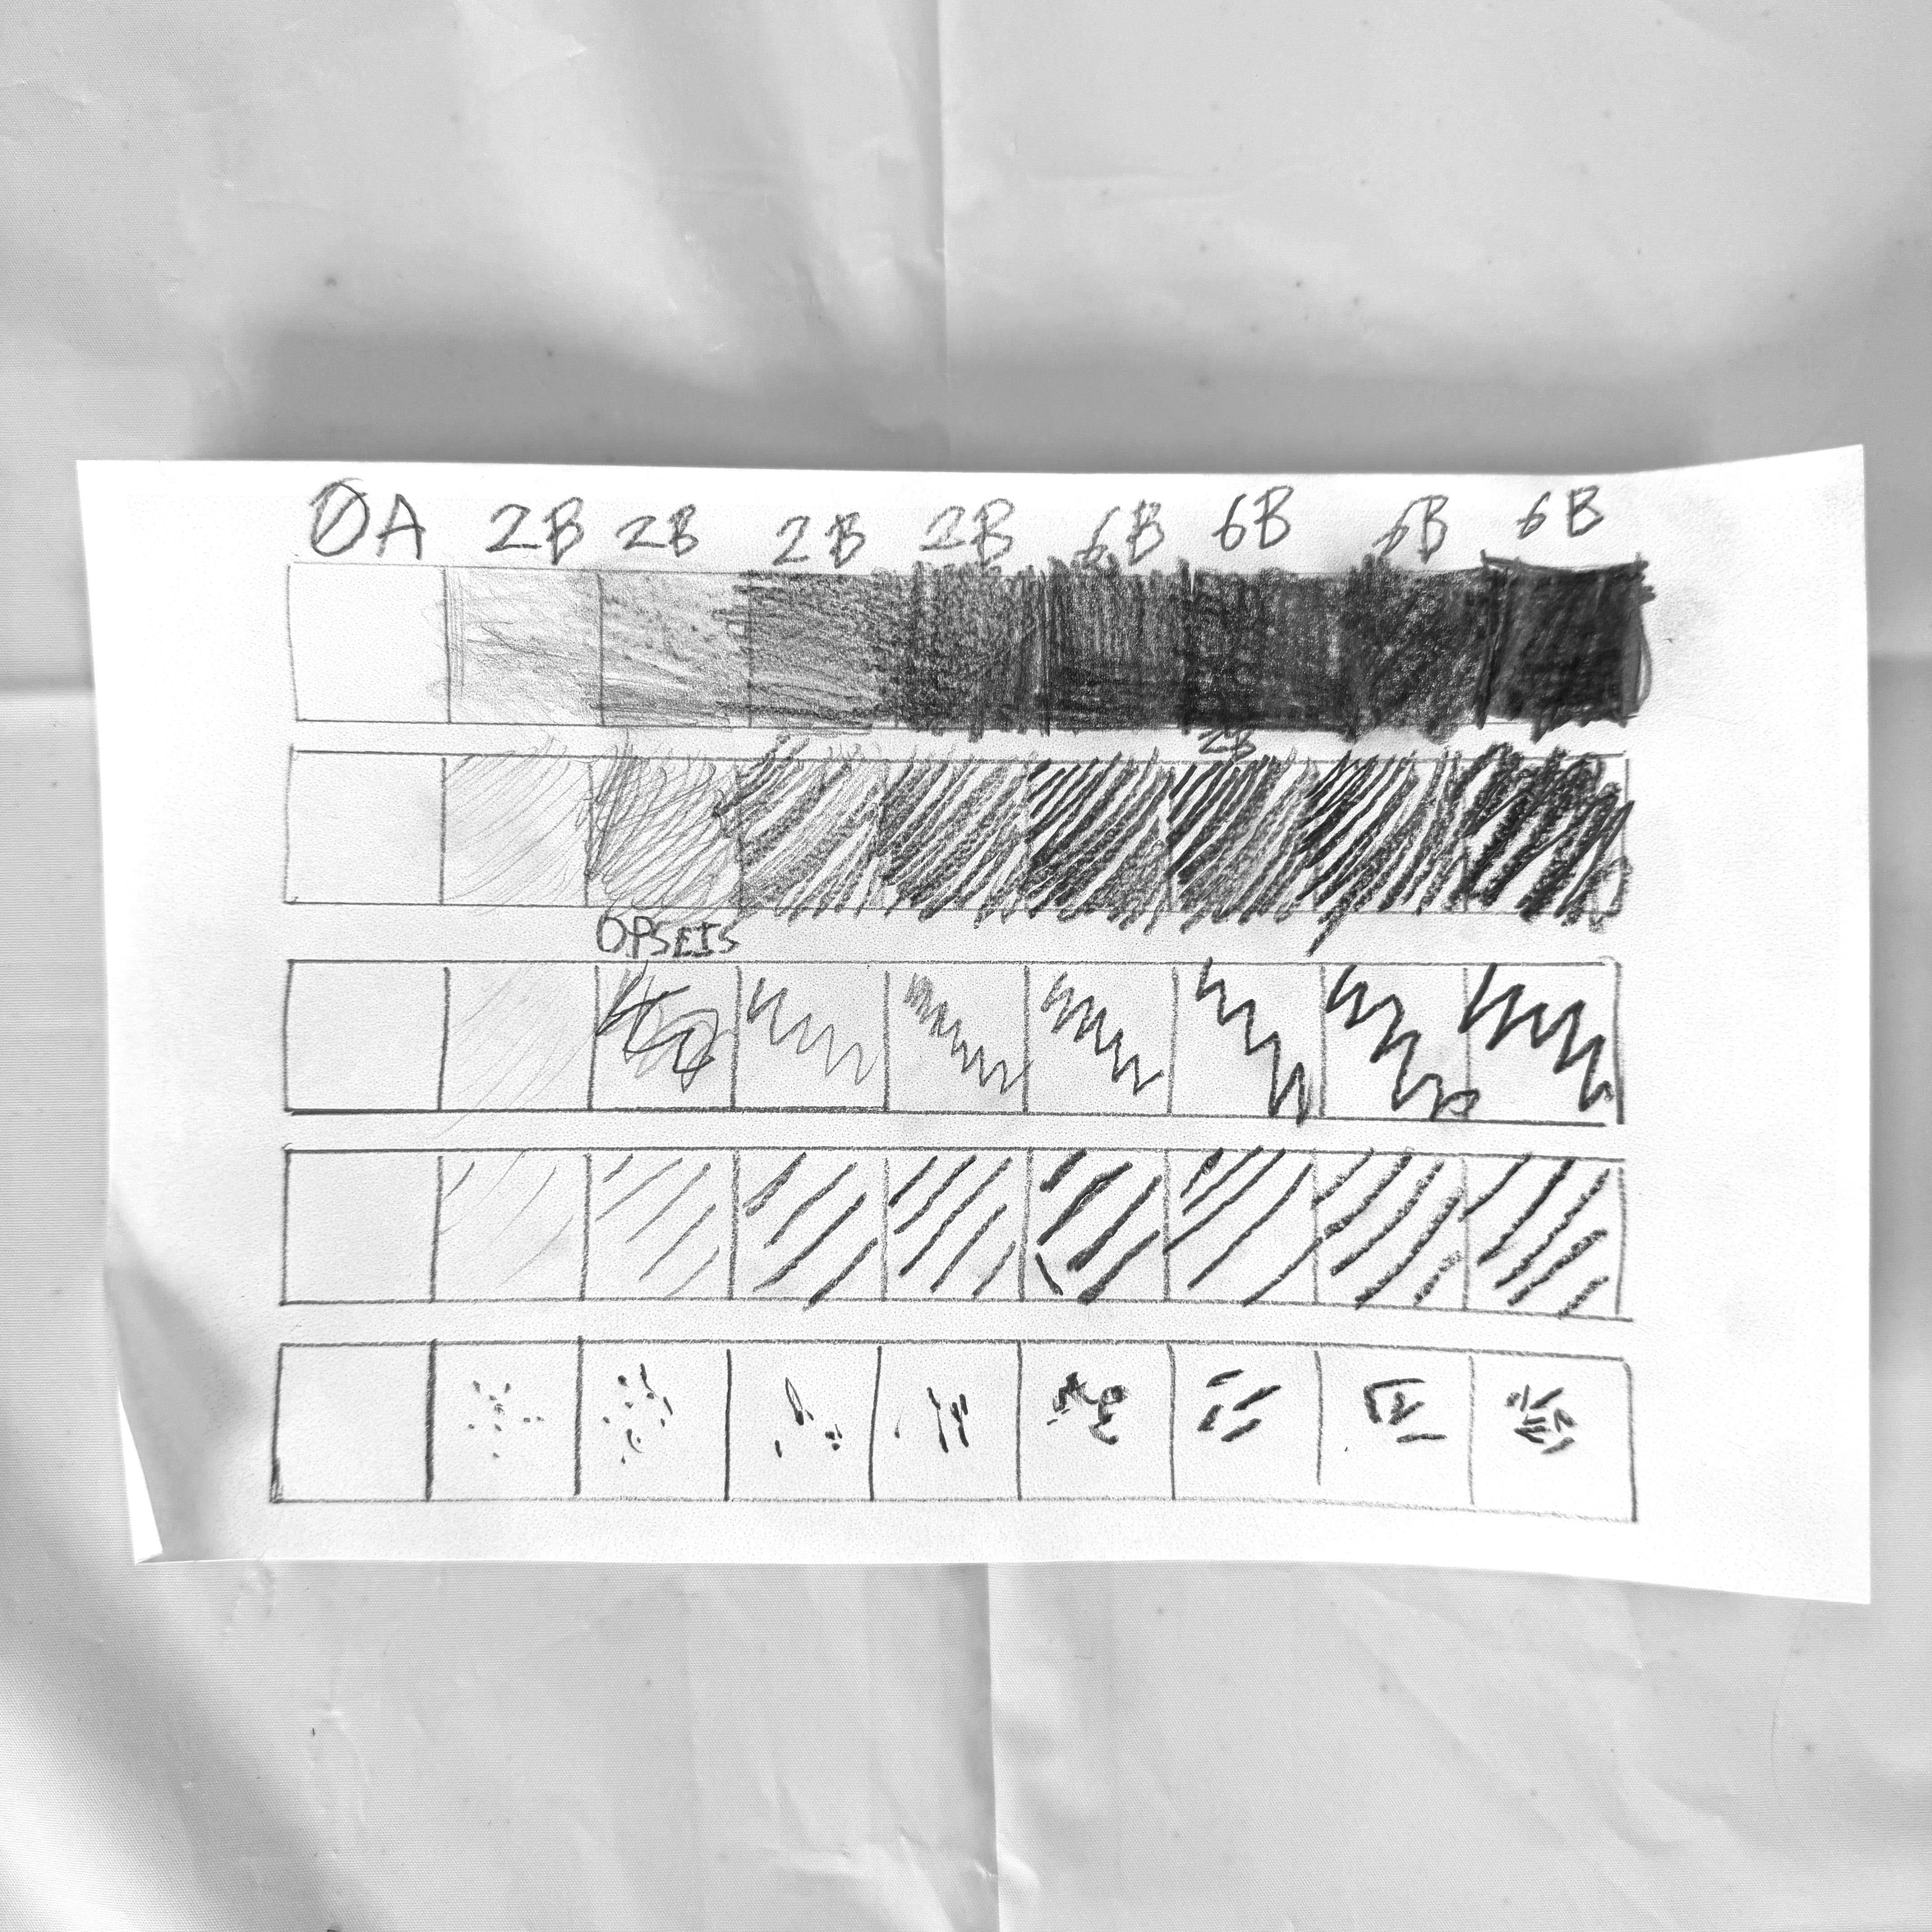
Then I made a template of several blank value scales for the kids to practice. I find this so relaxing and they really enjoyed just scribbling on paper with a 2B and 6B pencil. They were amazed at how dark they could get the value using hatching marks.
Now for the fun part! Once we practiced how to create different values using hatching marks and shading, we started building our panda using shapes.
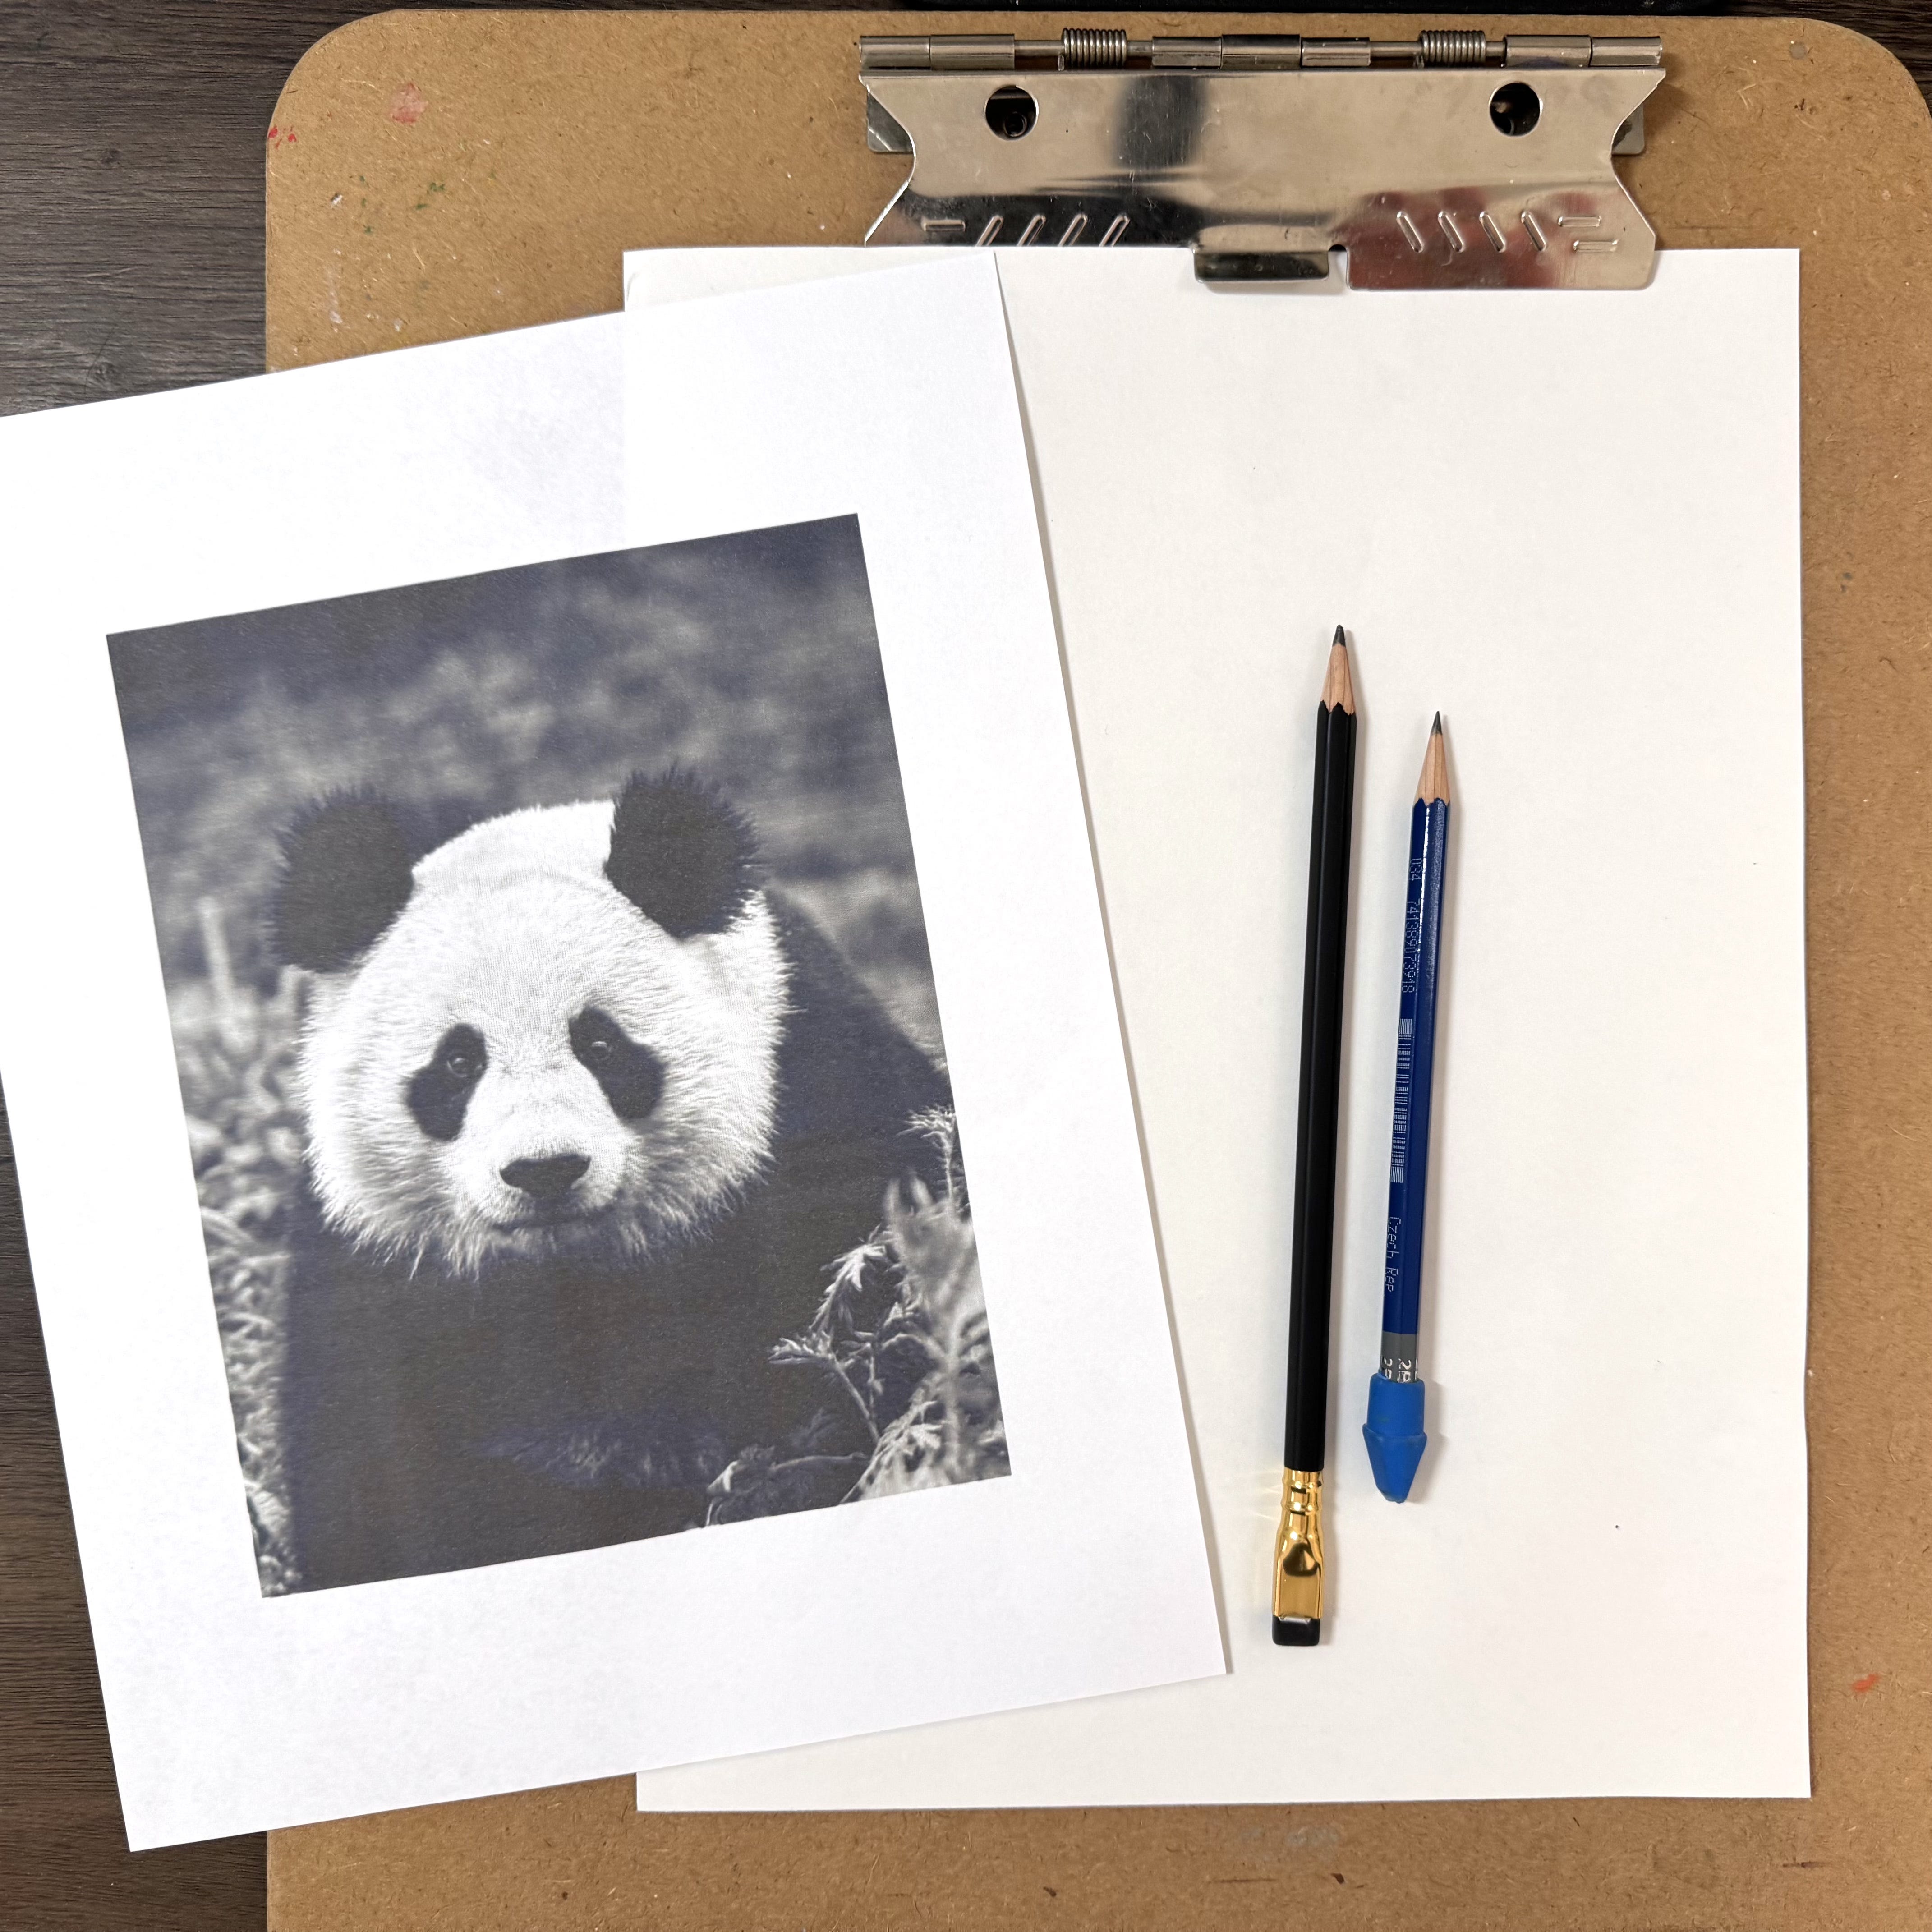
Supplies:
reference photo
8.5 x 11 drawing paper
2B & 6B drawing pencils
eraser
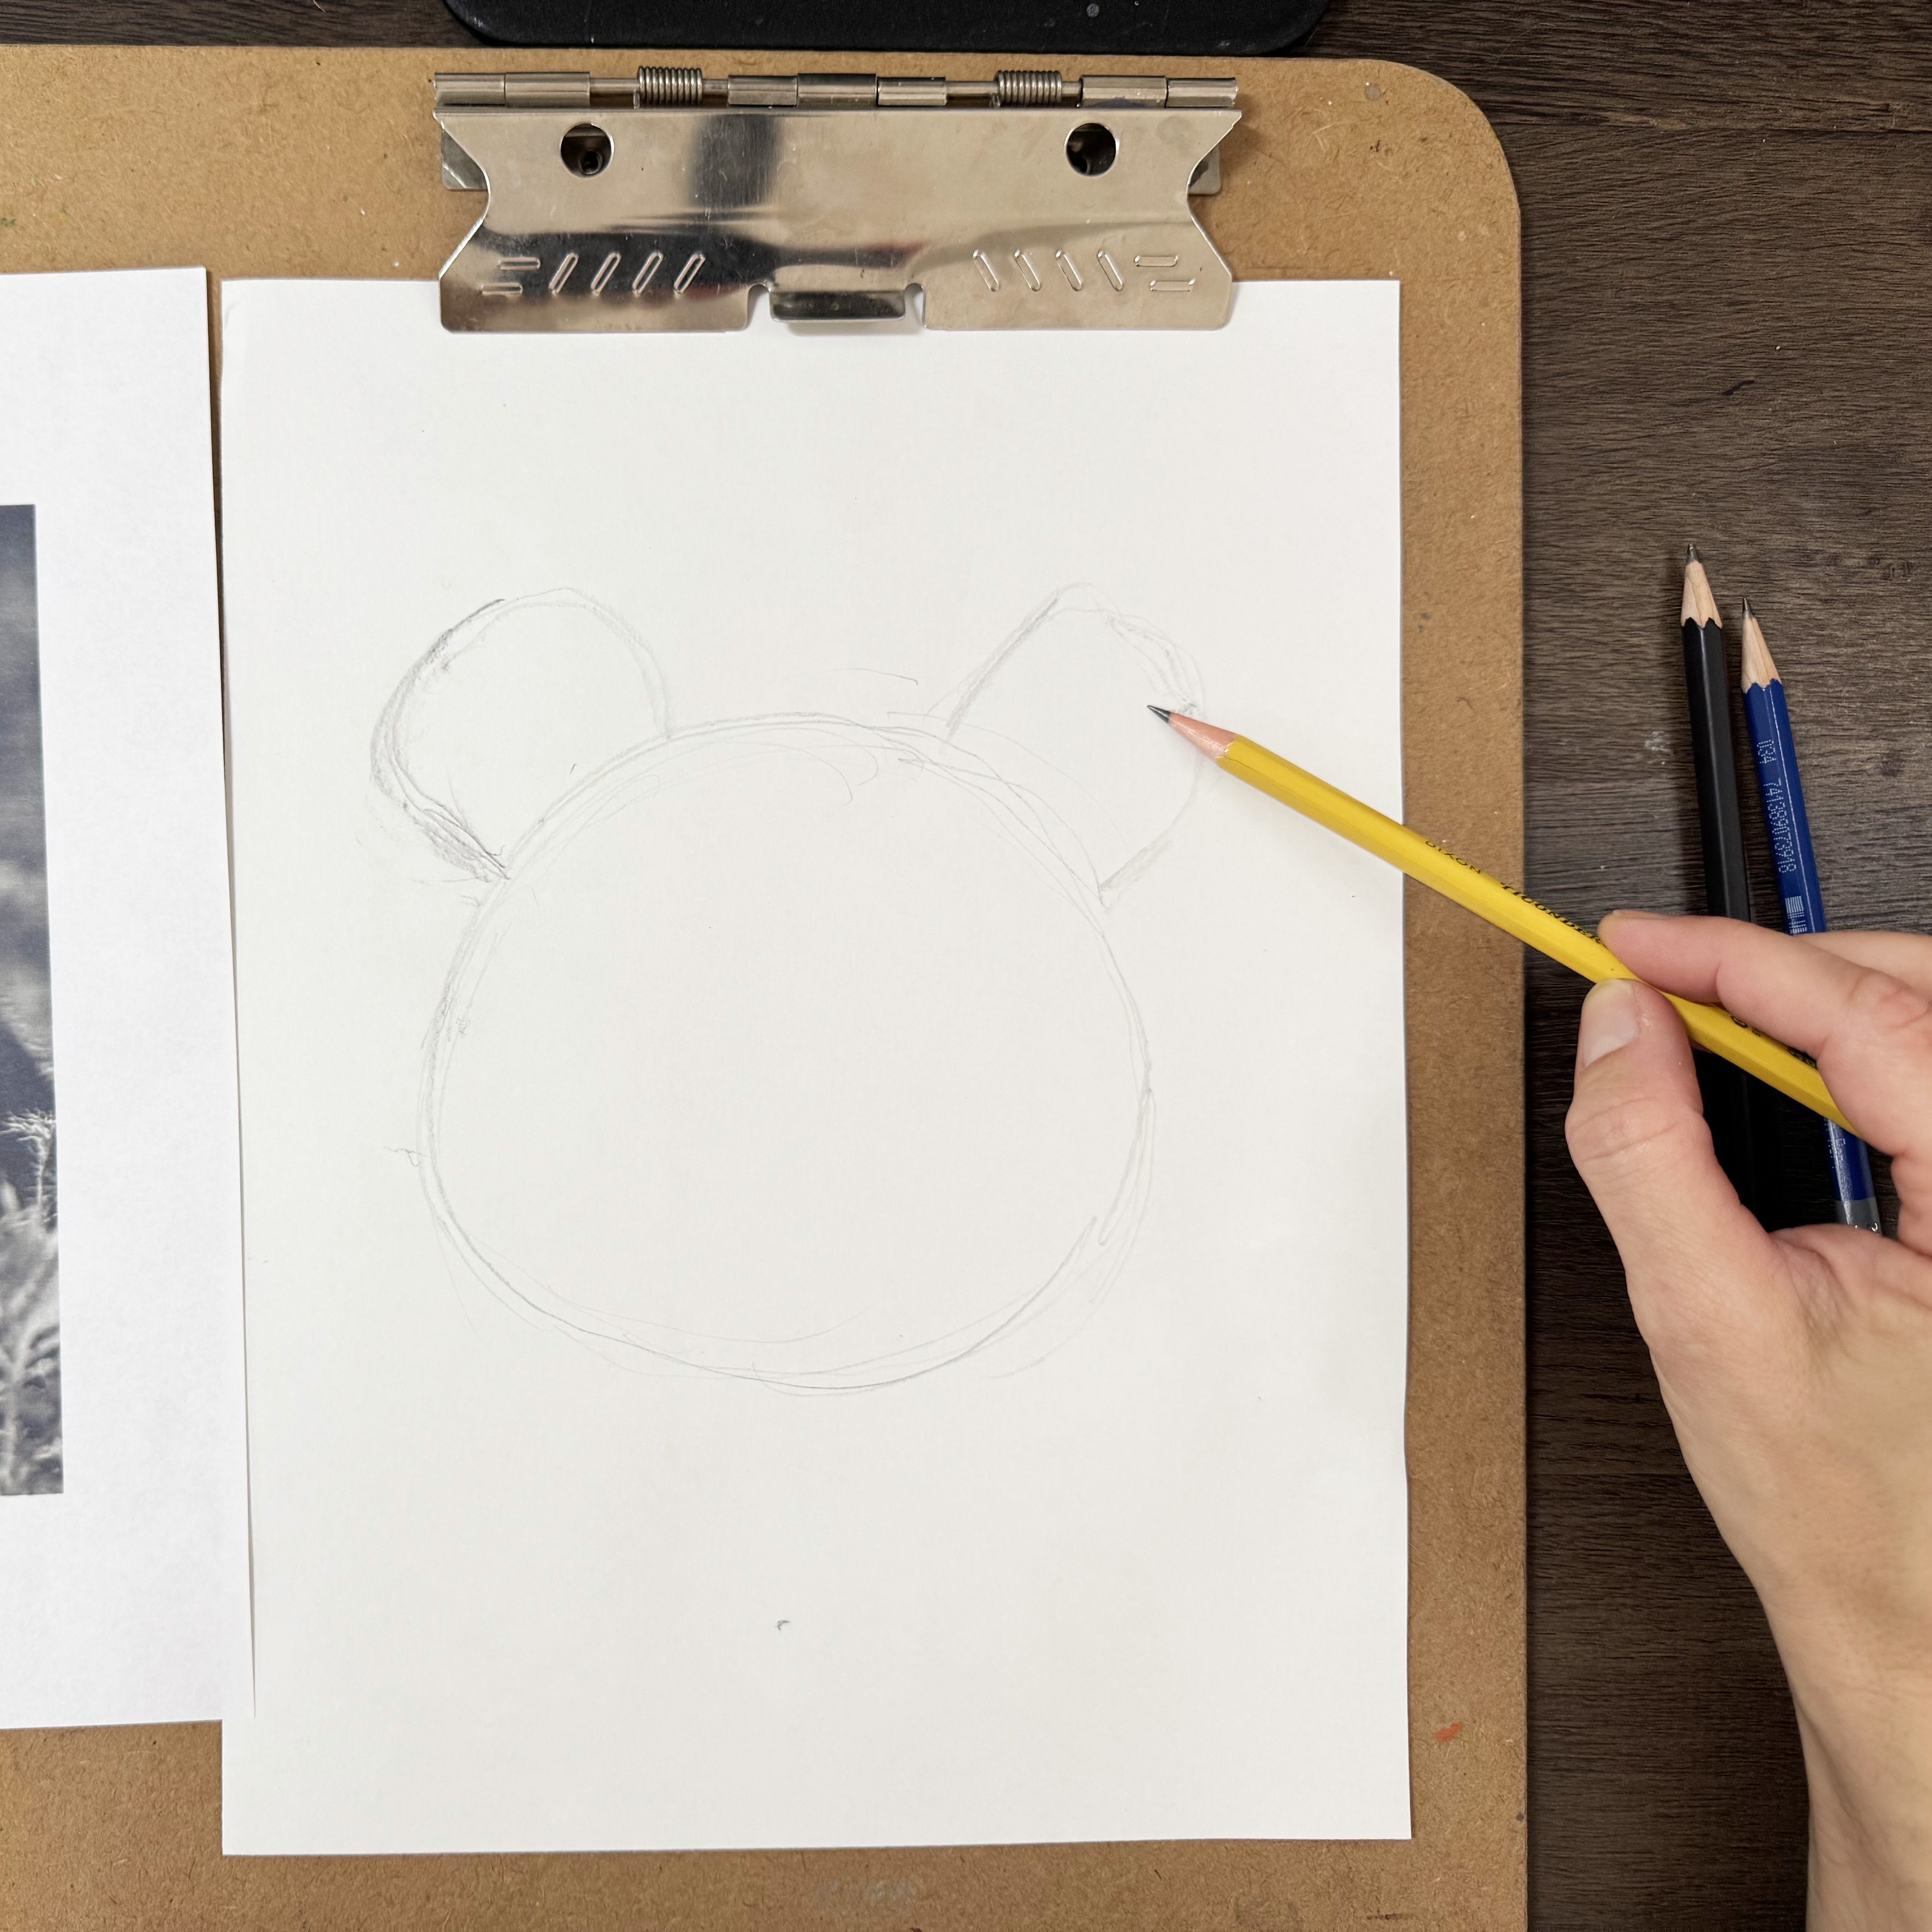
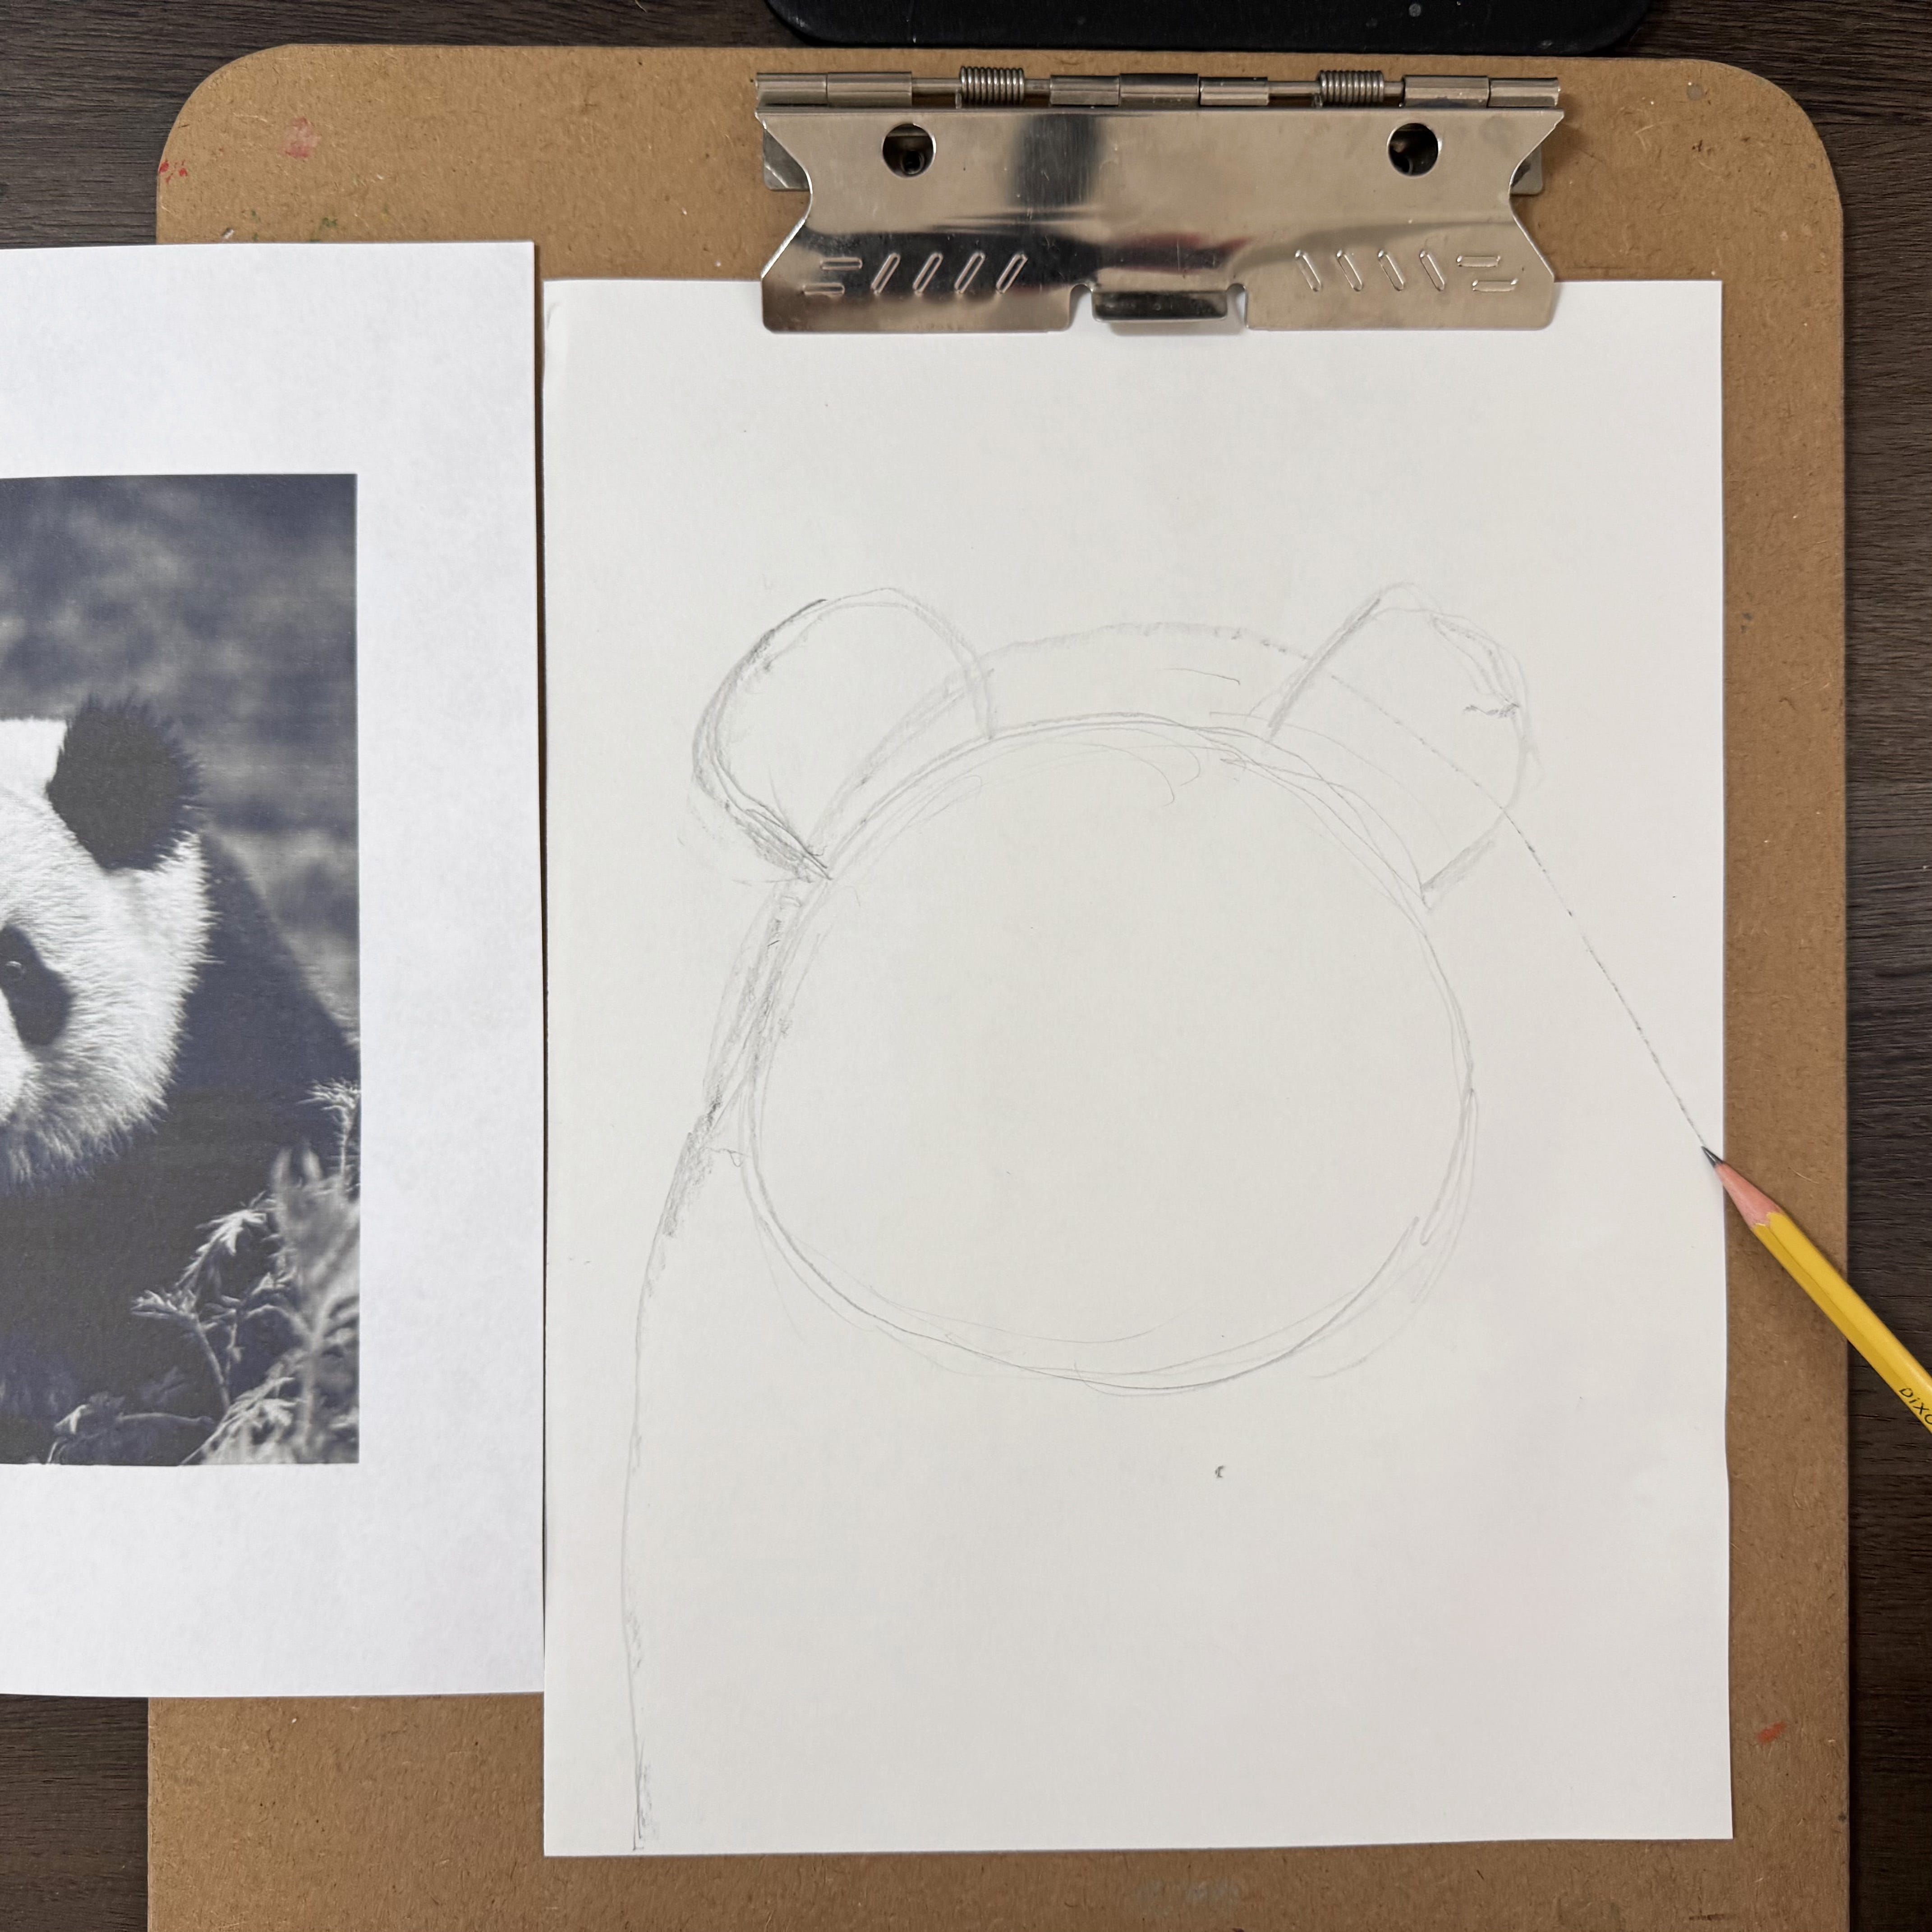
Step 1:
Begin with your 2B pencil. Draw a circle in about the middle of your page. This does not have to be perfect. Keep your lines light because you will need to erase later.

Step 2:
Draw the ears. Look at where they are touching the head. Faces are symmetrical, meaning that if you draw a line down the center of the face, you will have the same features on both sides. Try to place the ears in the same place on both sides of the head.
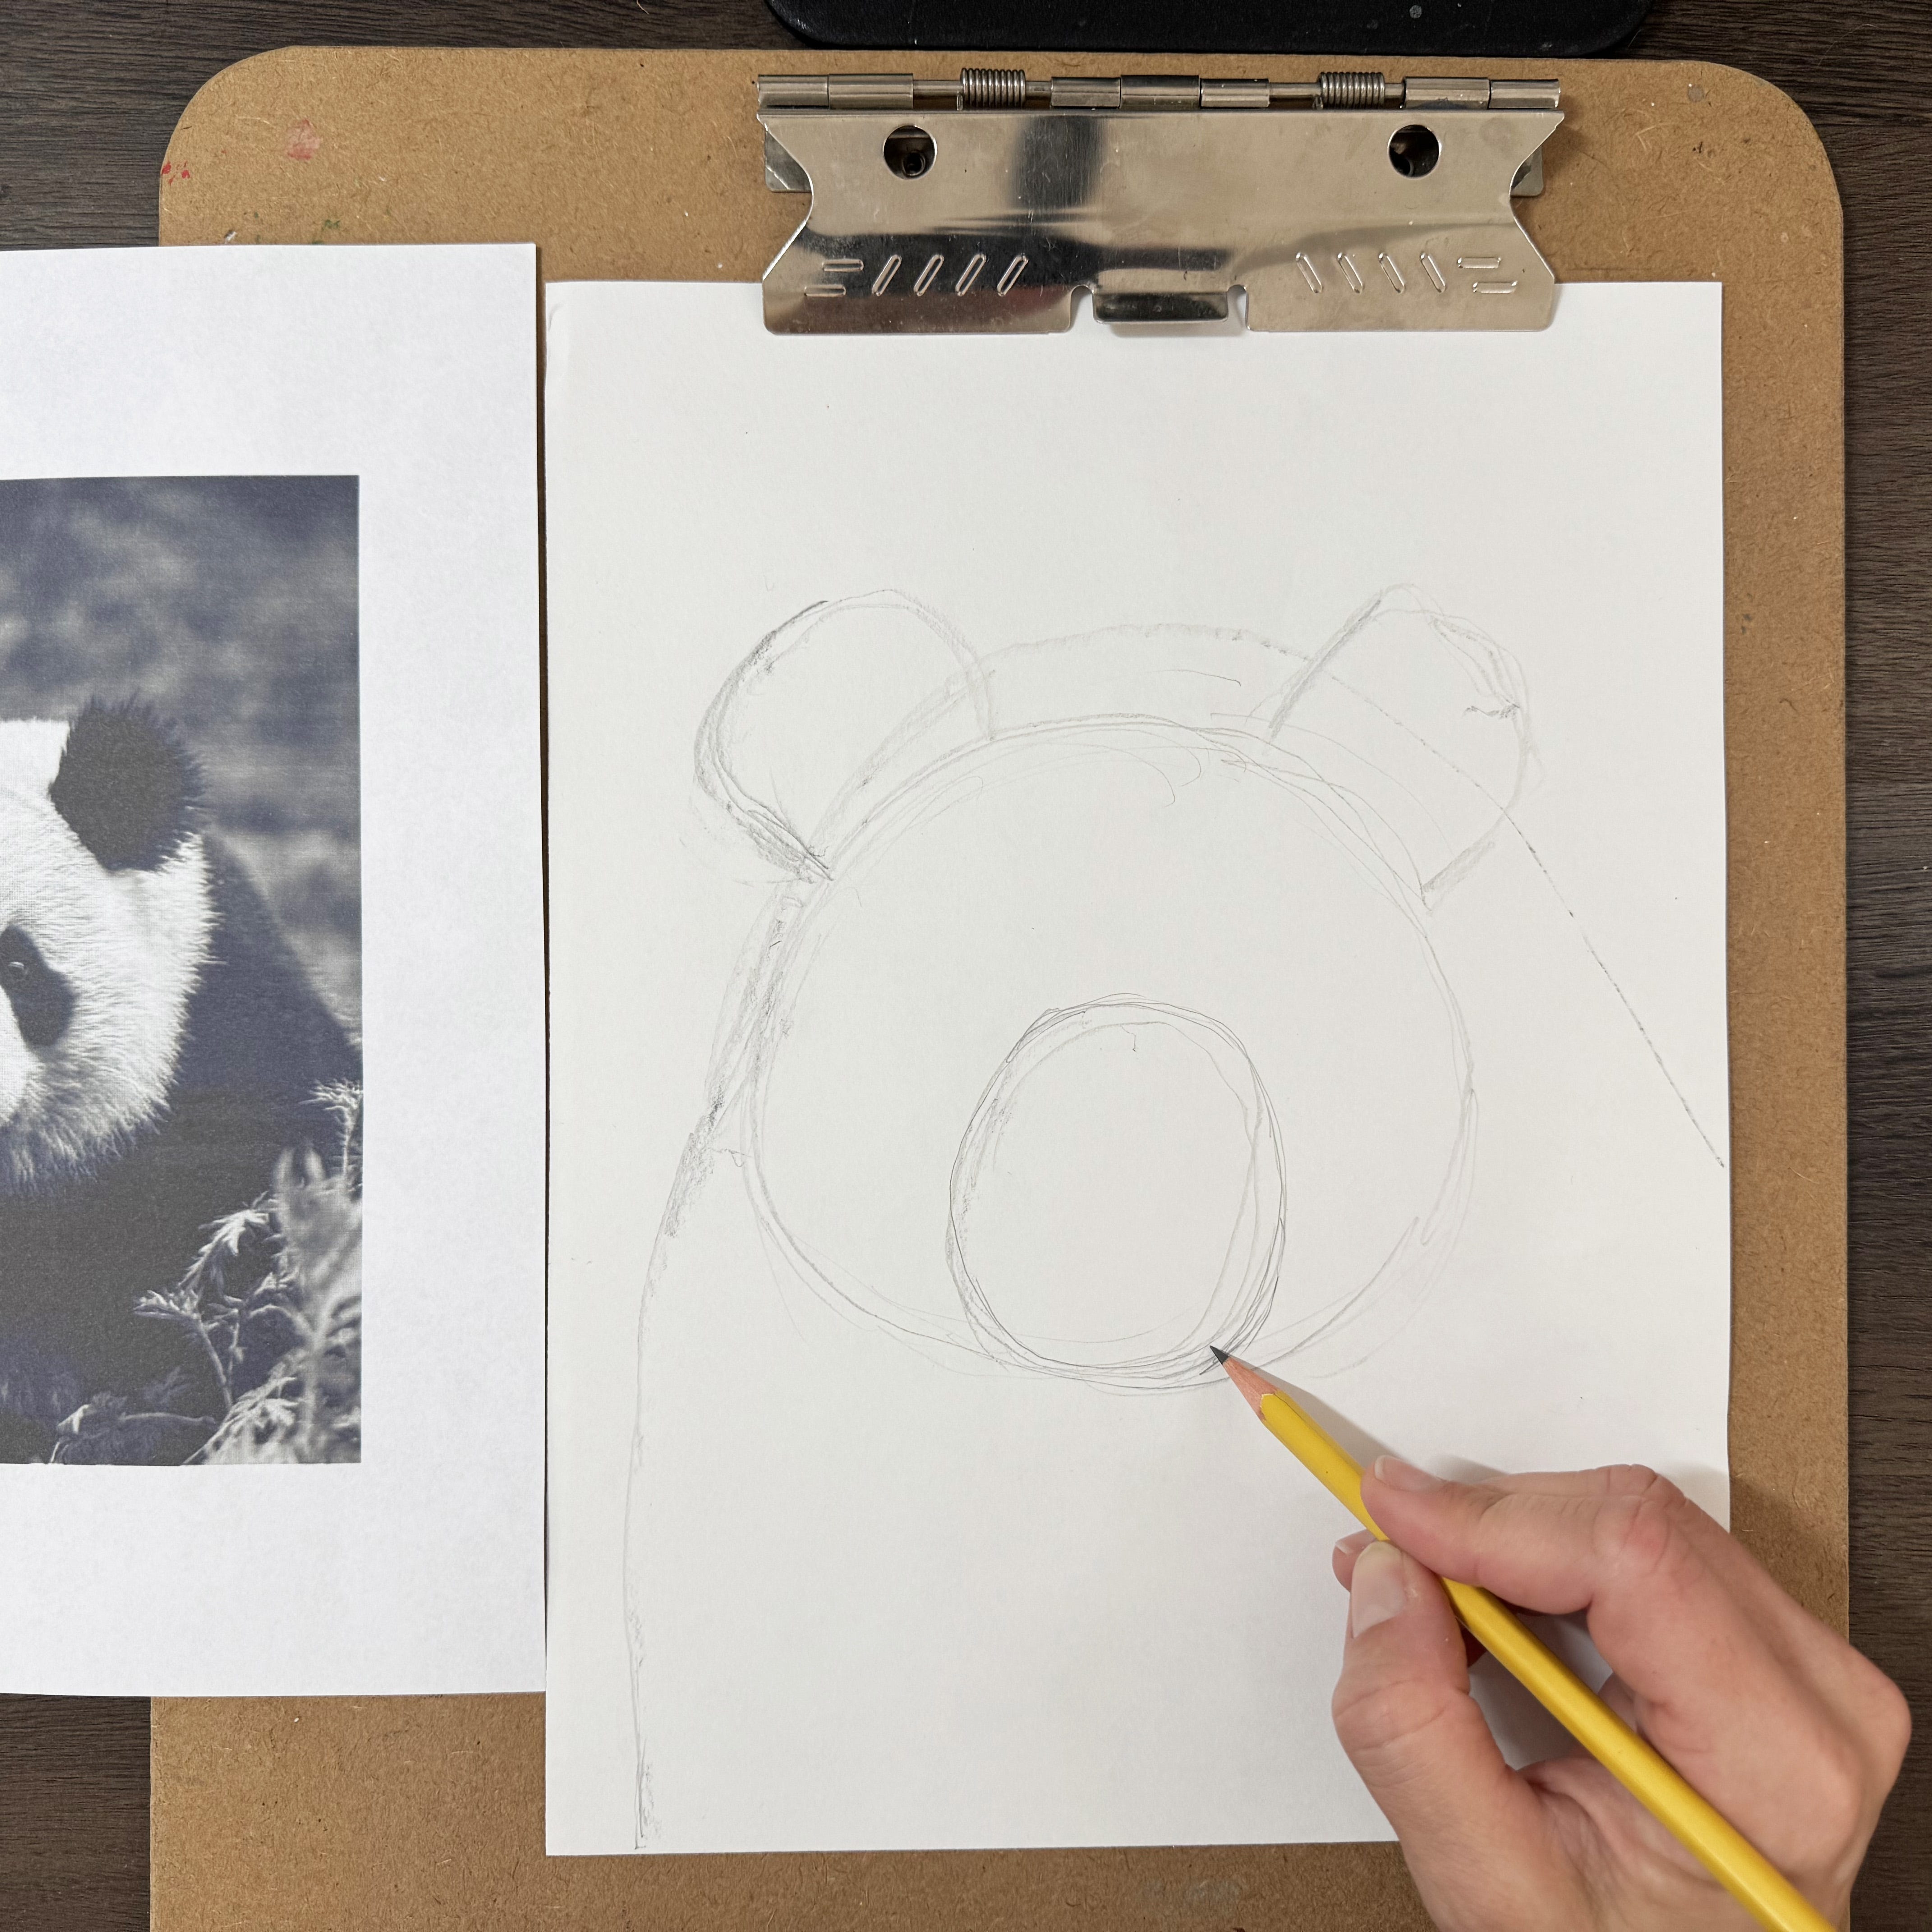
Step 3:
Next let’s draw the body. The shoulder starts at the bottom left and then make a big rainbow shape over to the right side of the paper, about in the middle, for the rest of the body.
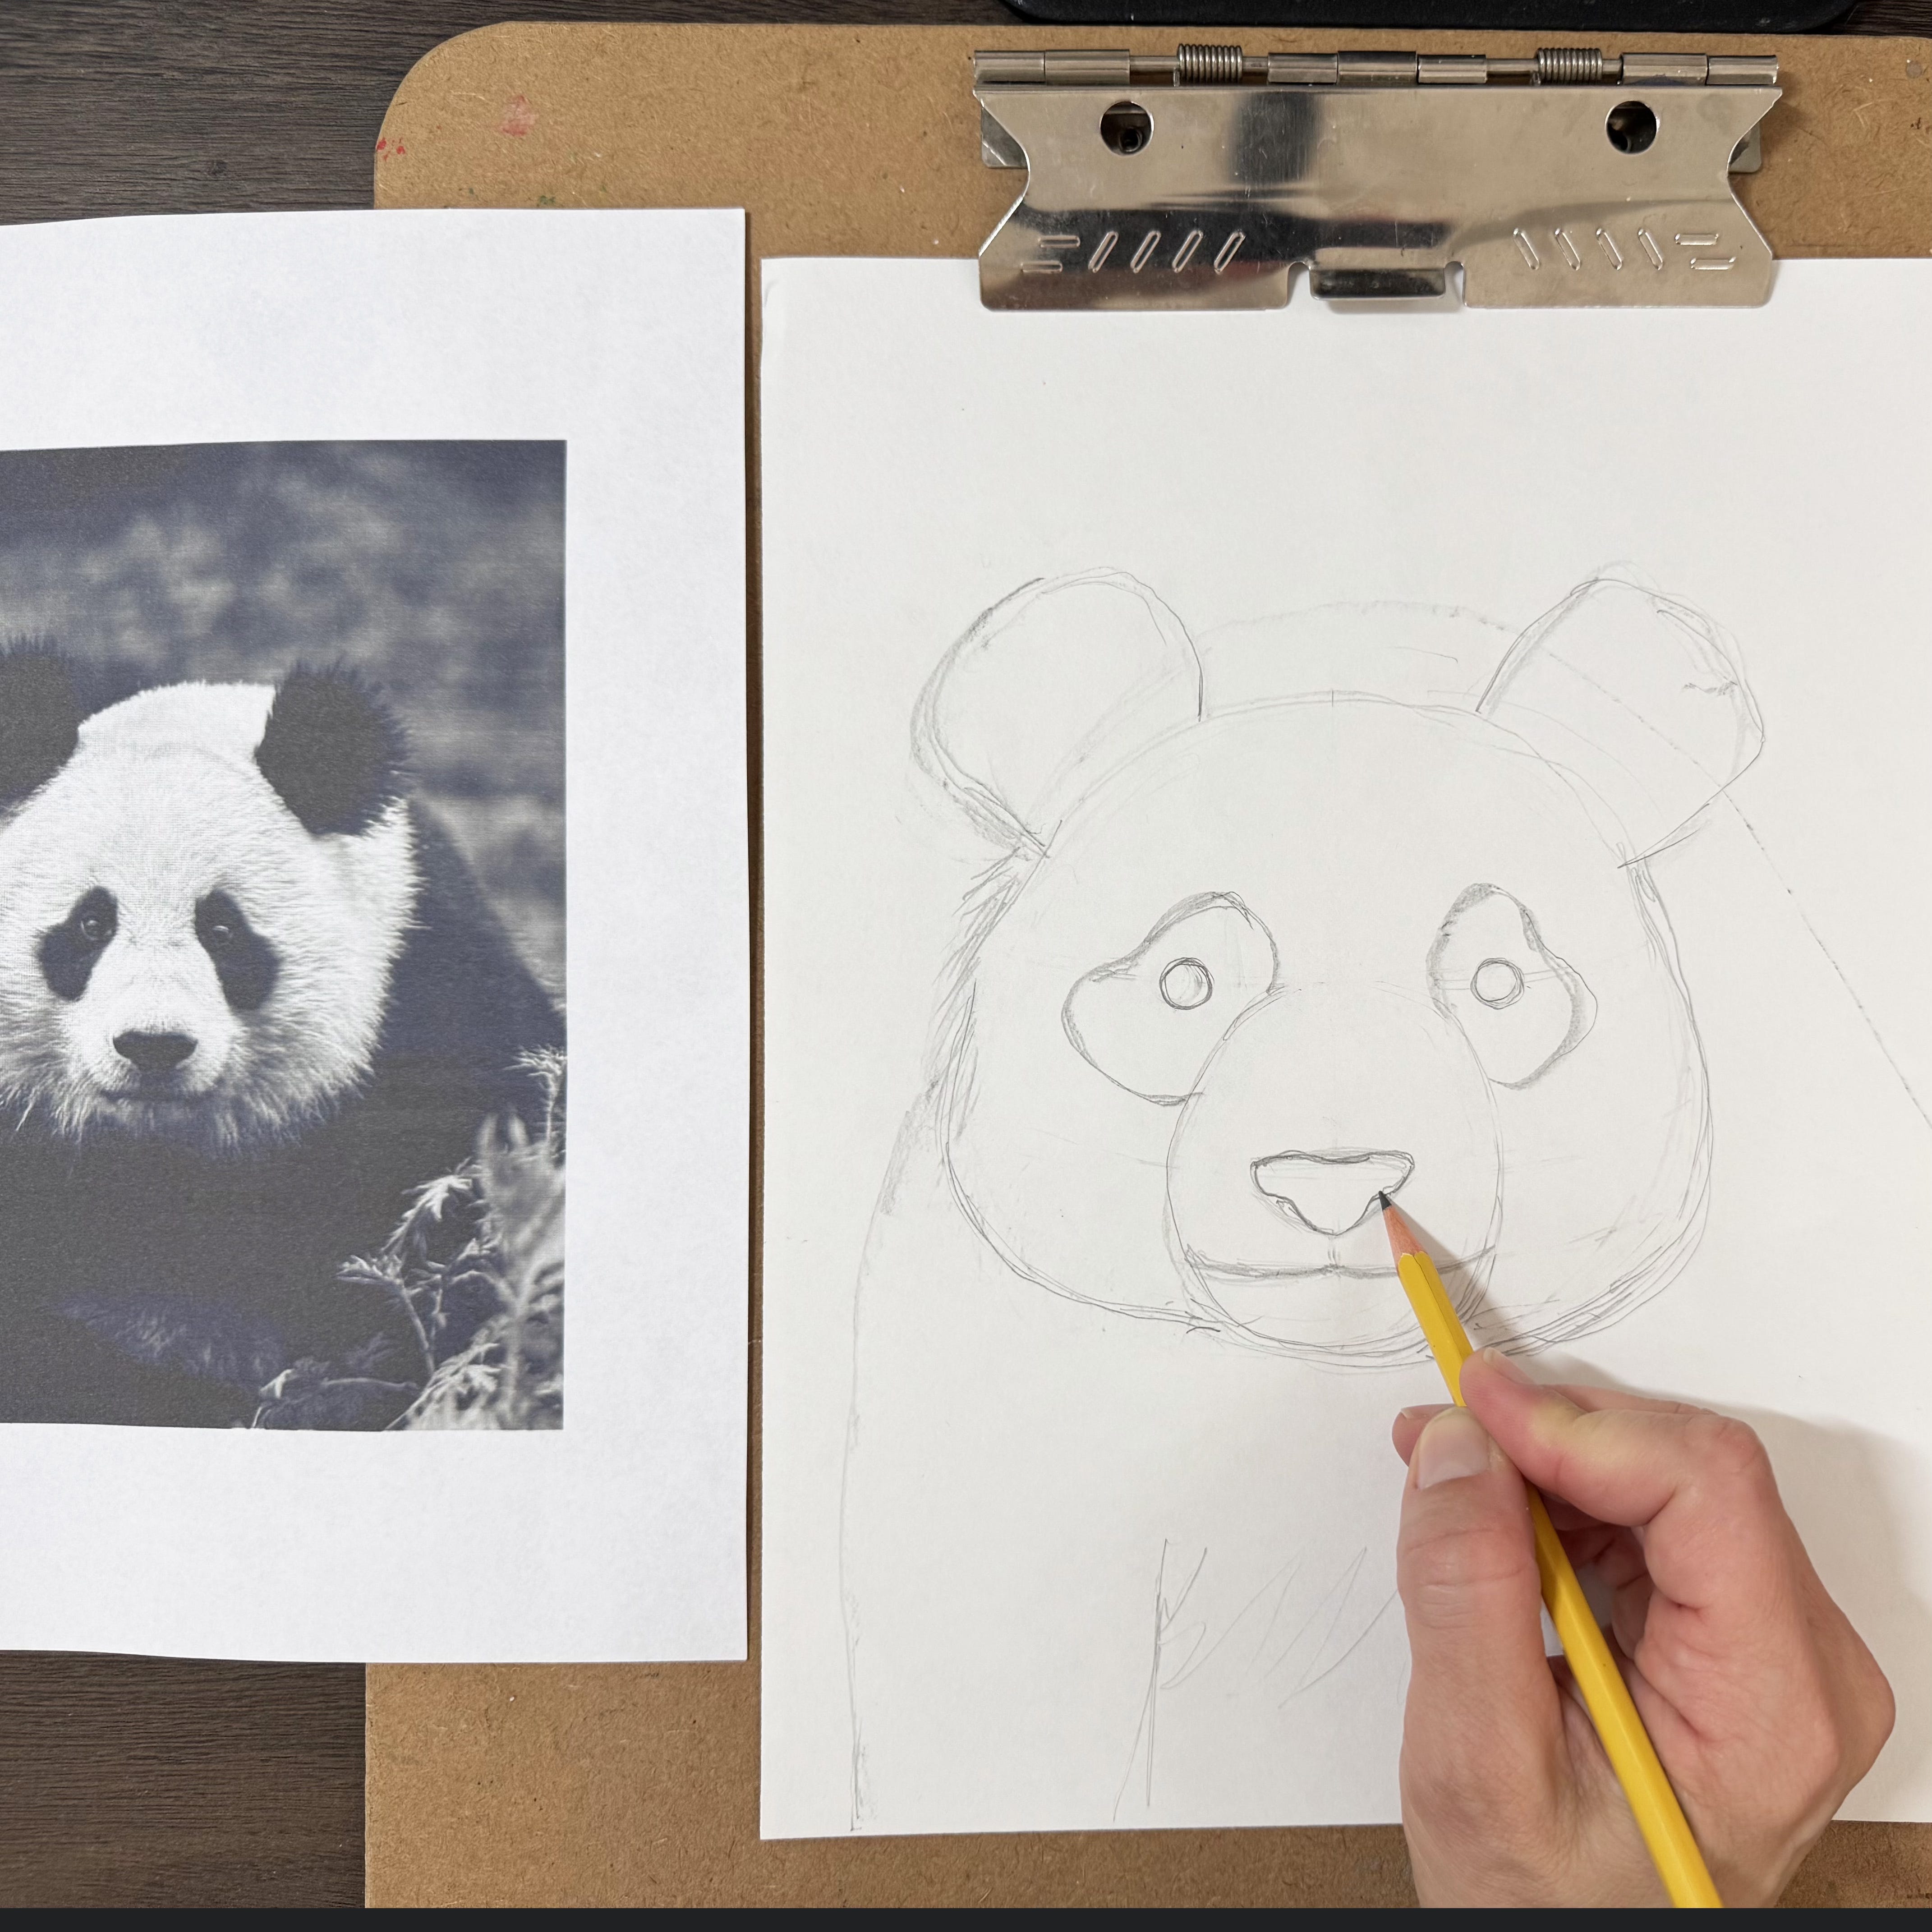
Step 4:
Next draw the nose. It’s a medium sized oval in the lower/center of the head.
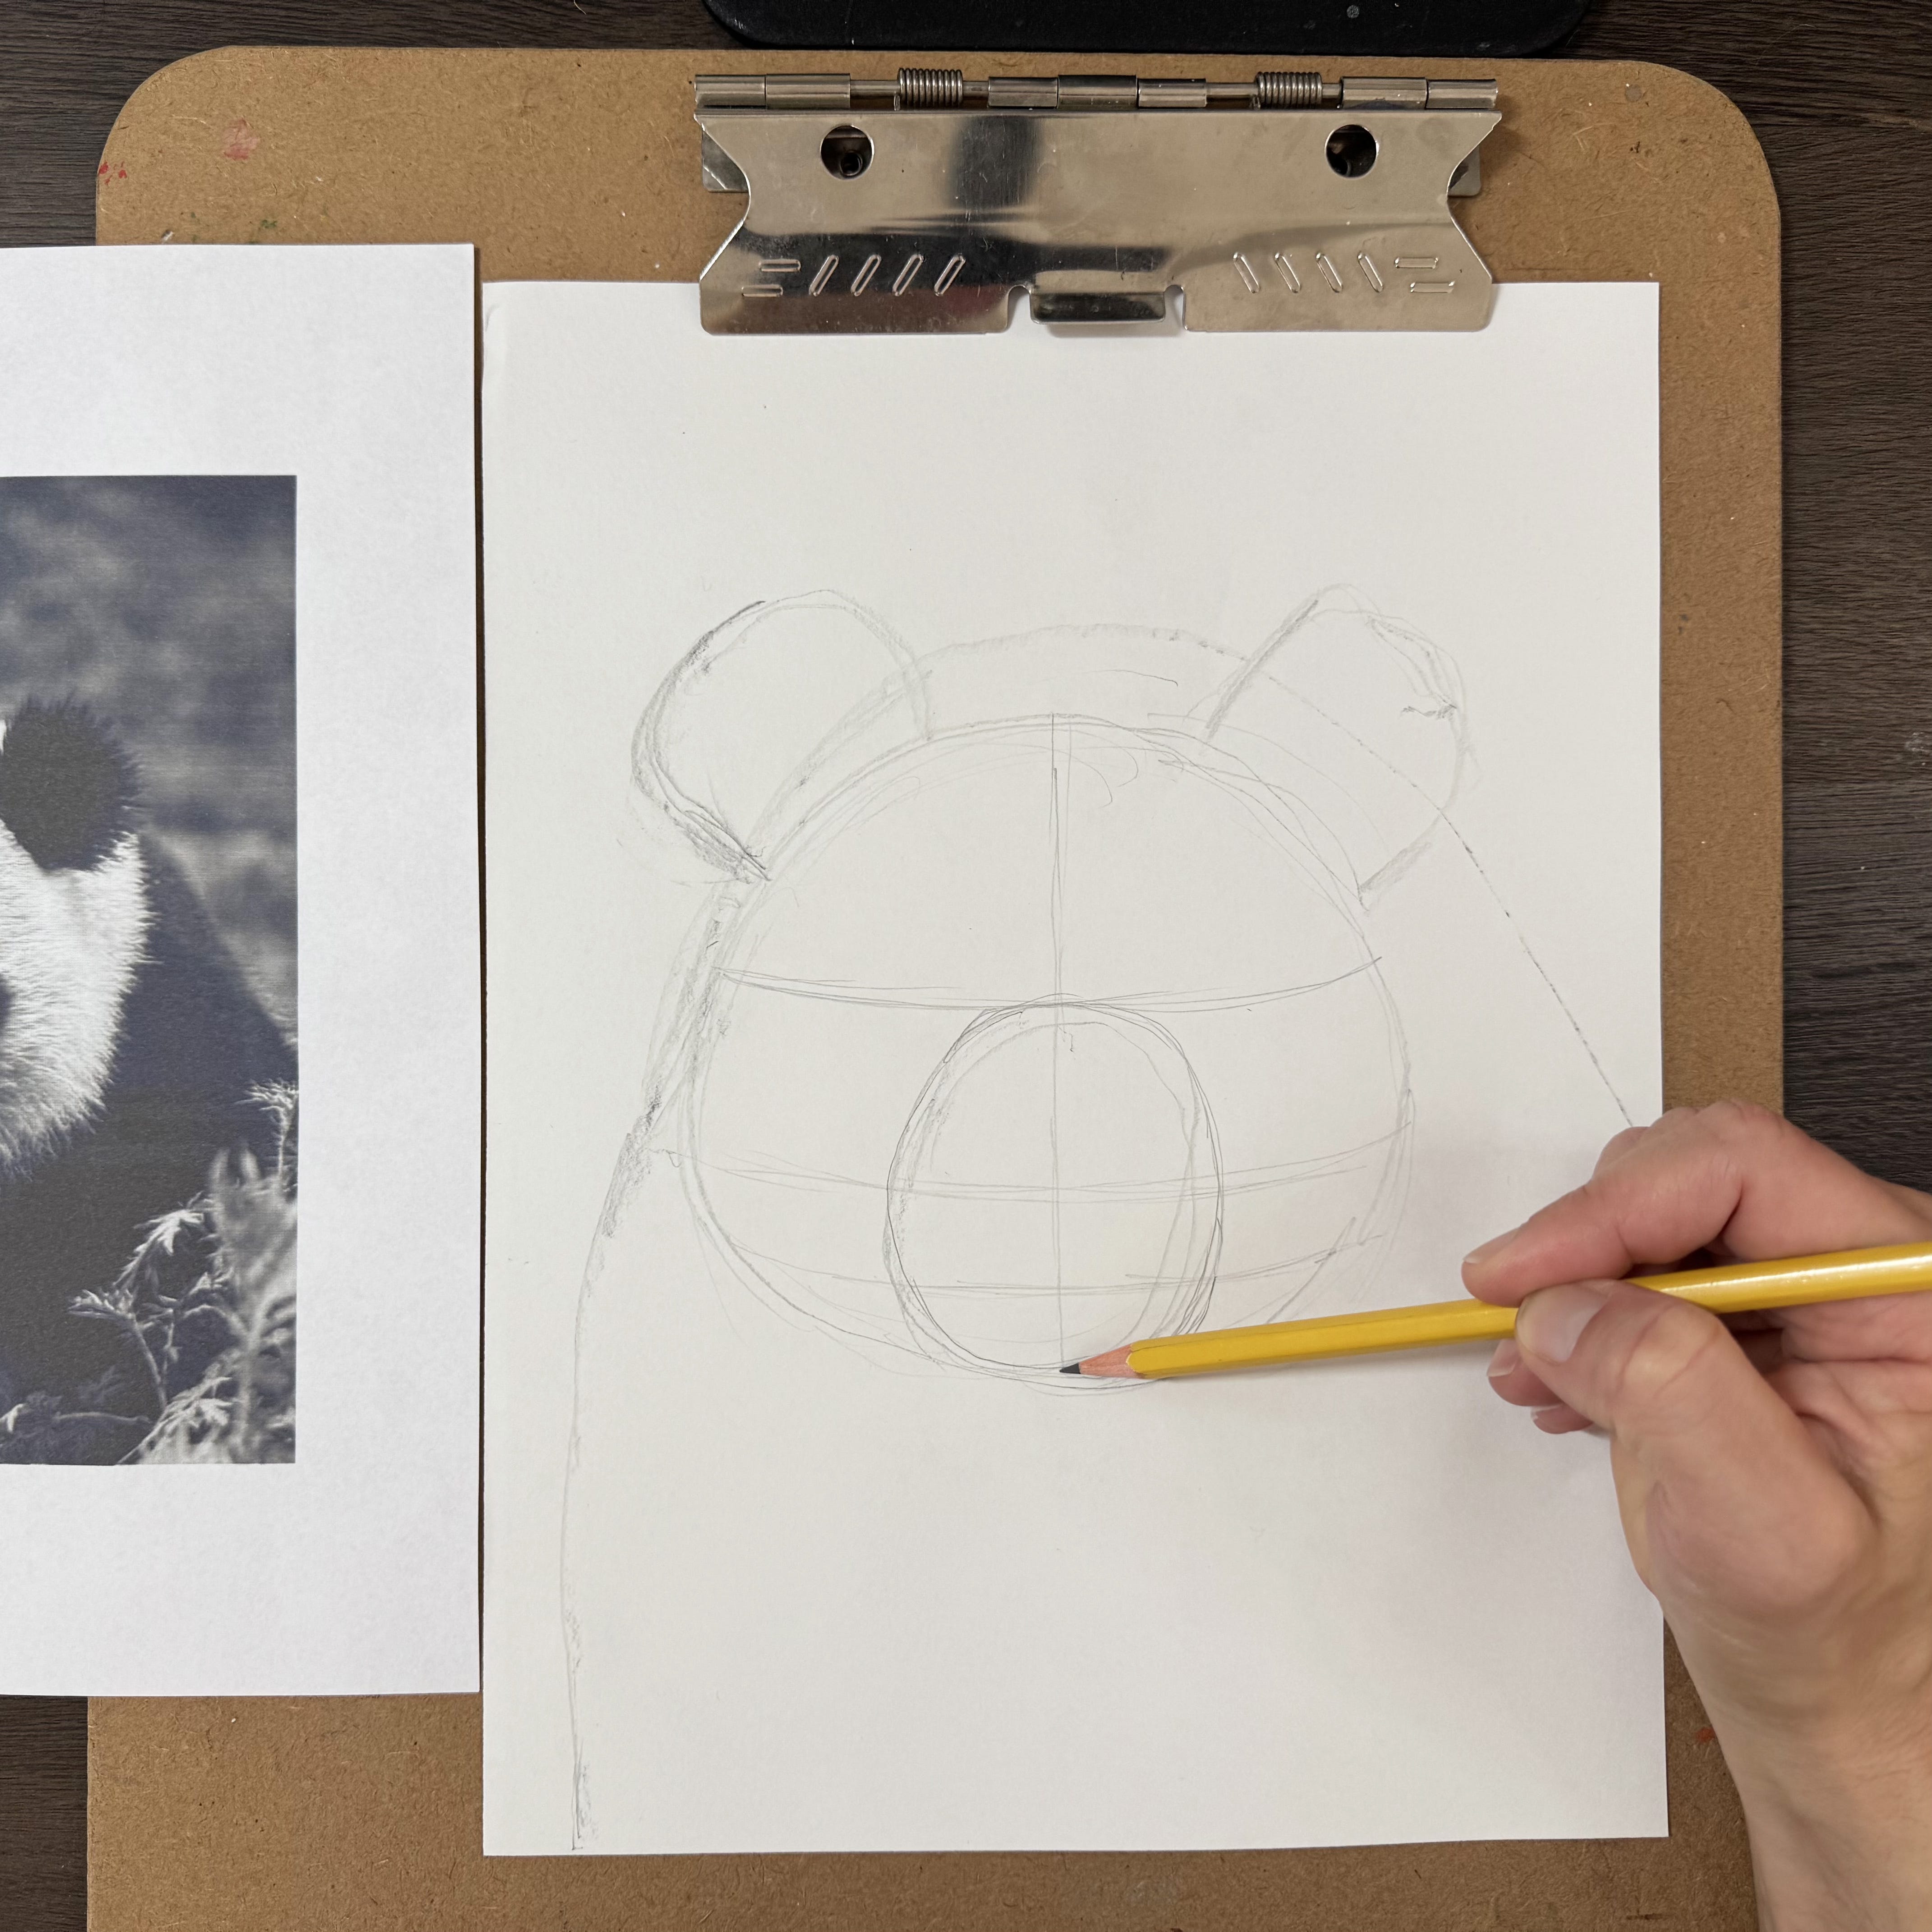
Step 5:
Then draw proportion lines, like you would for drawing a human face. One vertical line down the center of the face, one horizontal line for the top of the nose and one for the mouth.
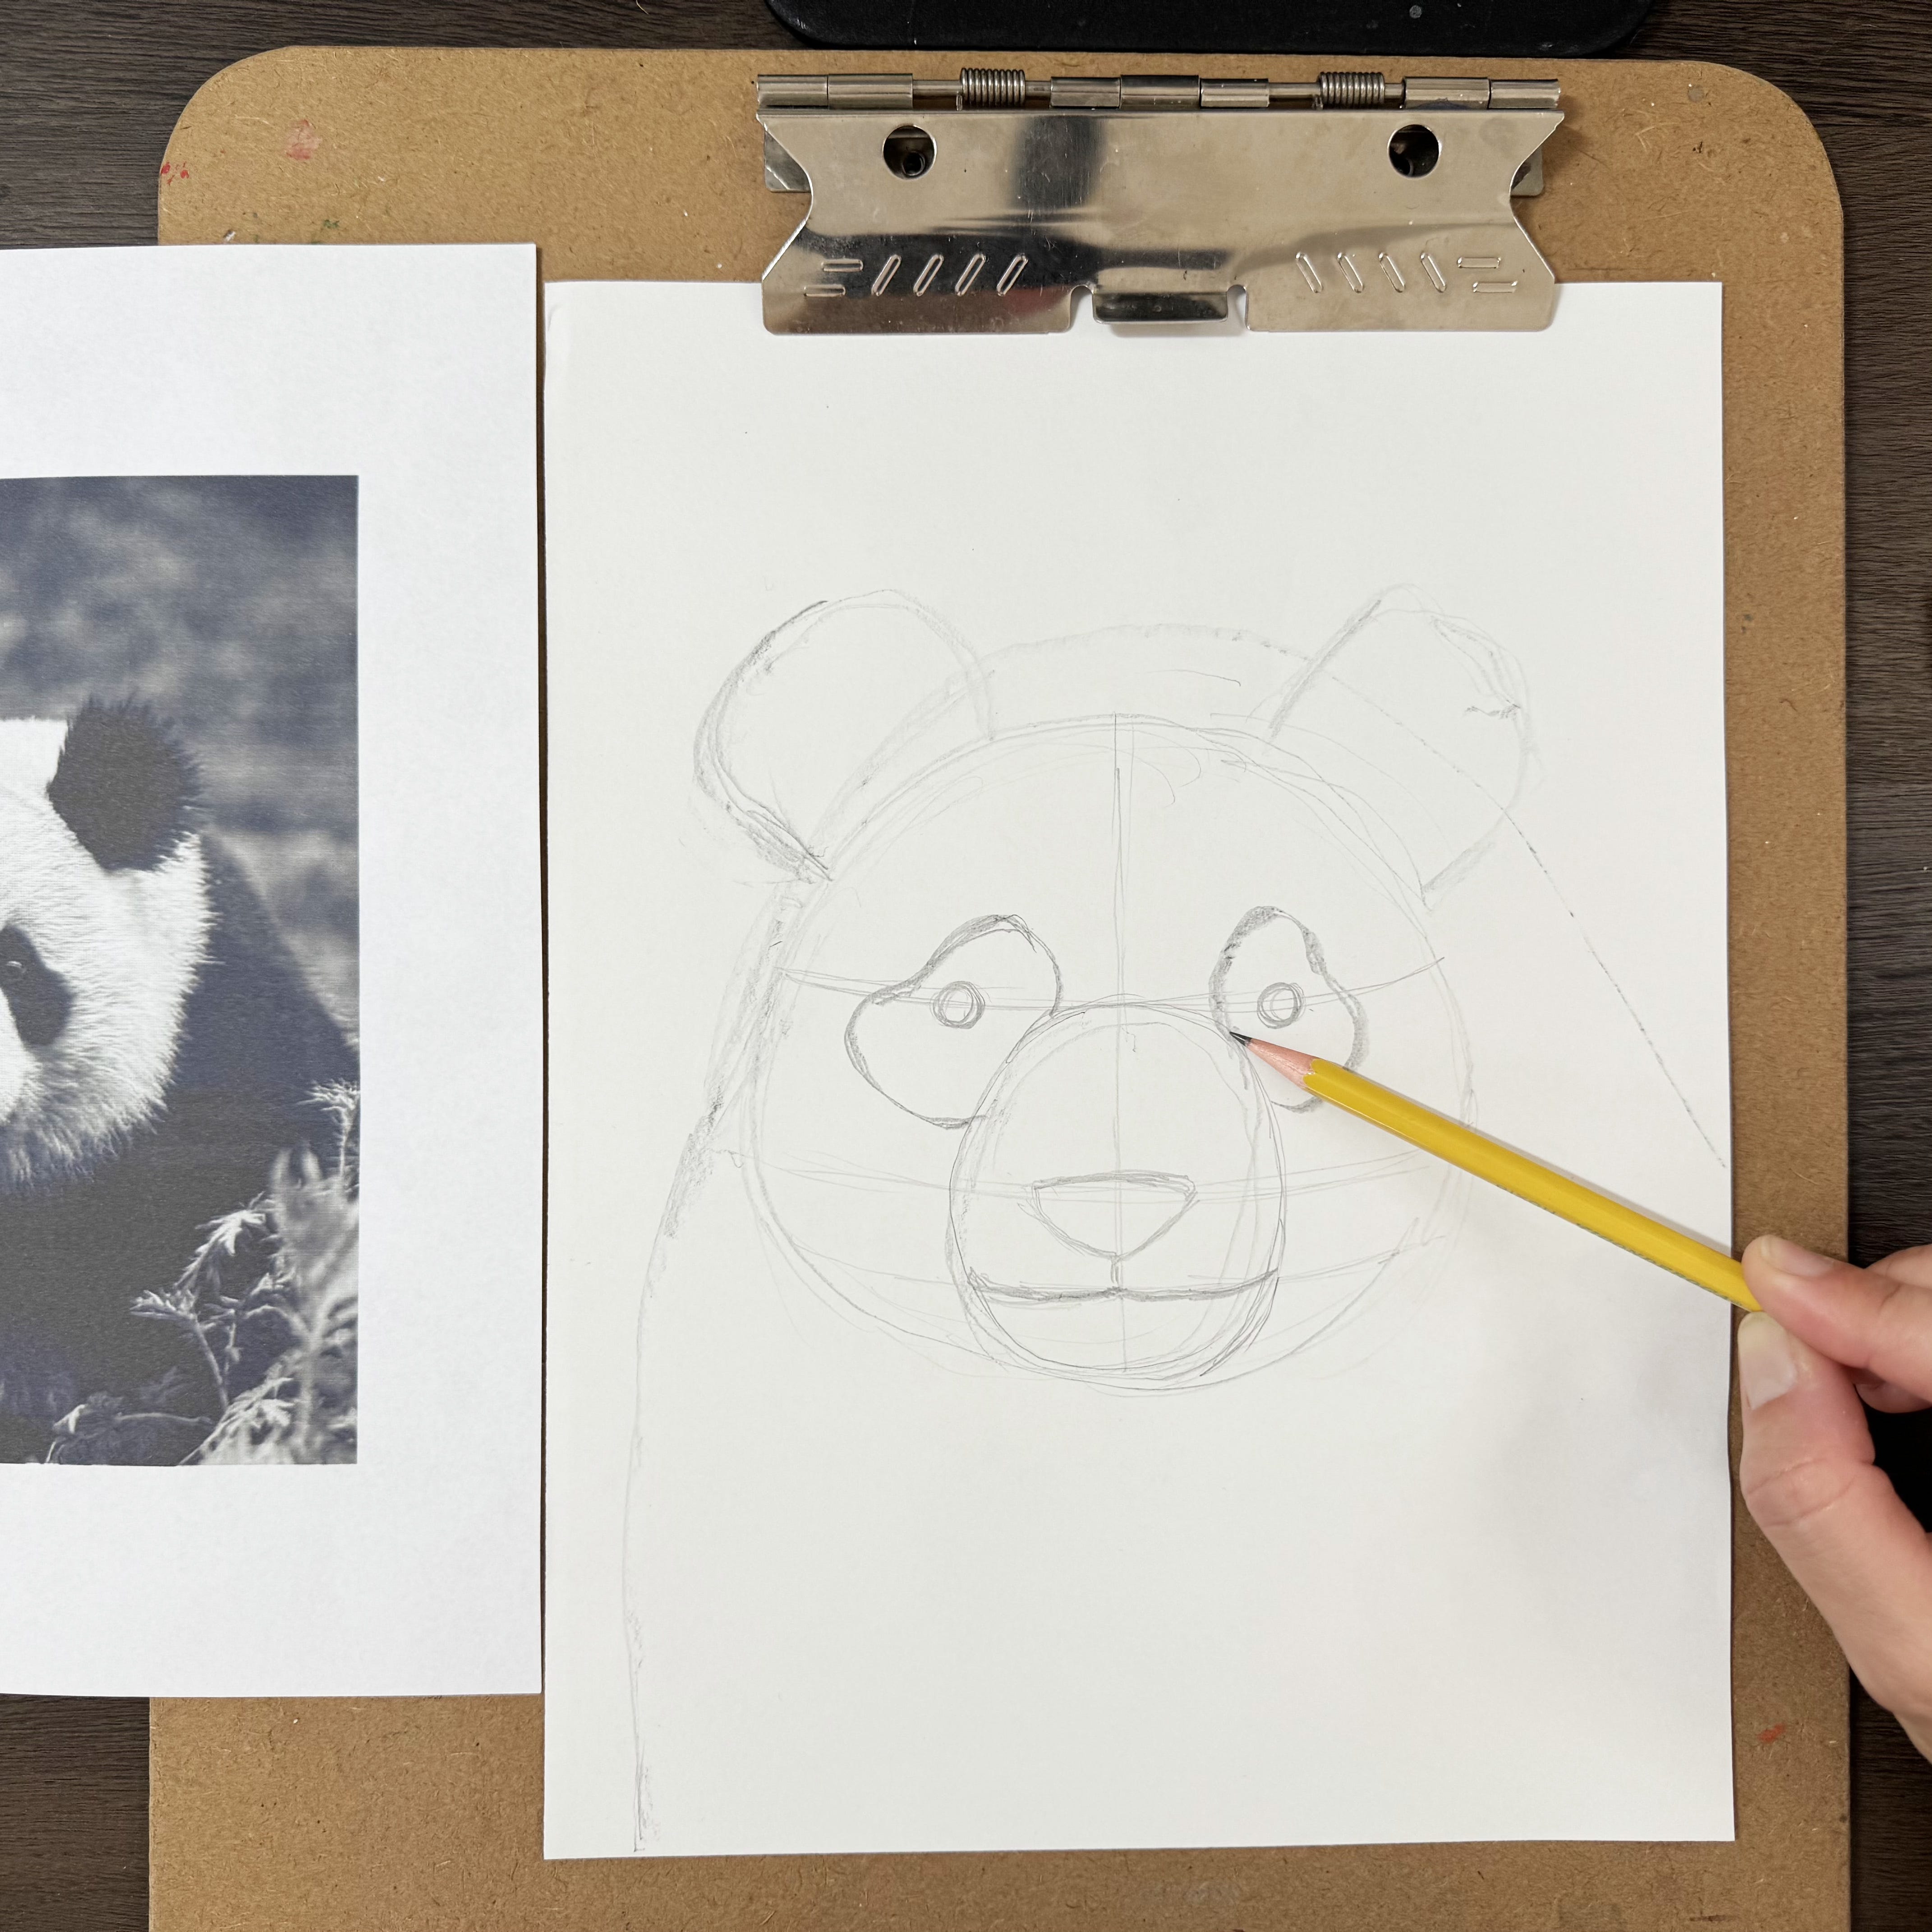
Step 6:
Add the eyes on the first line, the nose on the second line and the mouth on the third line.
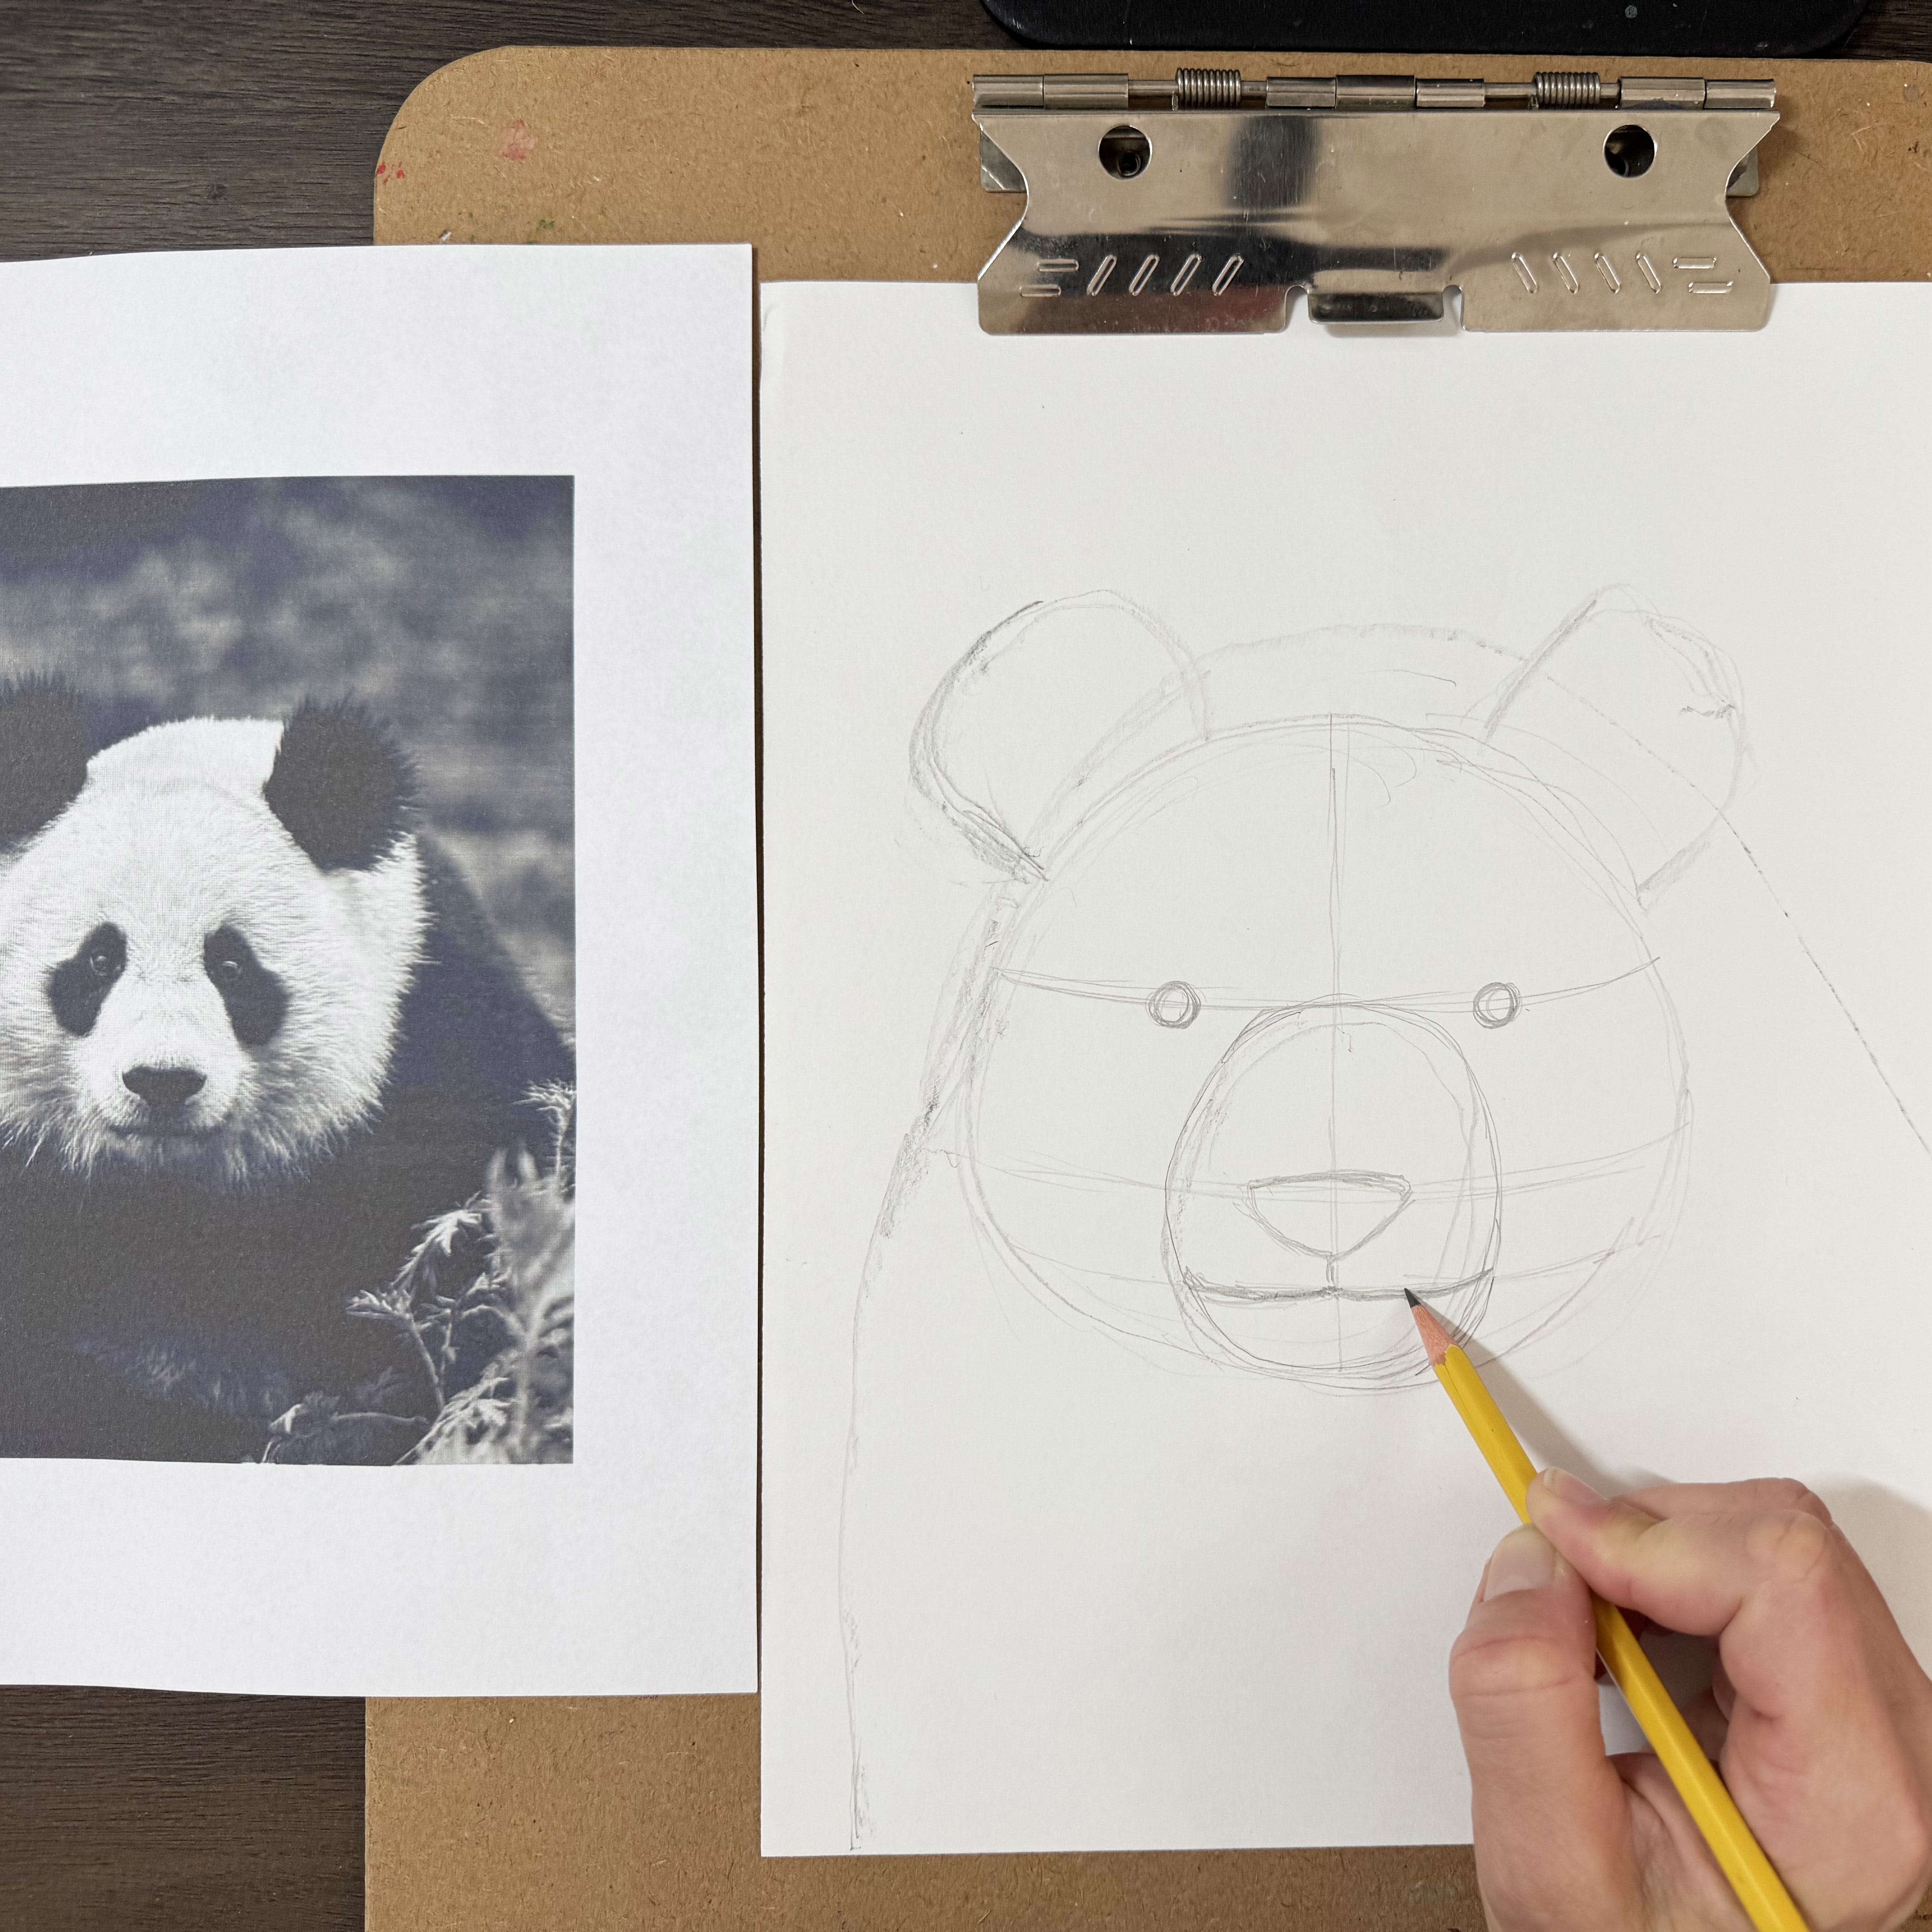
Step 7:
Now add the dark spots around the eyes that make it look like a panda bear.
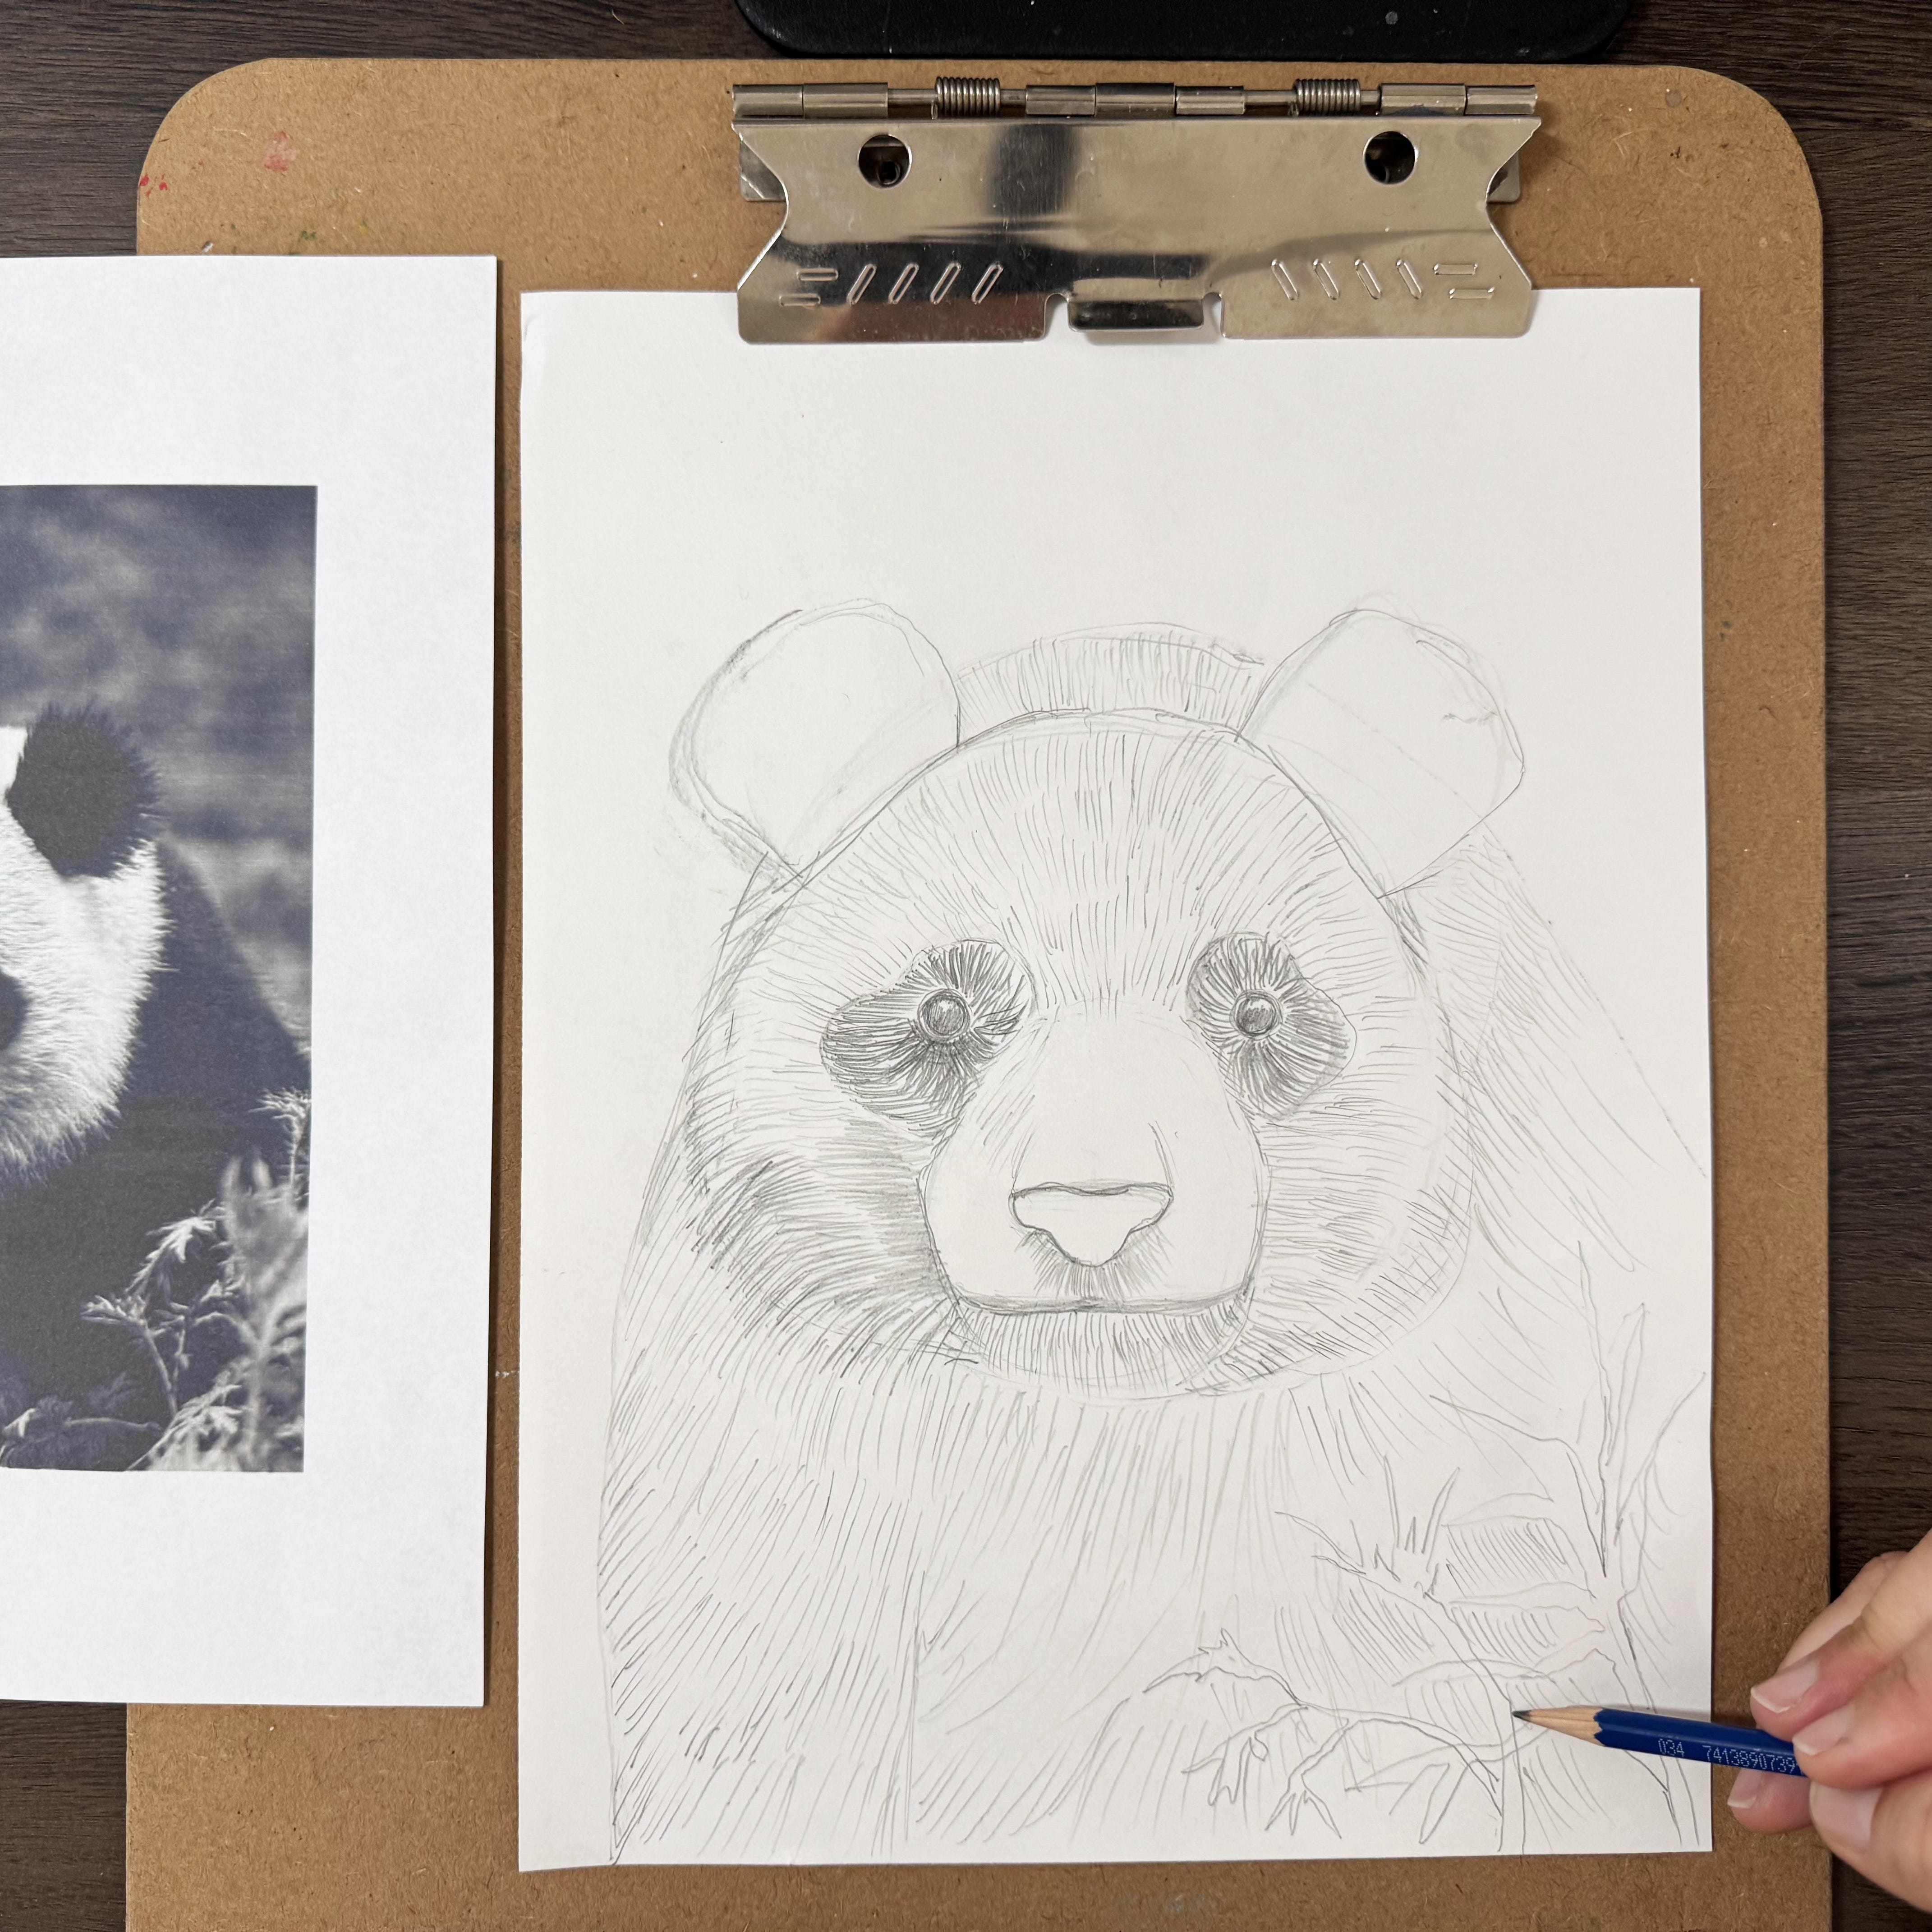
Step 8:
Erase the lines that you don’t need. Start to clean up your sketch and make it look more like the panda bear reference image. Draw the line for the shoulder and the fur that you see on his chest.
Step 9:
Now we are ready to start shading using hatching and cross hatching marks. You can switch between your 2B and 6B pencil at this point. Use the 2B for the lighter values and the 6B for the darker values. Pay attention to the direction of the fur and where it gets lighter and darker. Add greenery in the bottom right corner to give him a sense of environment.
Step 10:
Keep going until you have enough value everywhere! Use hatch and cross hatch mark making.
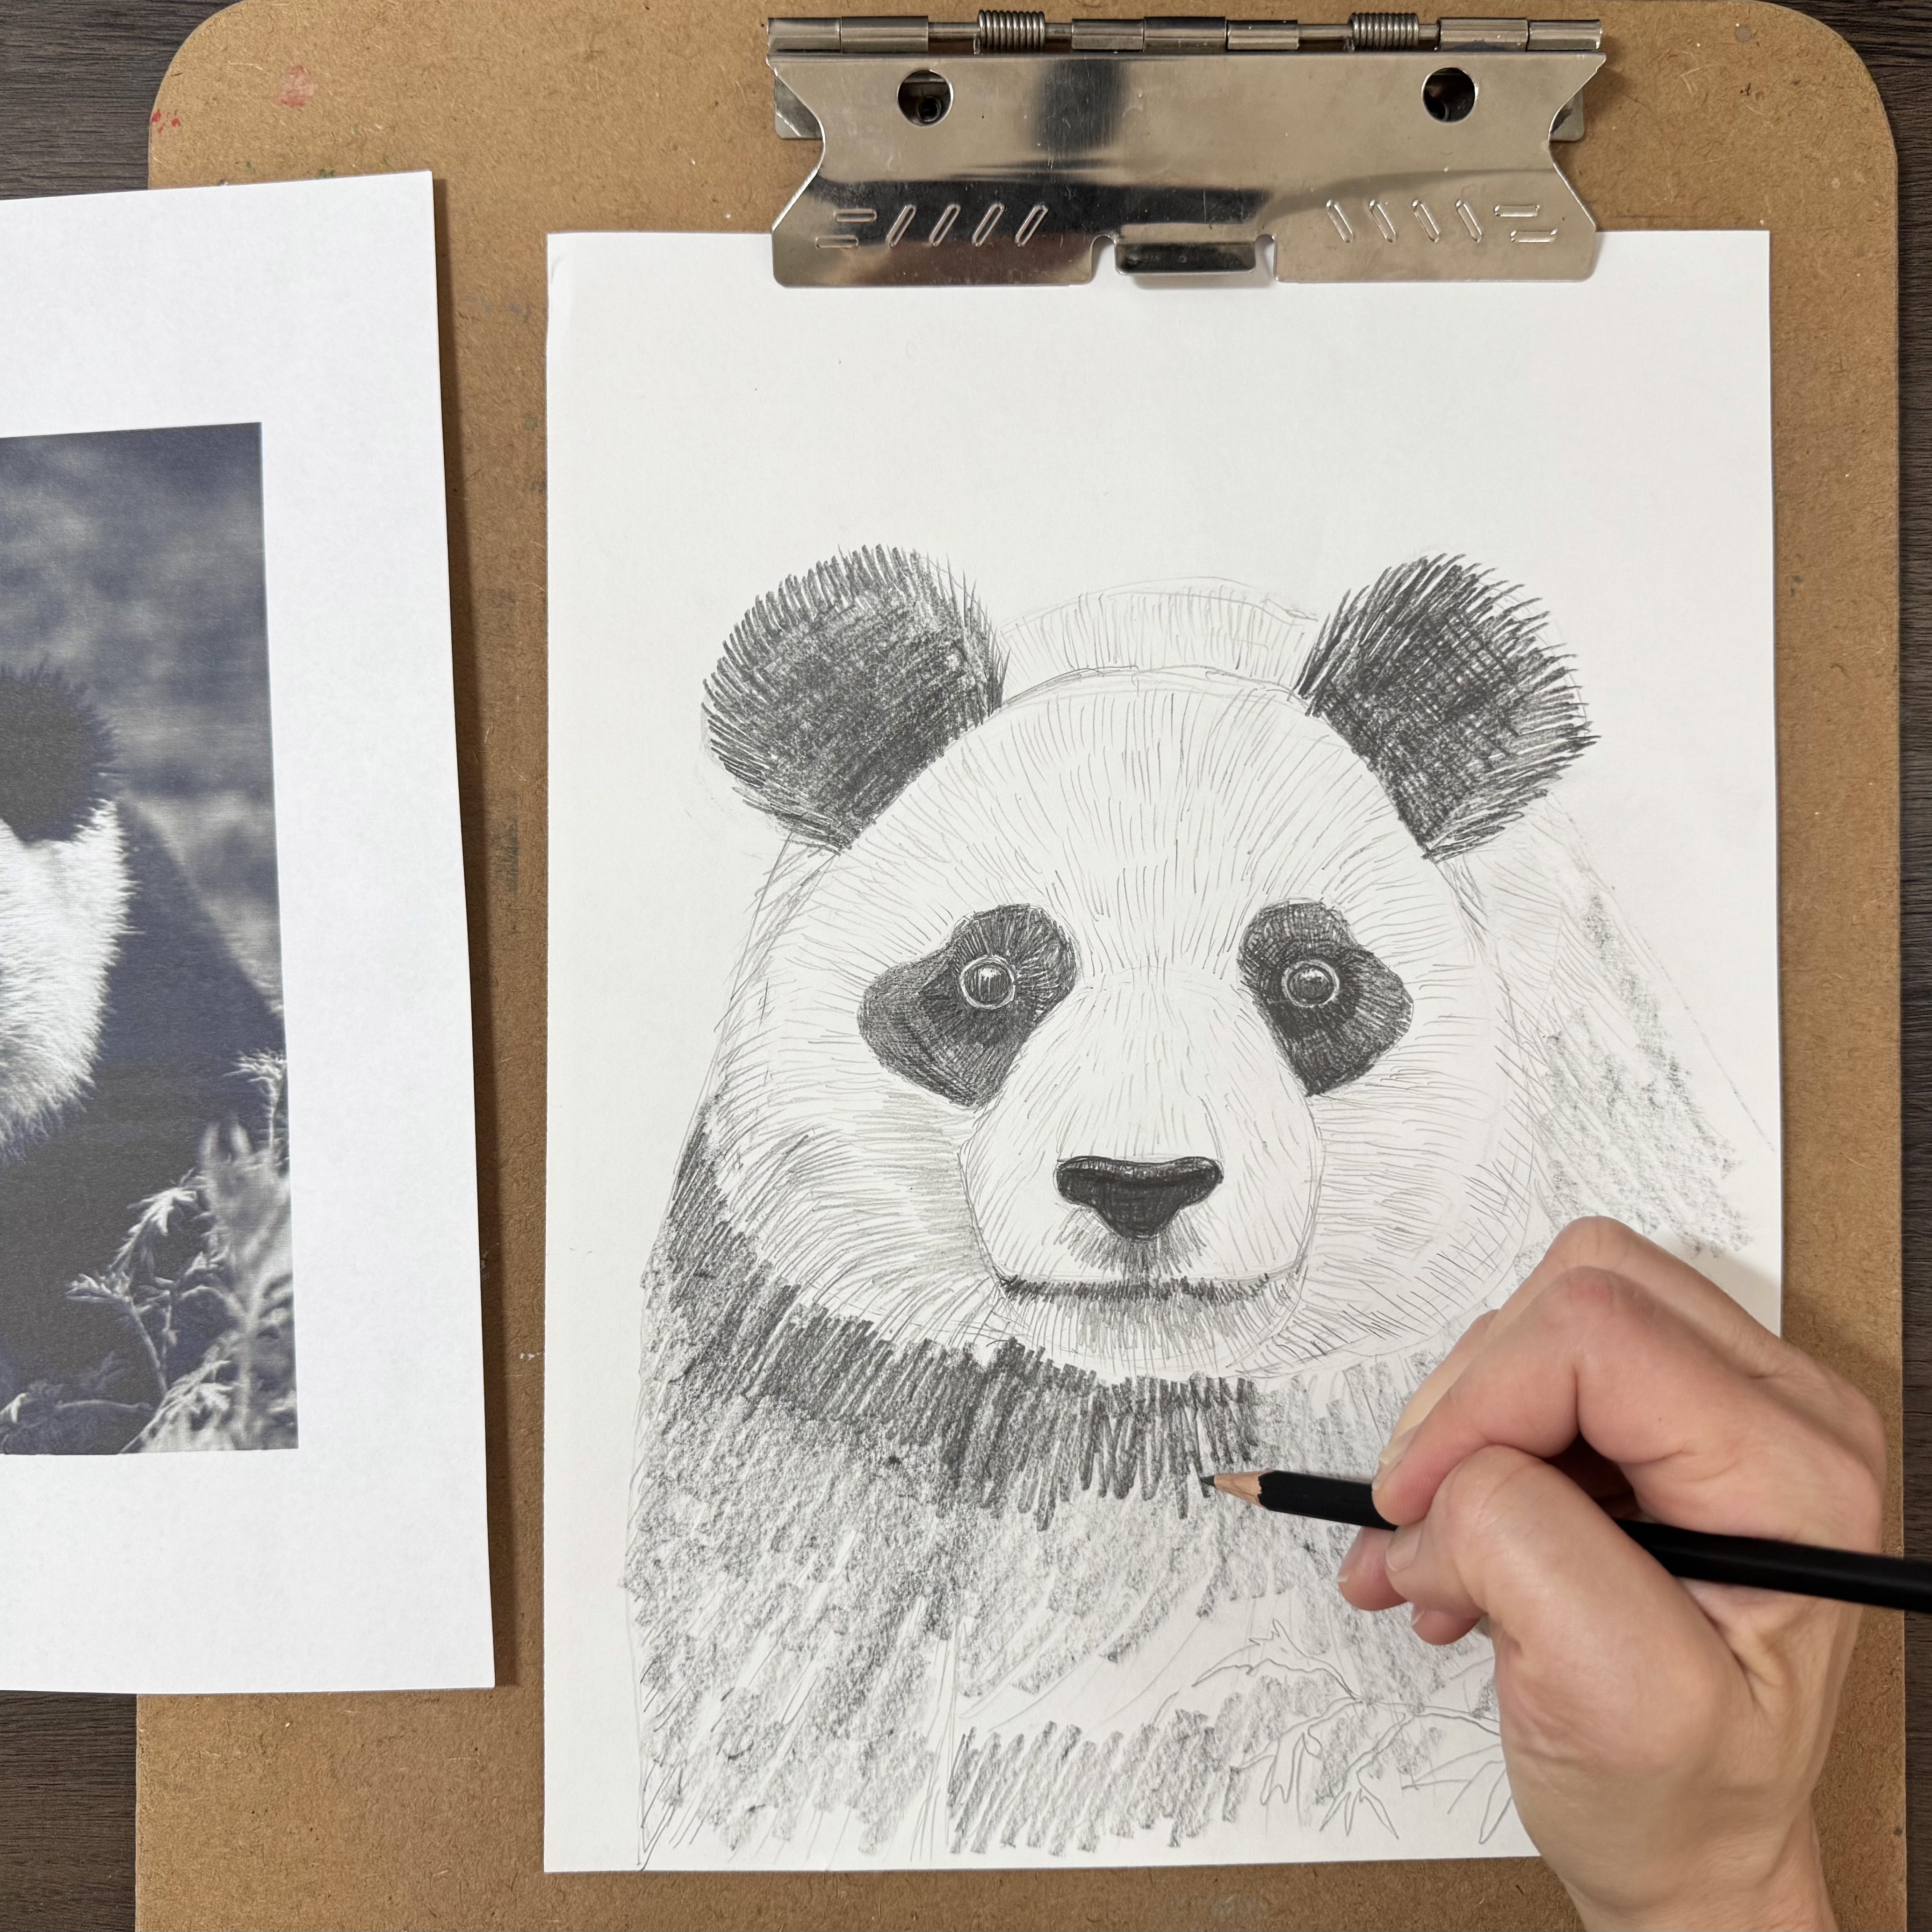
Step 11:
Final details! Your finished drawing might look something like this, but you can also leave it more expressive with lots of sketchy lines! It’s your drawing!

Give it a try. Let me know how your panda drawing turned out.
Thank you for reading!
