


Welcome to April friends. This month we celebrate World Earth Day. In my opinion, this should be celebrated every day but having a designated day each year helps us to stop and think about how we can help care for our beautiful earth and the creatures that inhabit it. It also inspires illustration initiatives like Our Planet Week and I can’t wait to participate!
Our Planet week was created by visual artist and illustrator
, author of the Creative Draft on Substack. The prompt list provides “ an opportunity to channel creativity into a meaningful cause - raising awareness and speaking important conversations, advocating for a healthier planet through art.” The list has been posted so check out Asia’s page for more information. I know that I want to participate and I’m trying to prepare ahead of time this year.My preferred medium for picture book illustration is Procreate. I like using this app for book work because I can easily make changes to a spread as needed (when asked by an editor or art director). However lately I’ve been feeling the pull to get my hands dirty again with traditional media. I’ve been doing experiments with sumi ink and kuretake watercolors. I’ve decided to use the Our Planet Week prompts to create some new pieces. These will be works that could potentially be used for future book cover ideas; middle grade or YA novels but will also be the start of a new body of work. I’ll be sharing more on this later in the month.
Now for the tutorial!
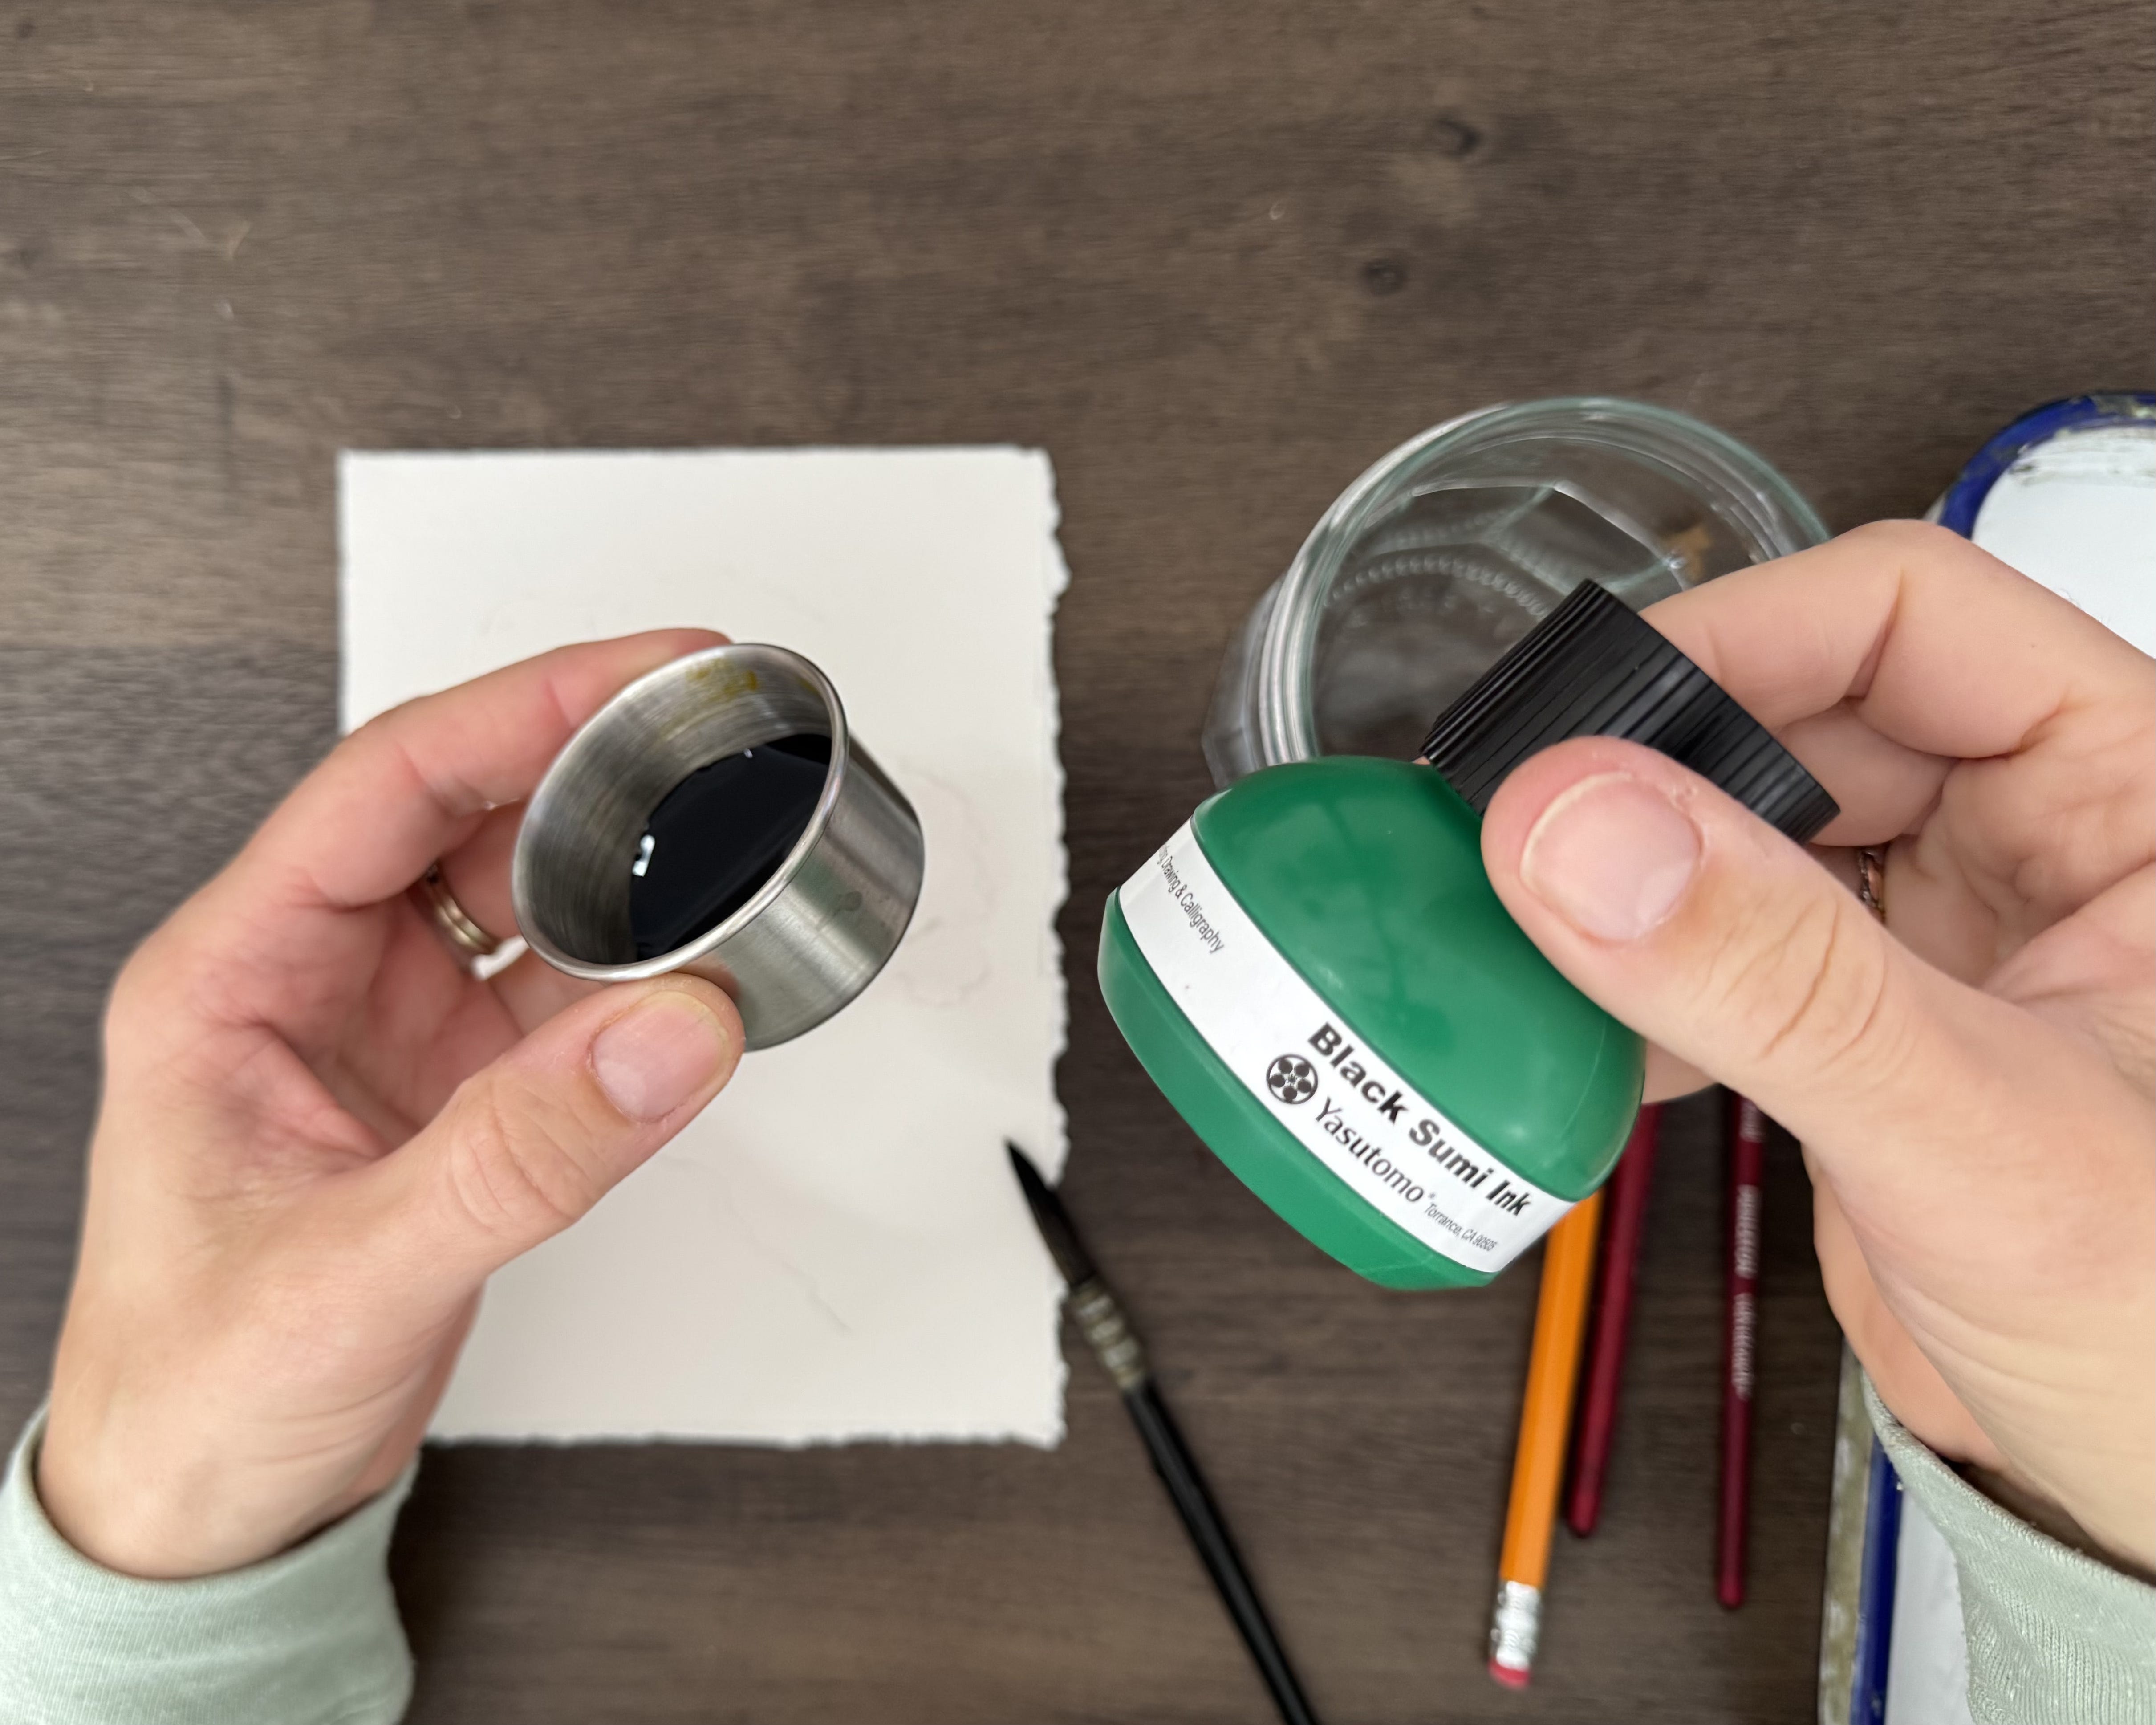
Today I’m sharing a tutorial on ink drawing, using Yasutomo black sumi ink. I’ve been working with this brand since graduate school and it’s my favorite ink for a range of light gray washes to deep rich black values. The way that I use sumi ink is similar to watercolor. I start with washes and gradually build up the layers. However, be prepared that this medium is not forgiving (much like watercolor). It’s best to embrace imperfection and let the medium bleed and create blooms. Gather your supplies and let’s dive in!
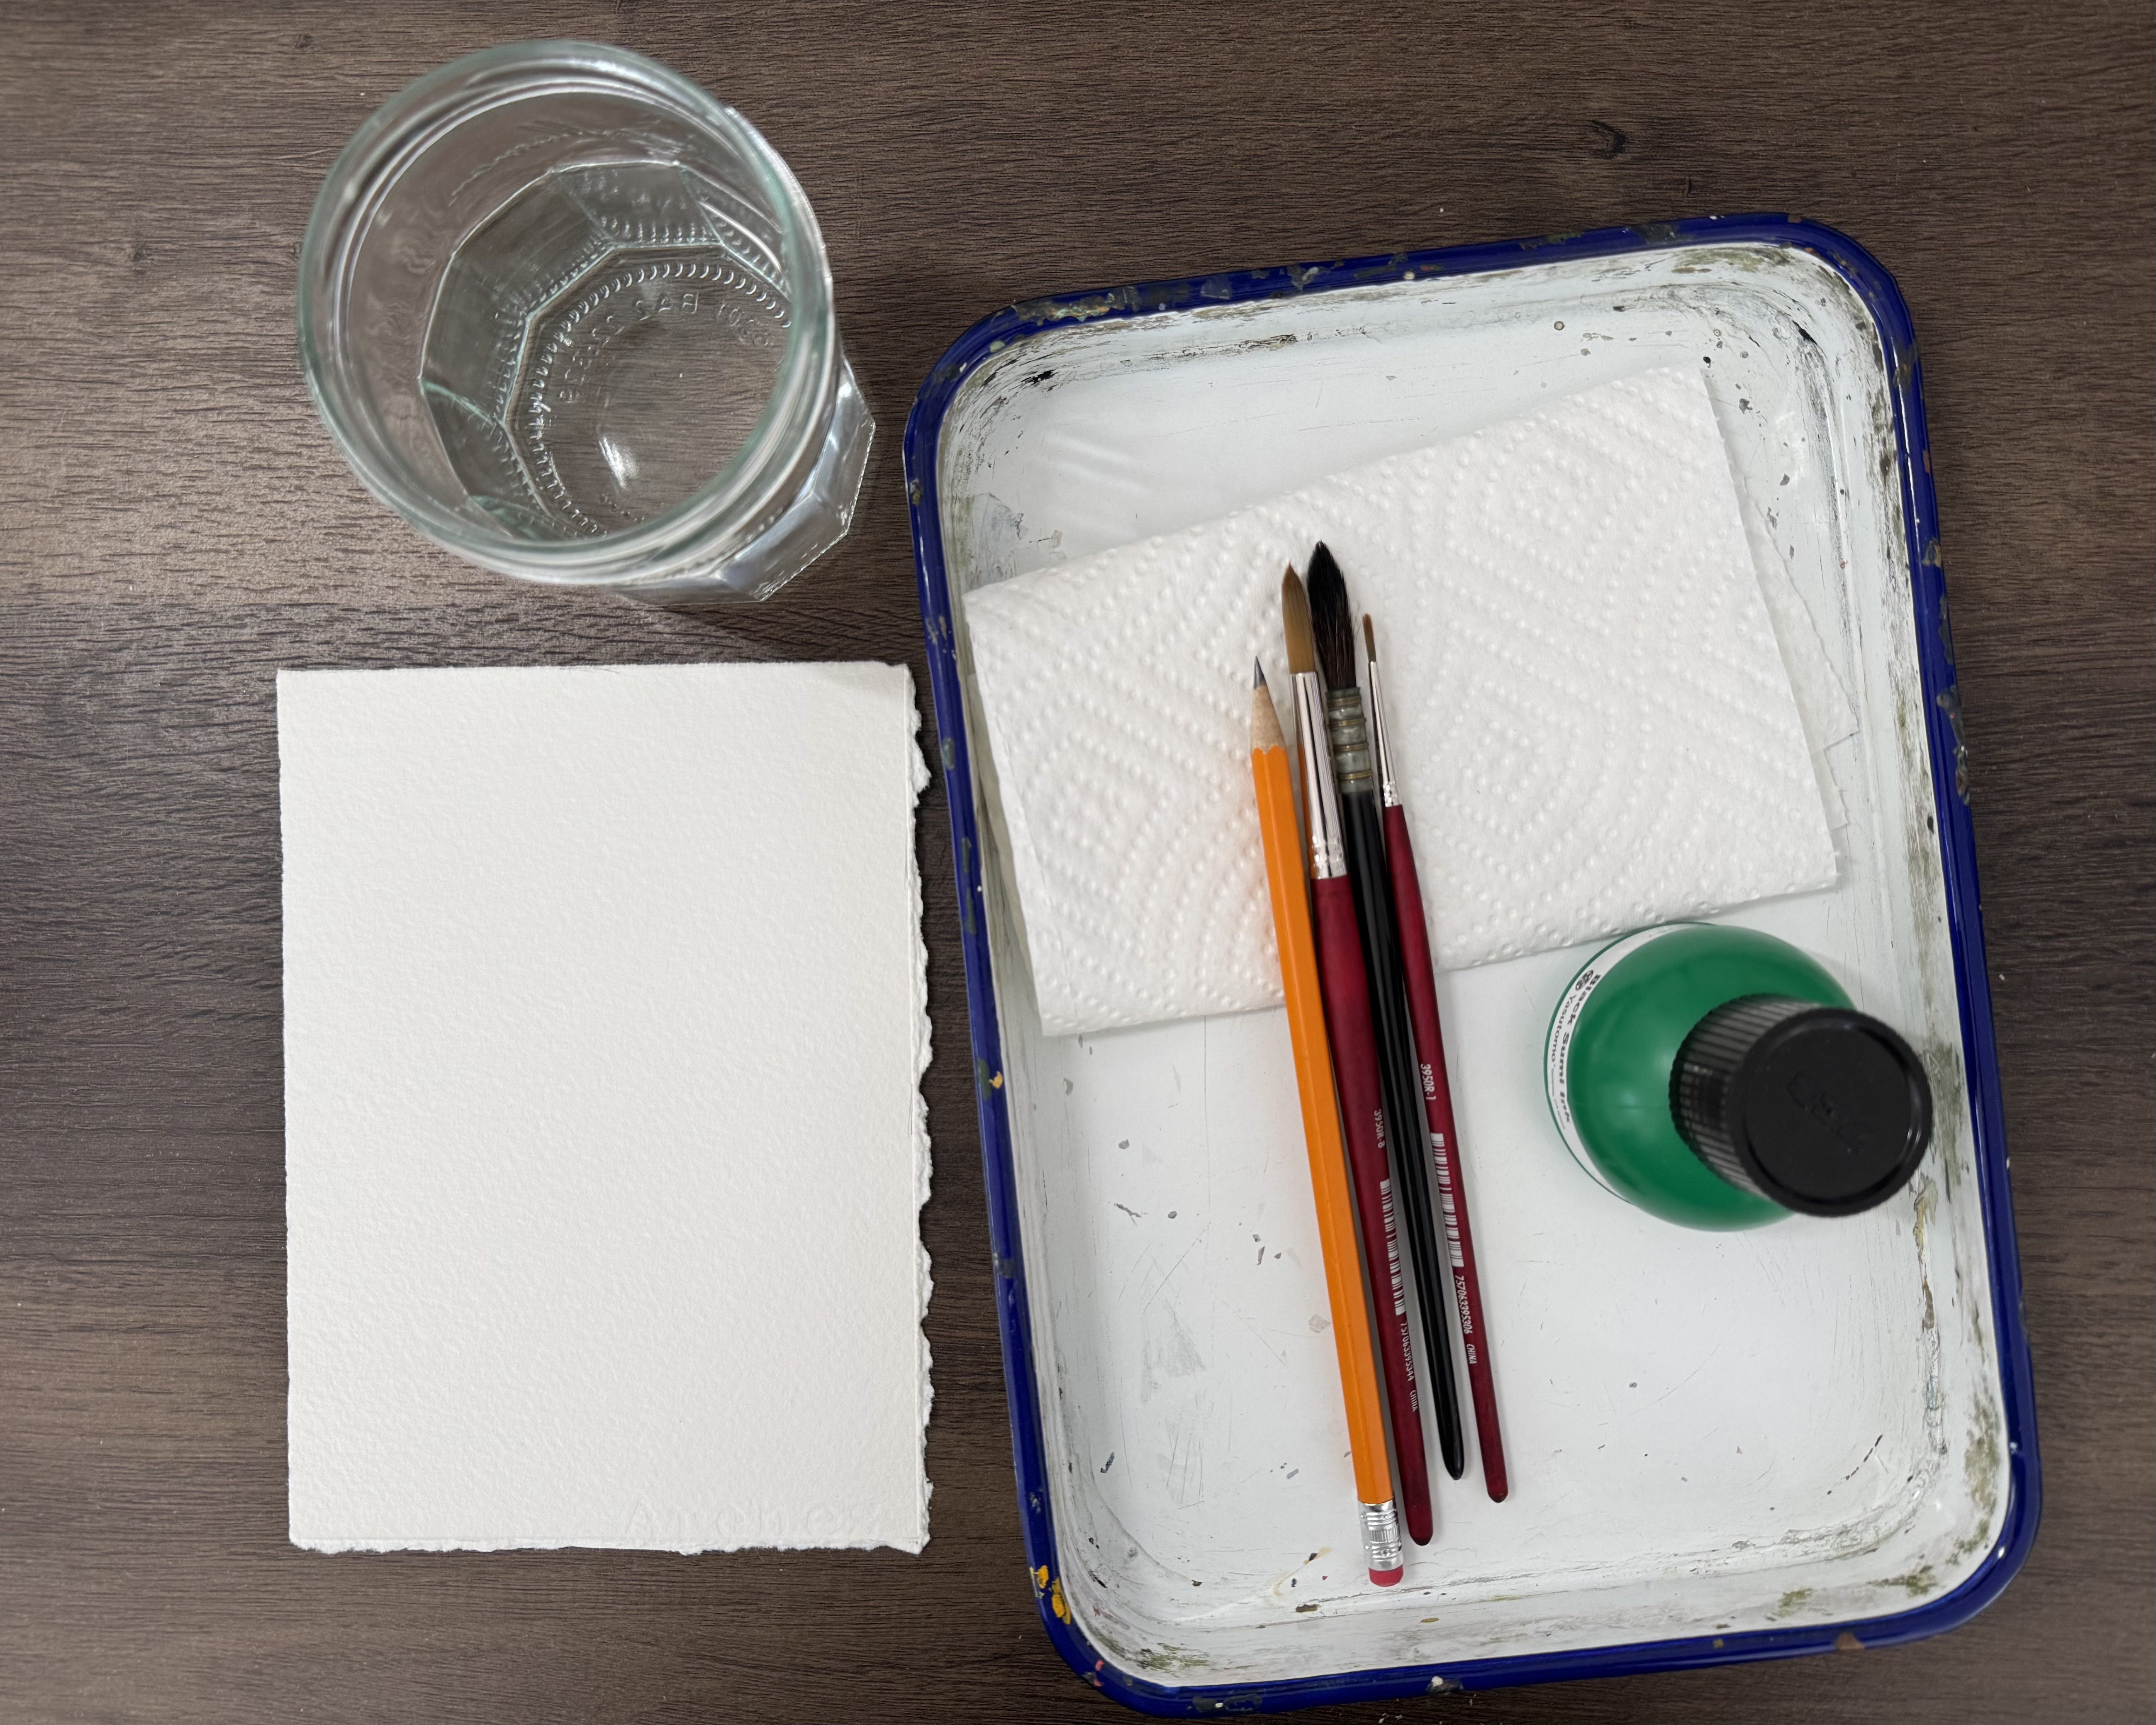
Supplies:
5” x 7” Arches watercolor paper 140 lb
cup for water
paper towel
HB pencil
small, medium and large watercolor brushes
sumi ink
butcher’s palette or palette of choice
small shallow cup or bowl for ink well
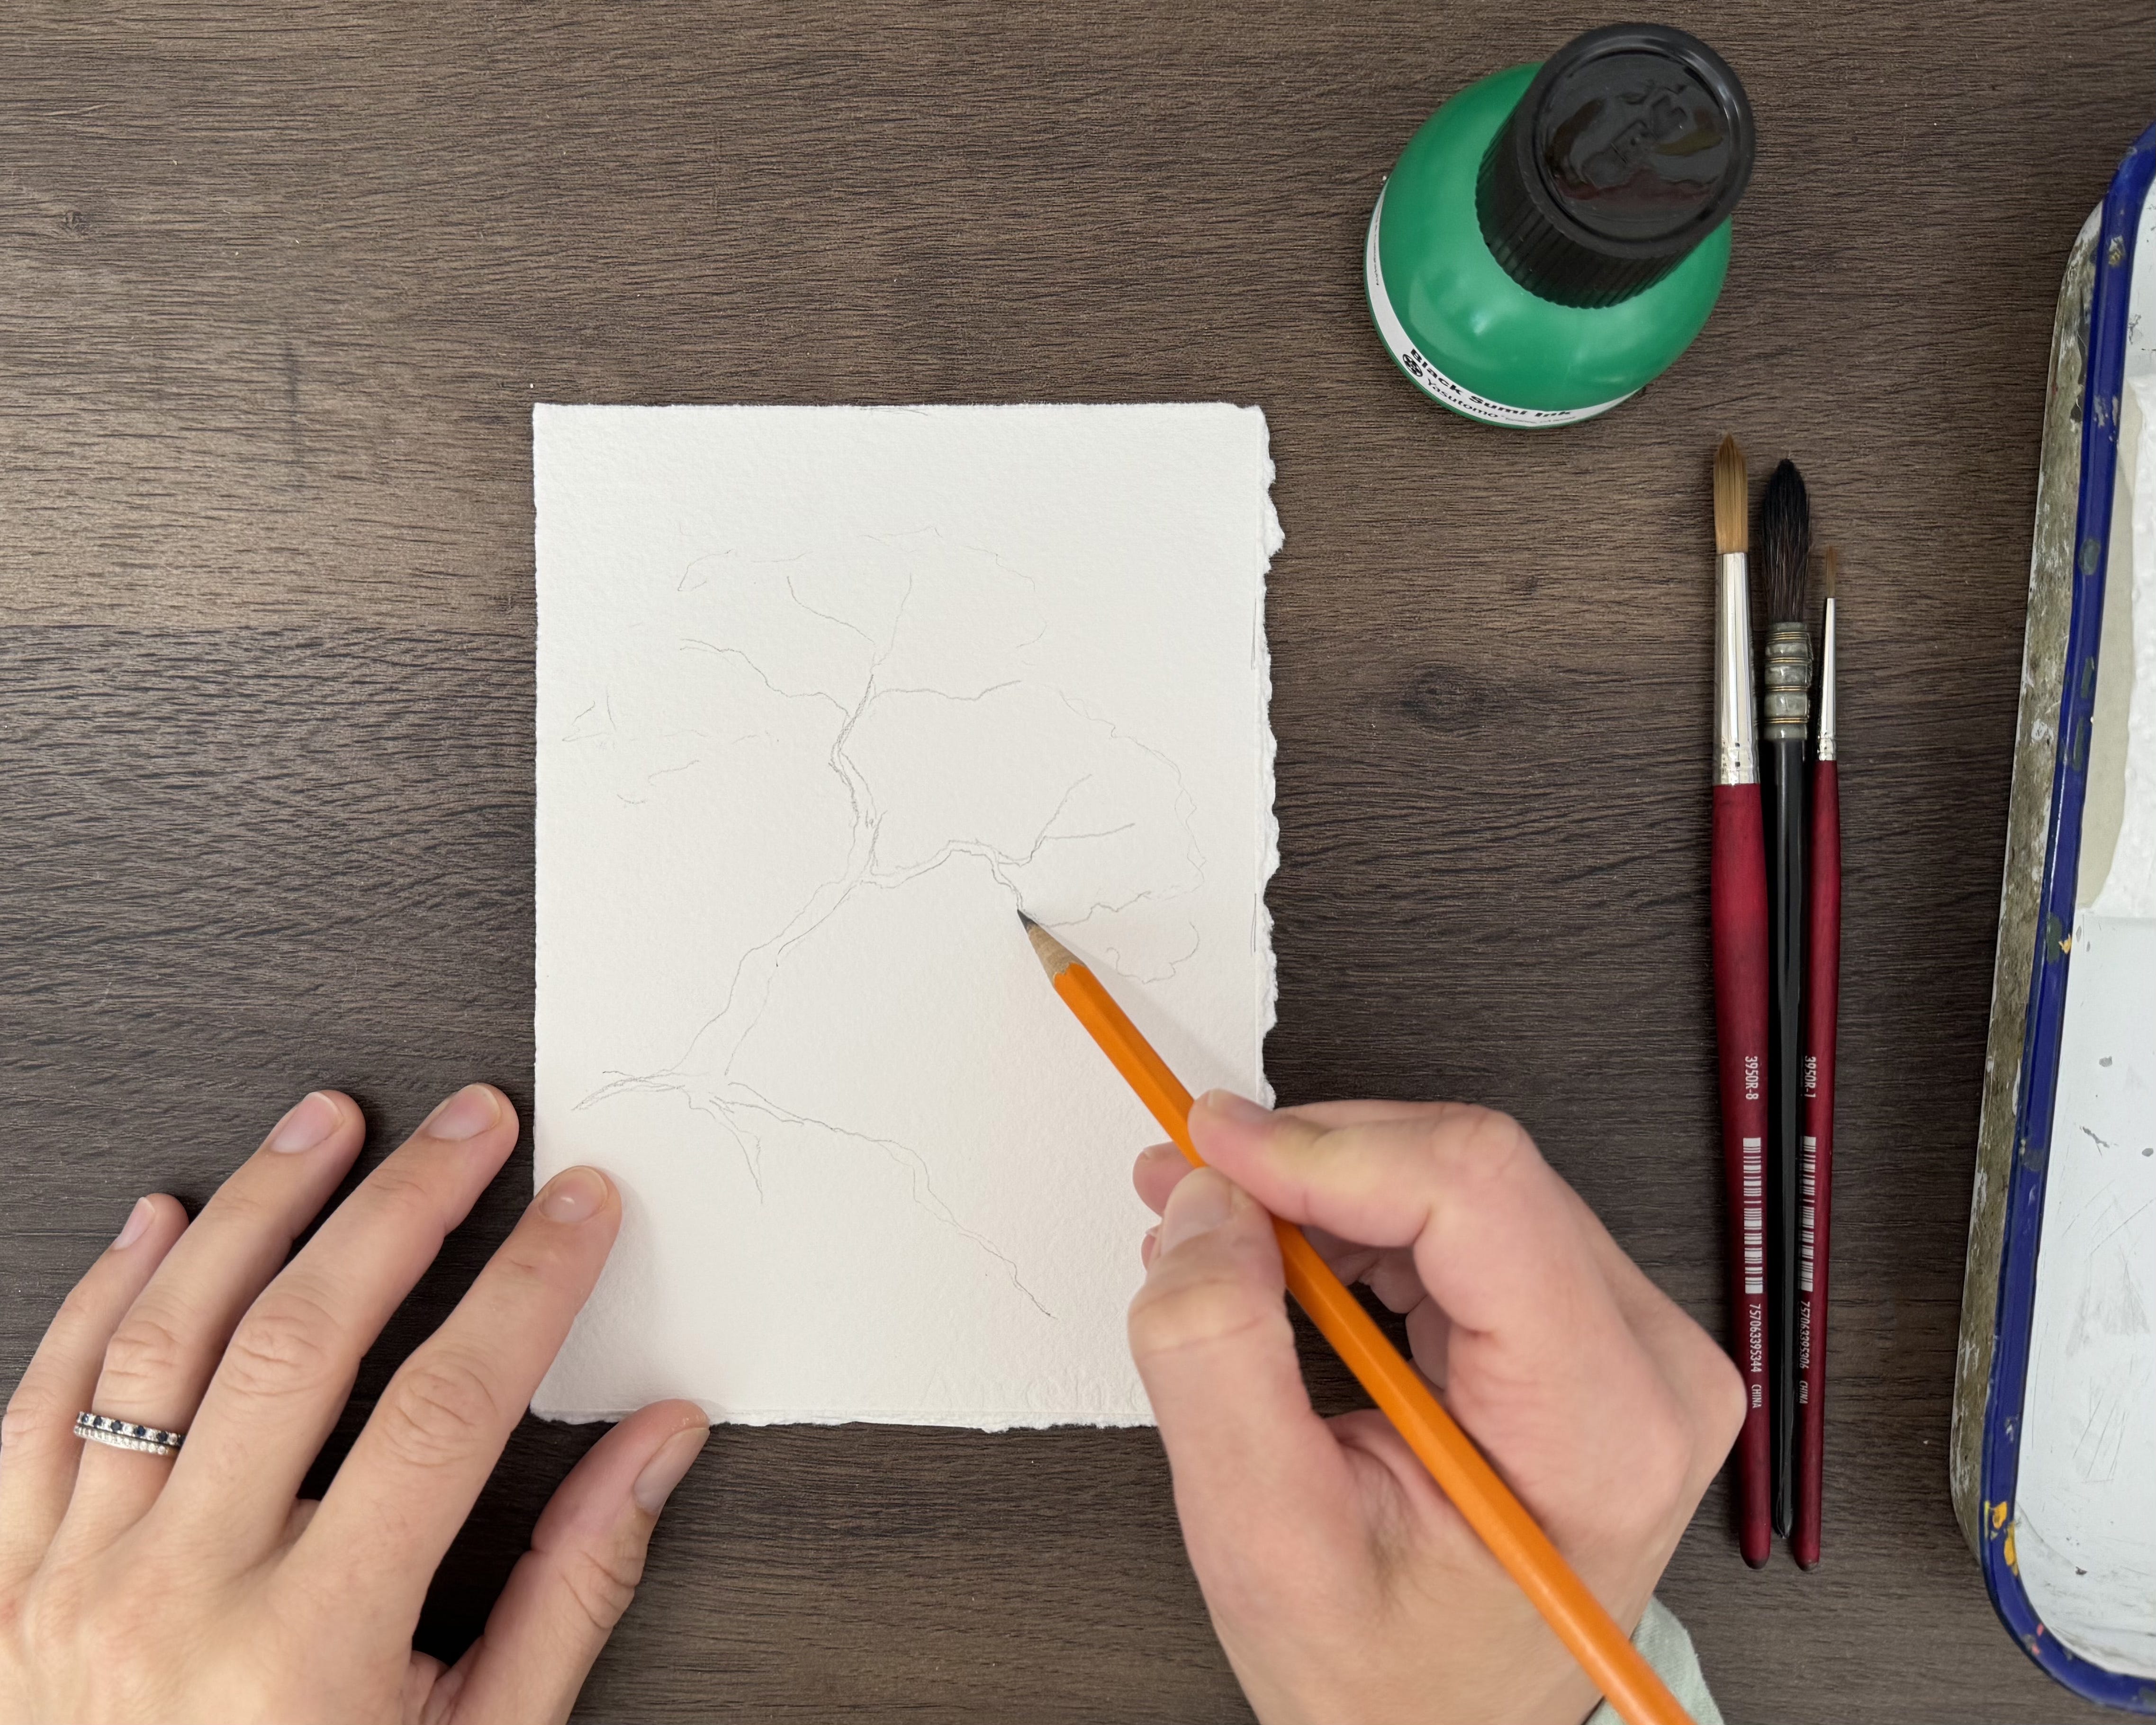
Step 1:
I like to begin with a sketch. Use your HB pencil to draw the shape of your bonsai tree. Keep your lines light.
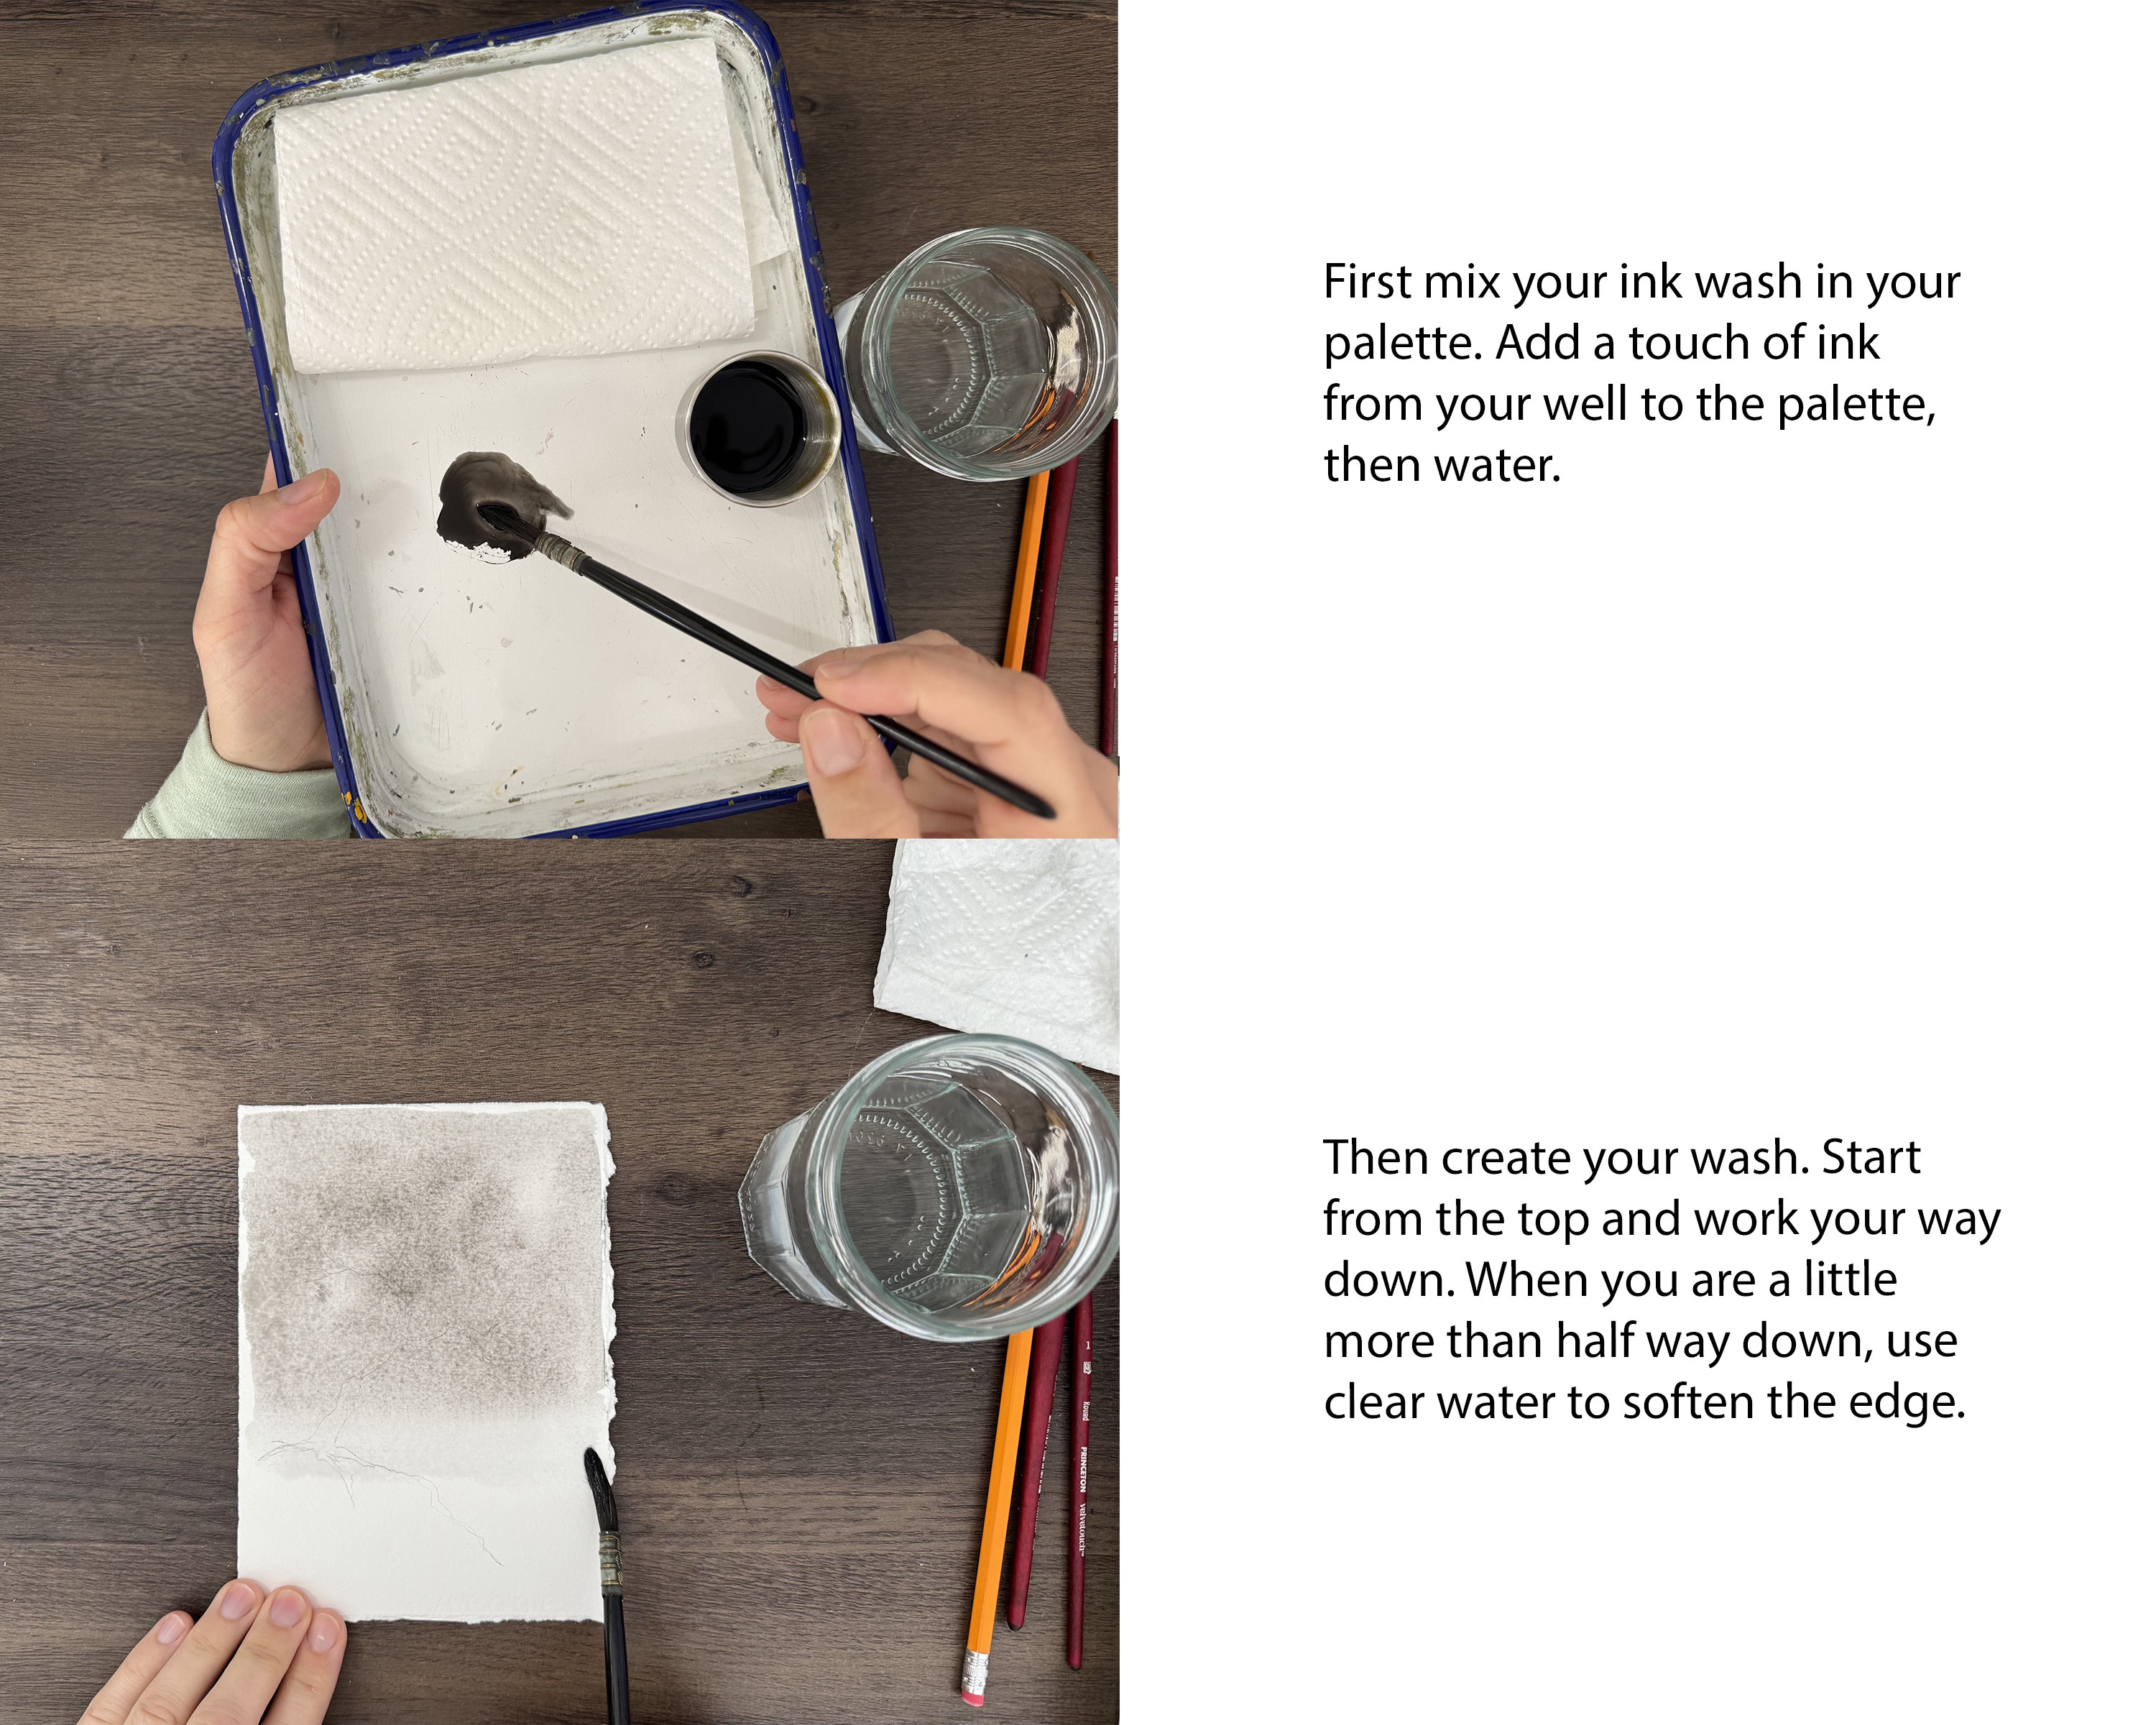
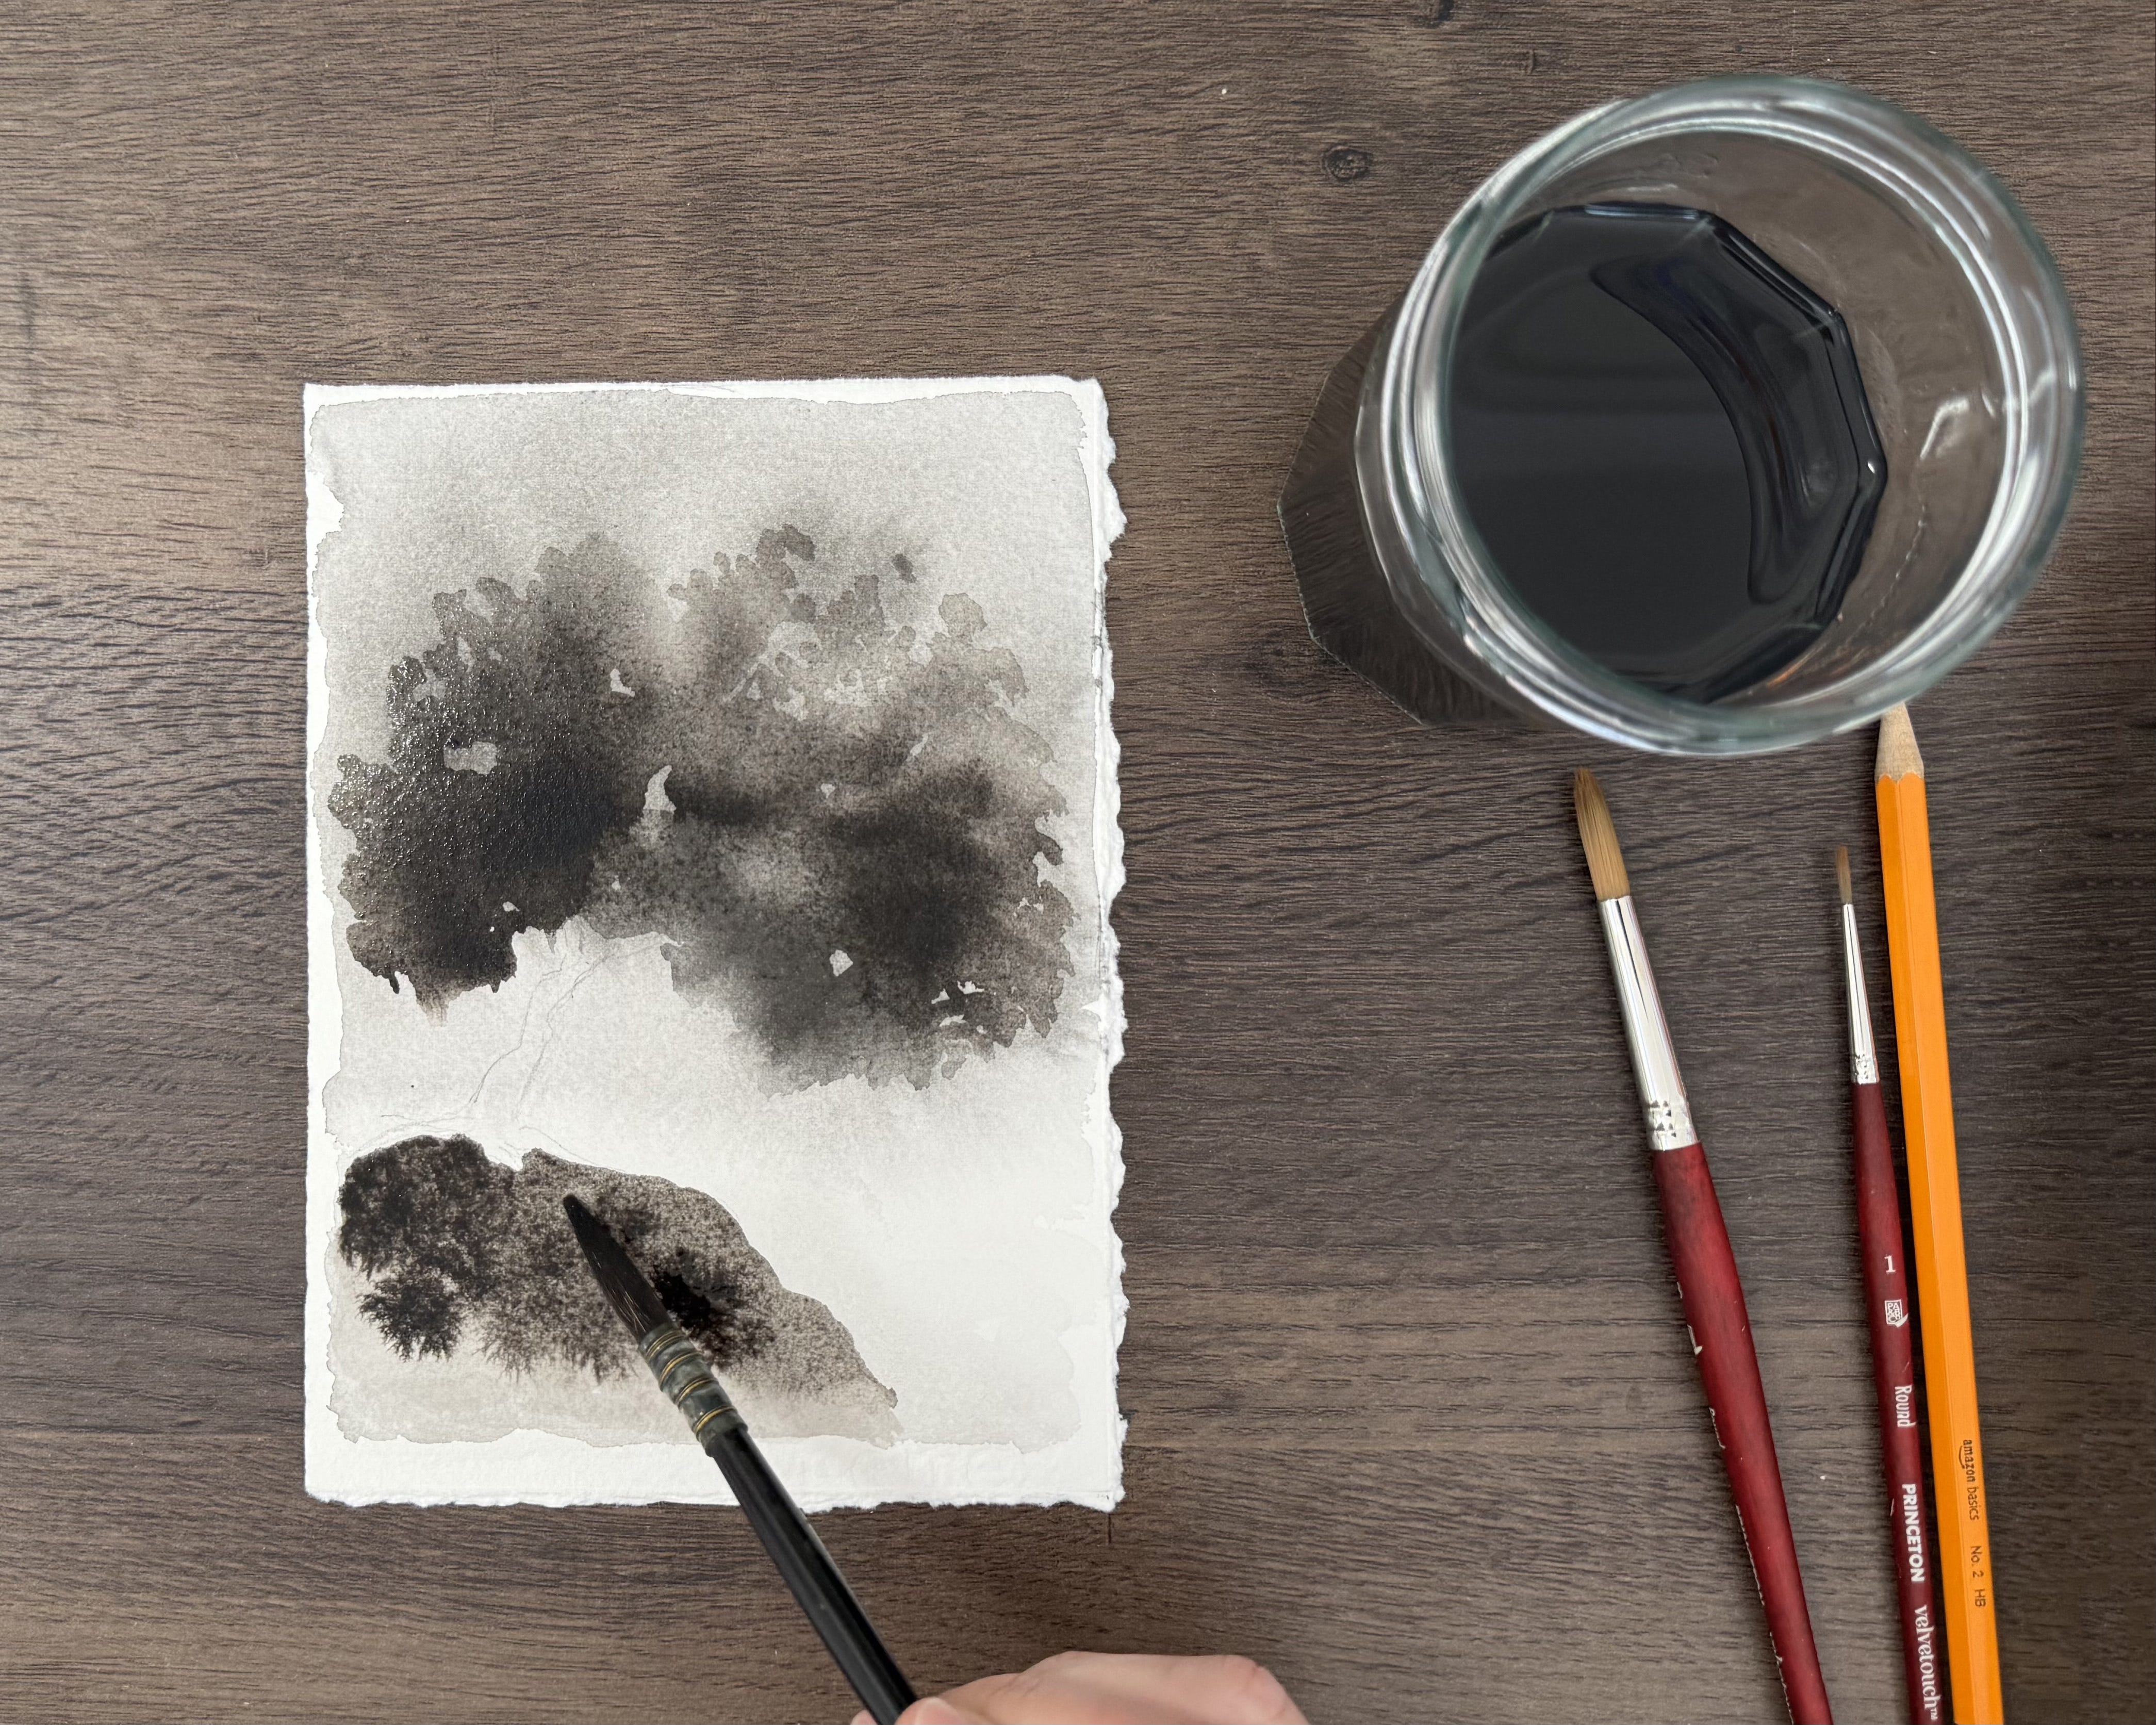
Step 2:
Make a wash with a little ink and water, in your palette. You only need a little sumi ink. A little goes a long way. Start from the top and work your way down with the wash, stopping a little more than half way down. Then dip your brush in clear water and soften the edge on the bottom, go all the way down to the bottom of your paper.
Step 3:
Add more ink to your wash. Drop it into the shape of your bonsai tree, just the leaves (not the trunk). You will lose the pencil Iines but don’t worry. We will add the branches back later.
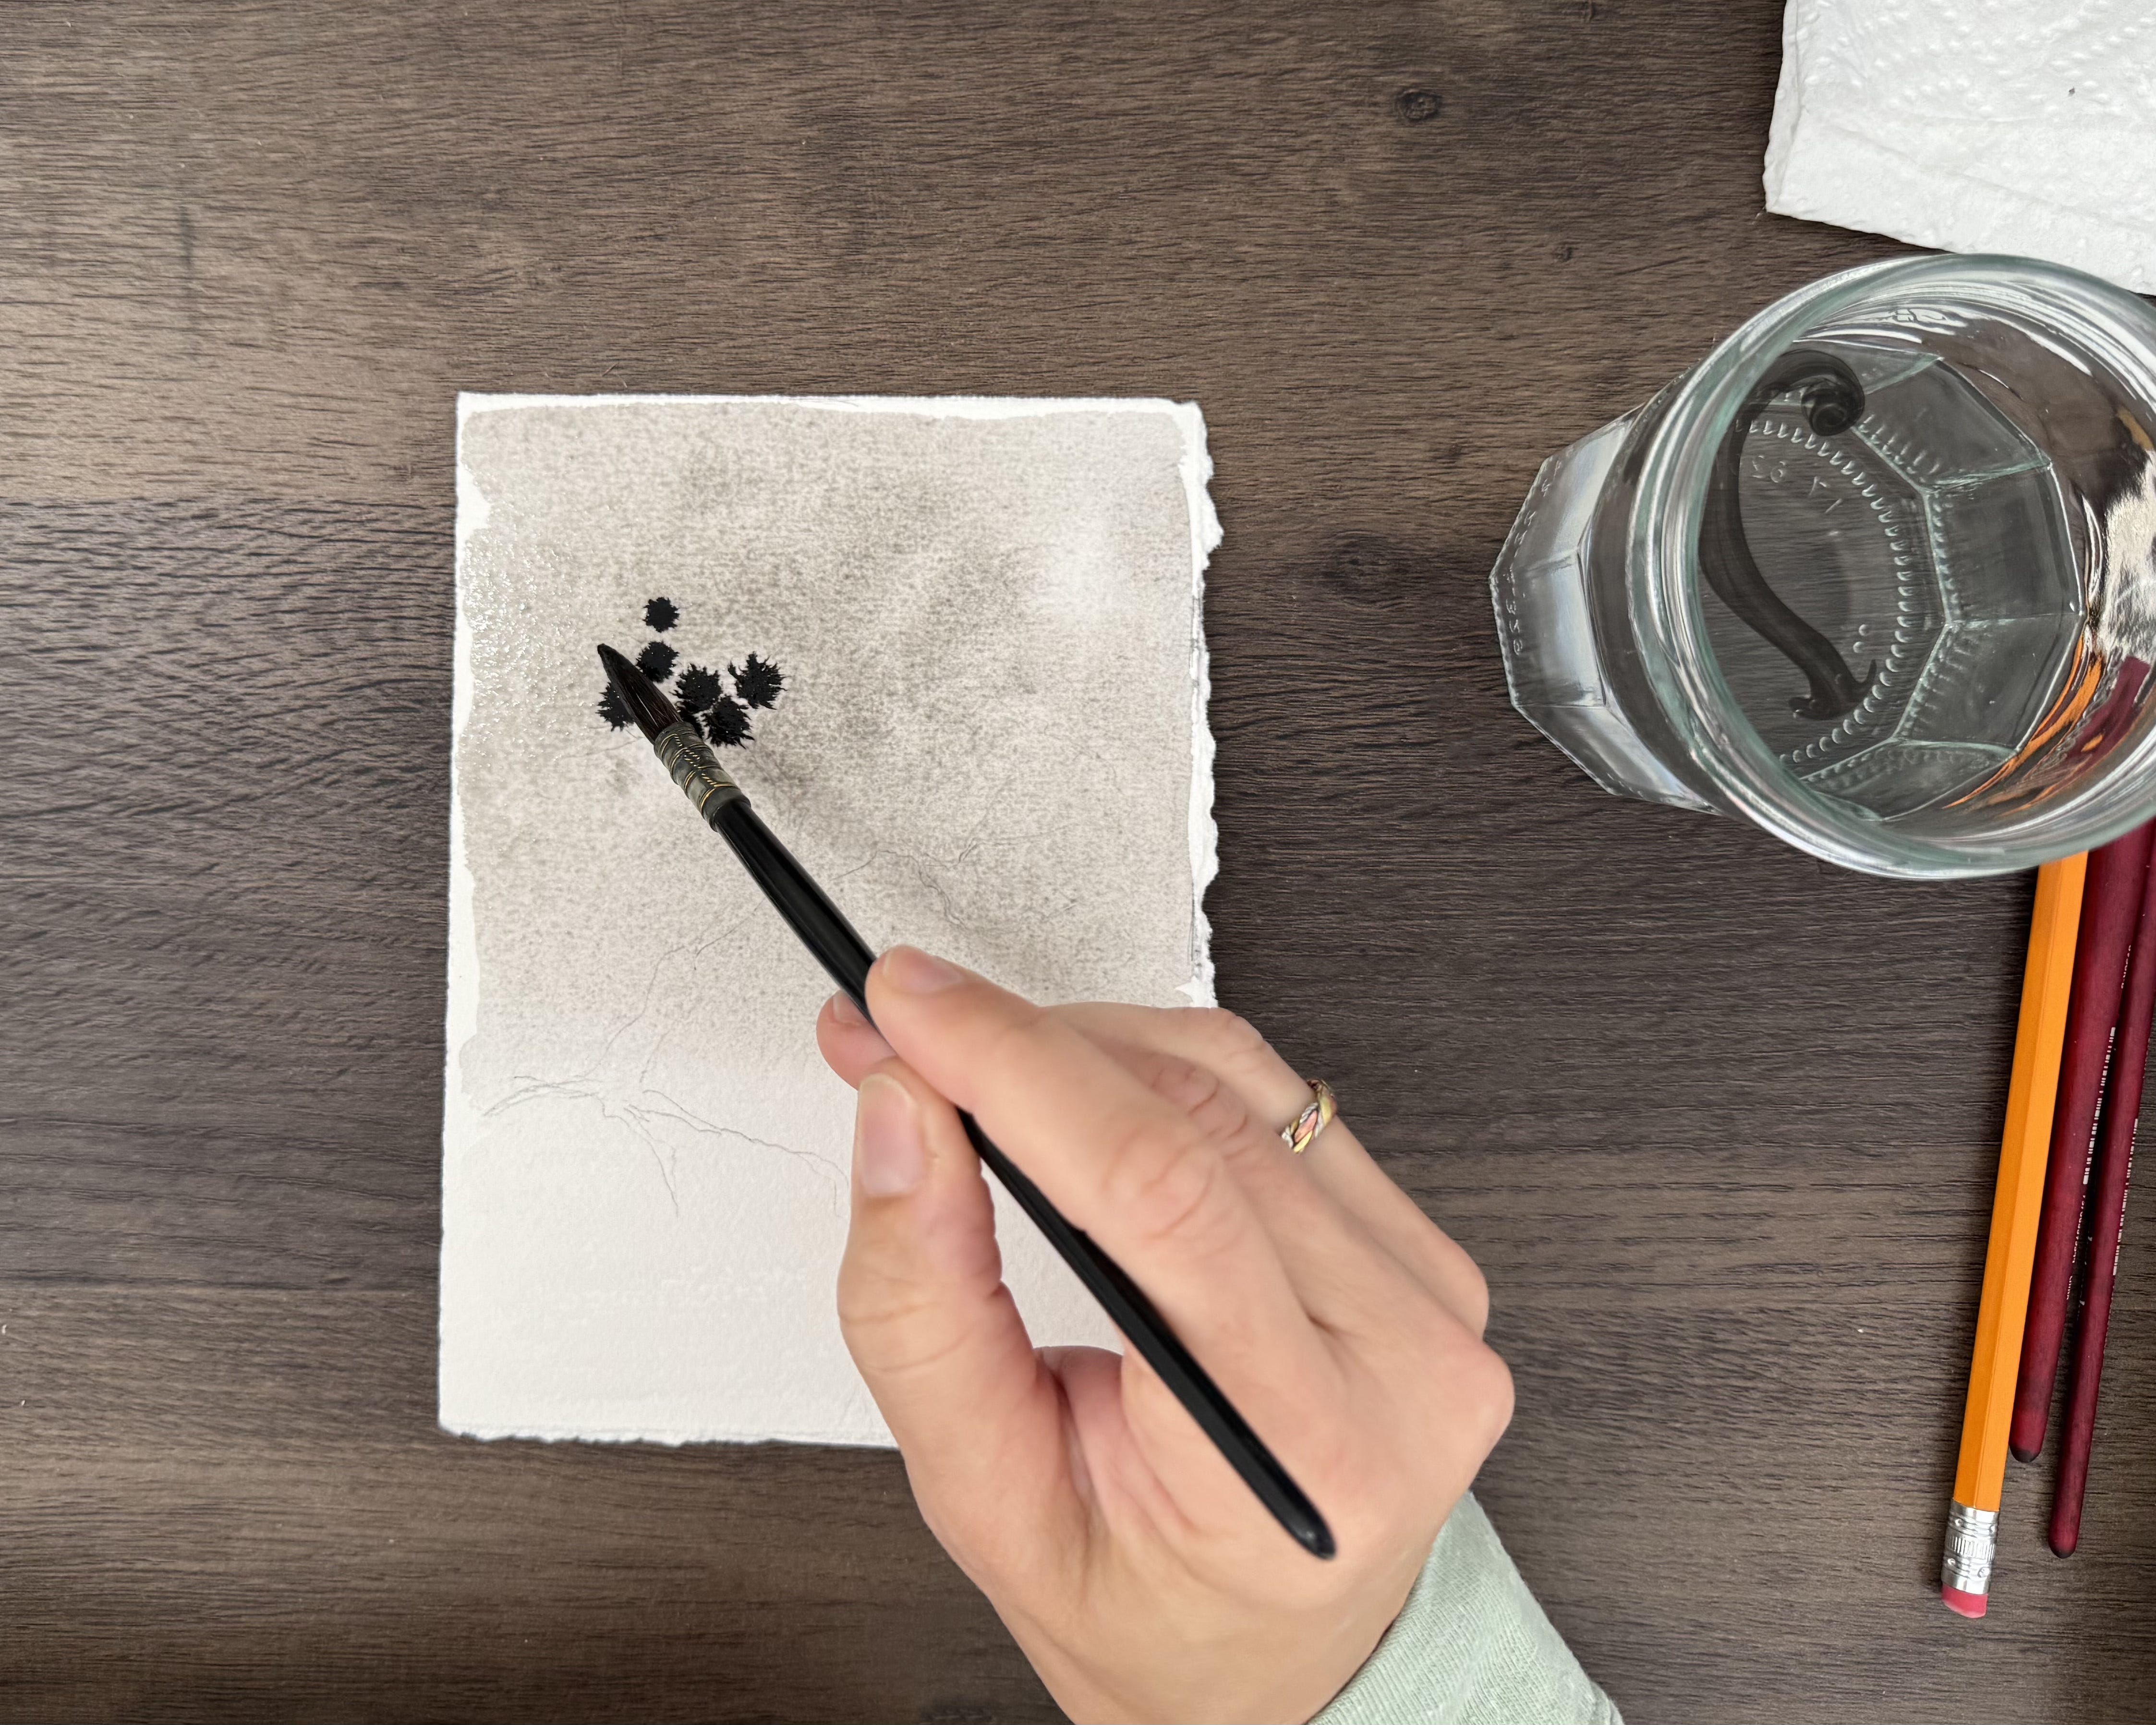
Step 4:
Then add more water to your wash off to the side. Drop into the edges of your tree leaves. Let it bleed. This is the fun part. If you end up getting too dark too fast, you can always ball up a dry paper towel and lightly dab to pull out some texture.
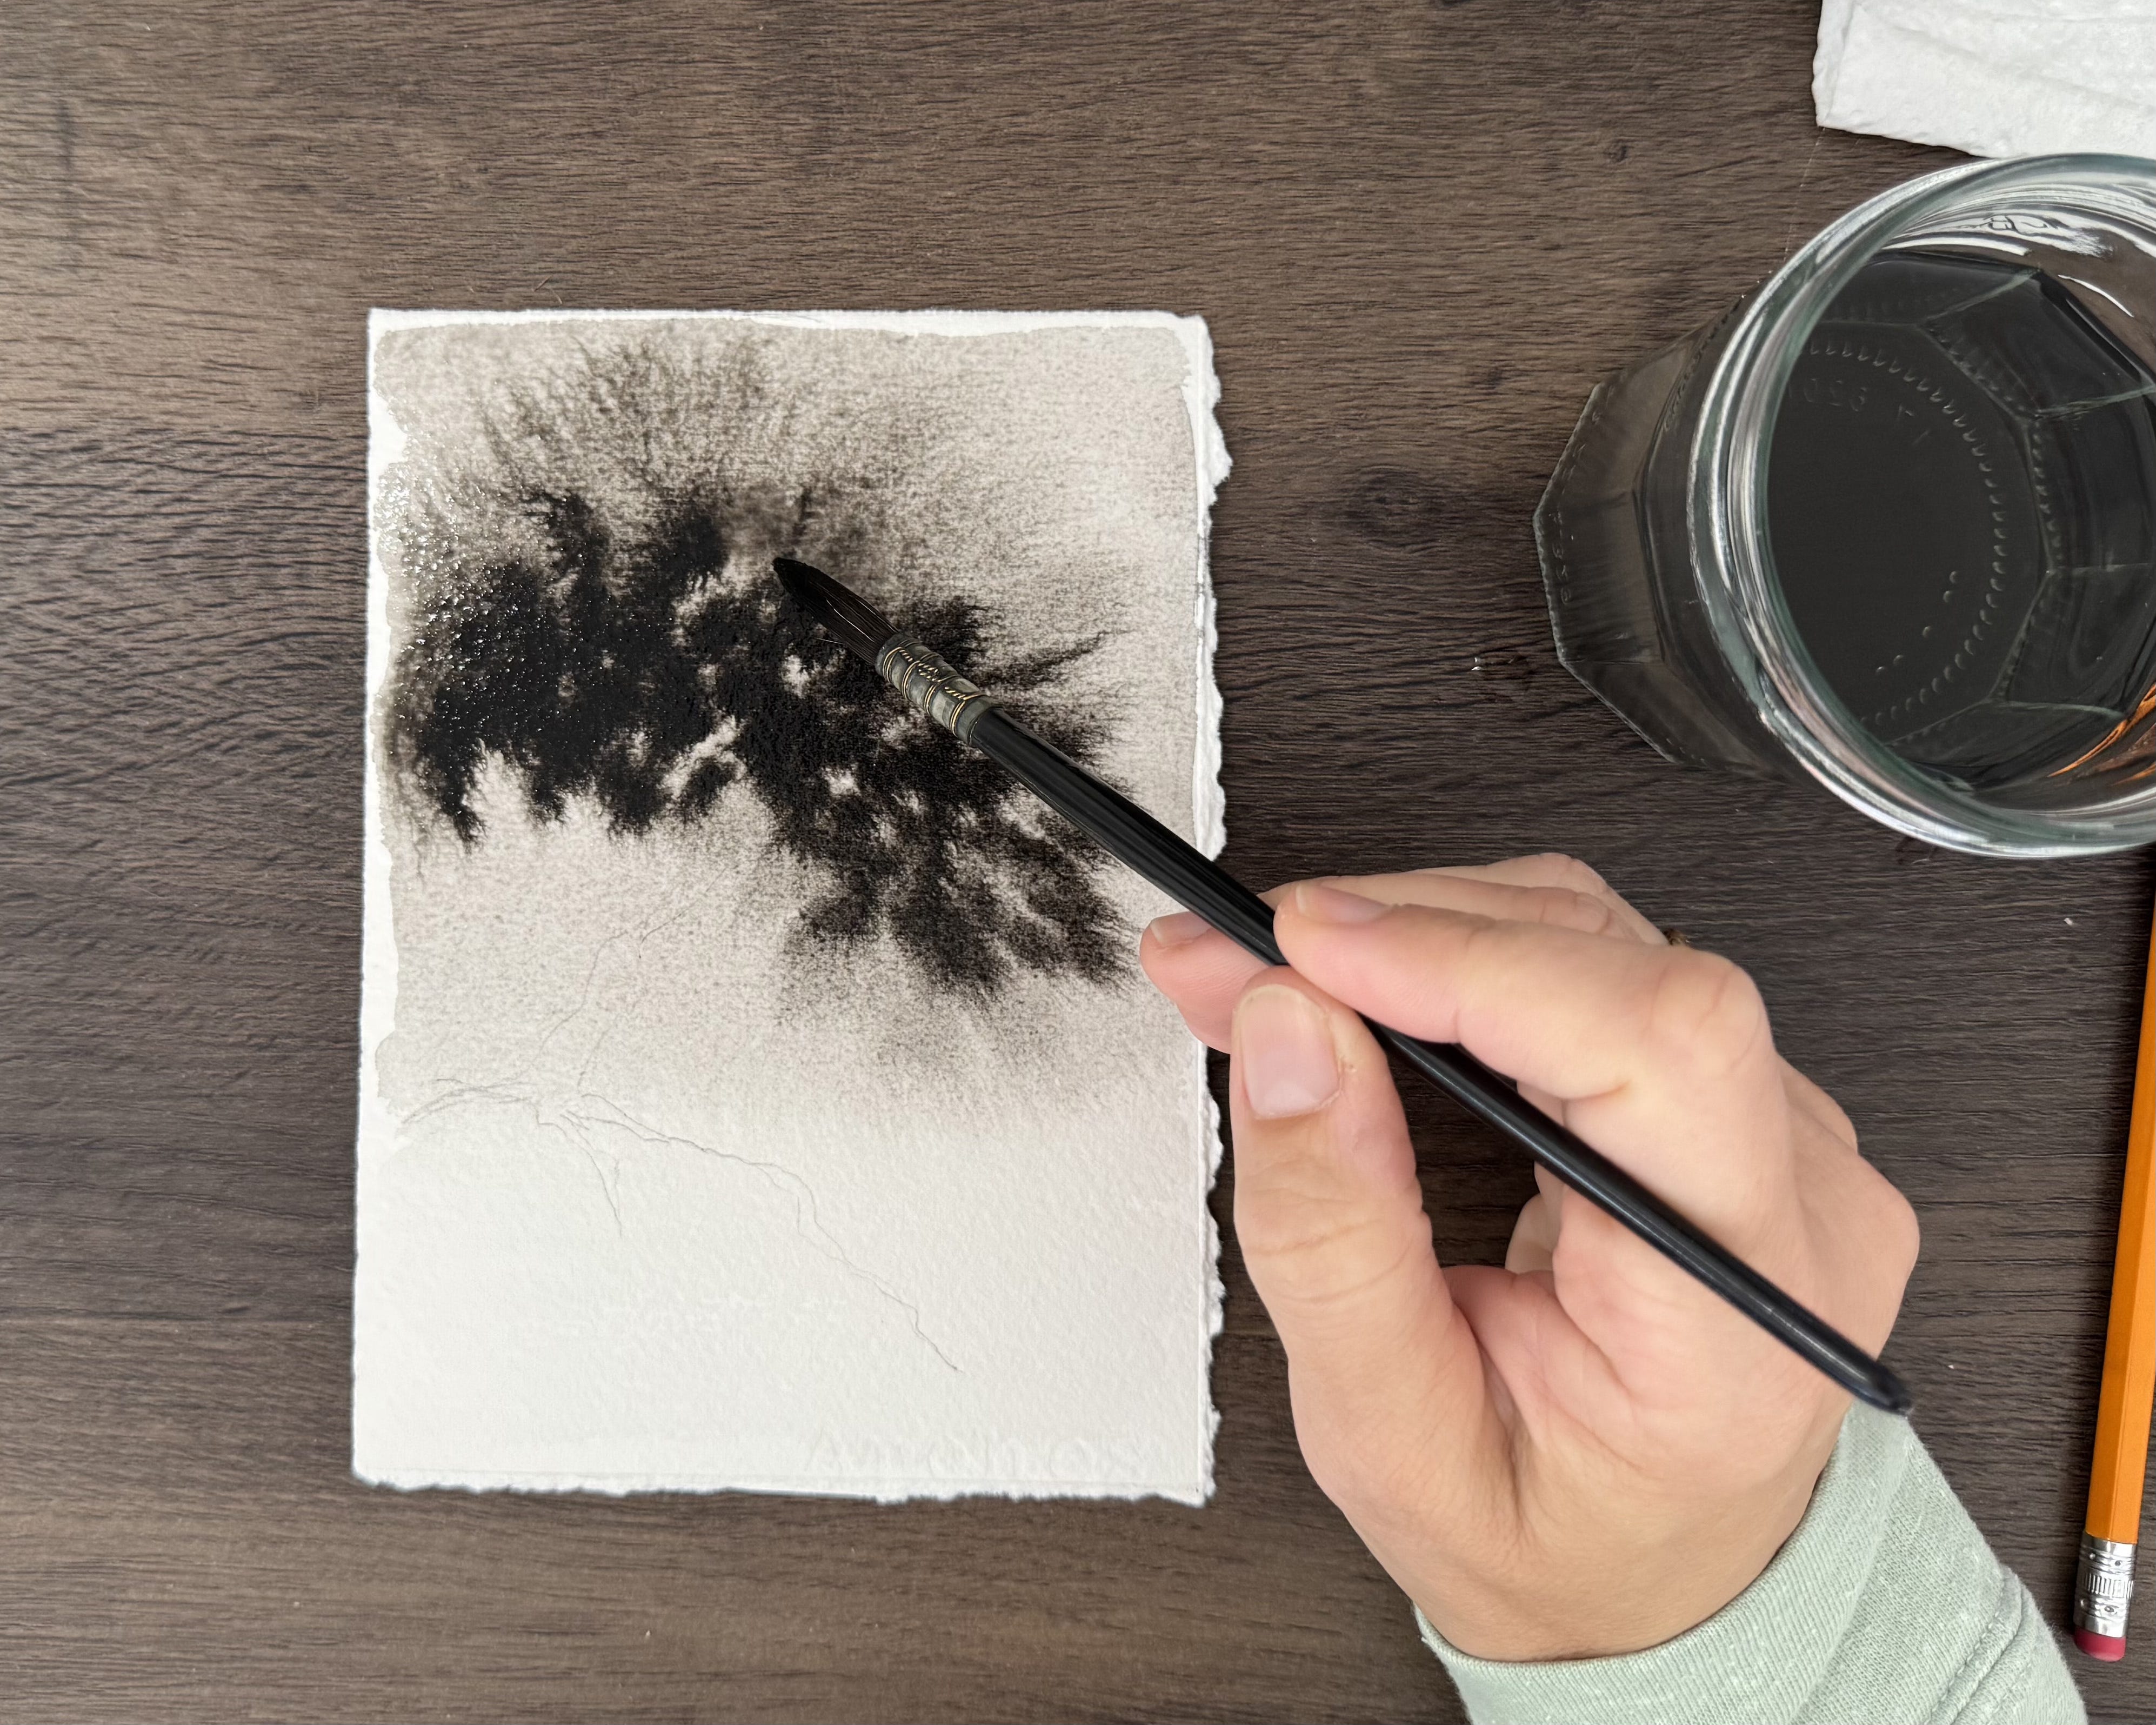
Step 5:
Now let’s work on the bottom area. We want to to be darker at the bottom and lighter at the top, so we are going to work the opposite way to create this wash. Remember to use clear water to blend edges. We want to keep these first layers soft. Let this layer dry completely. Go get some tea, or use a hairdryer.
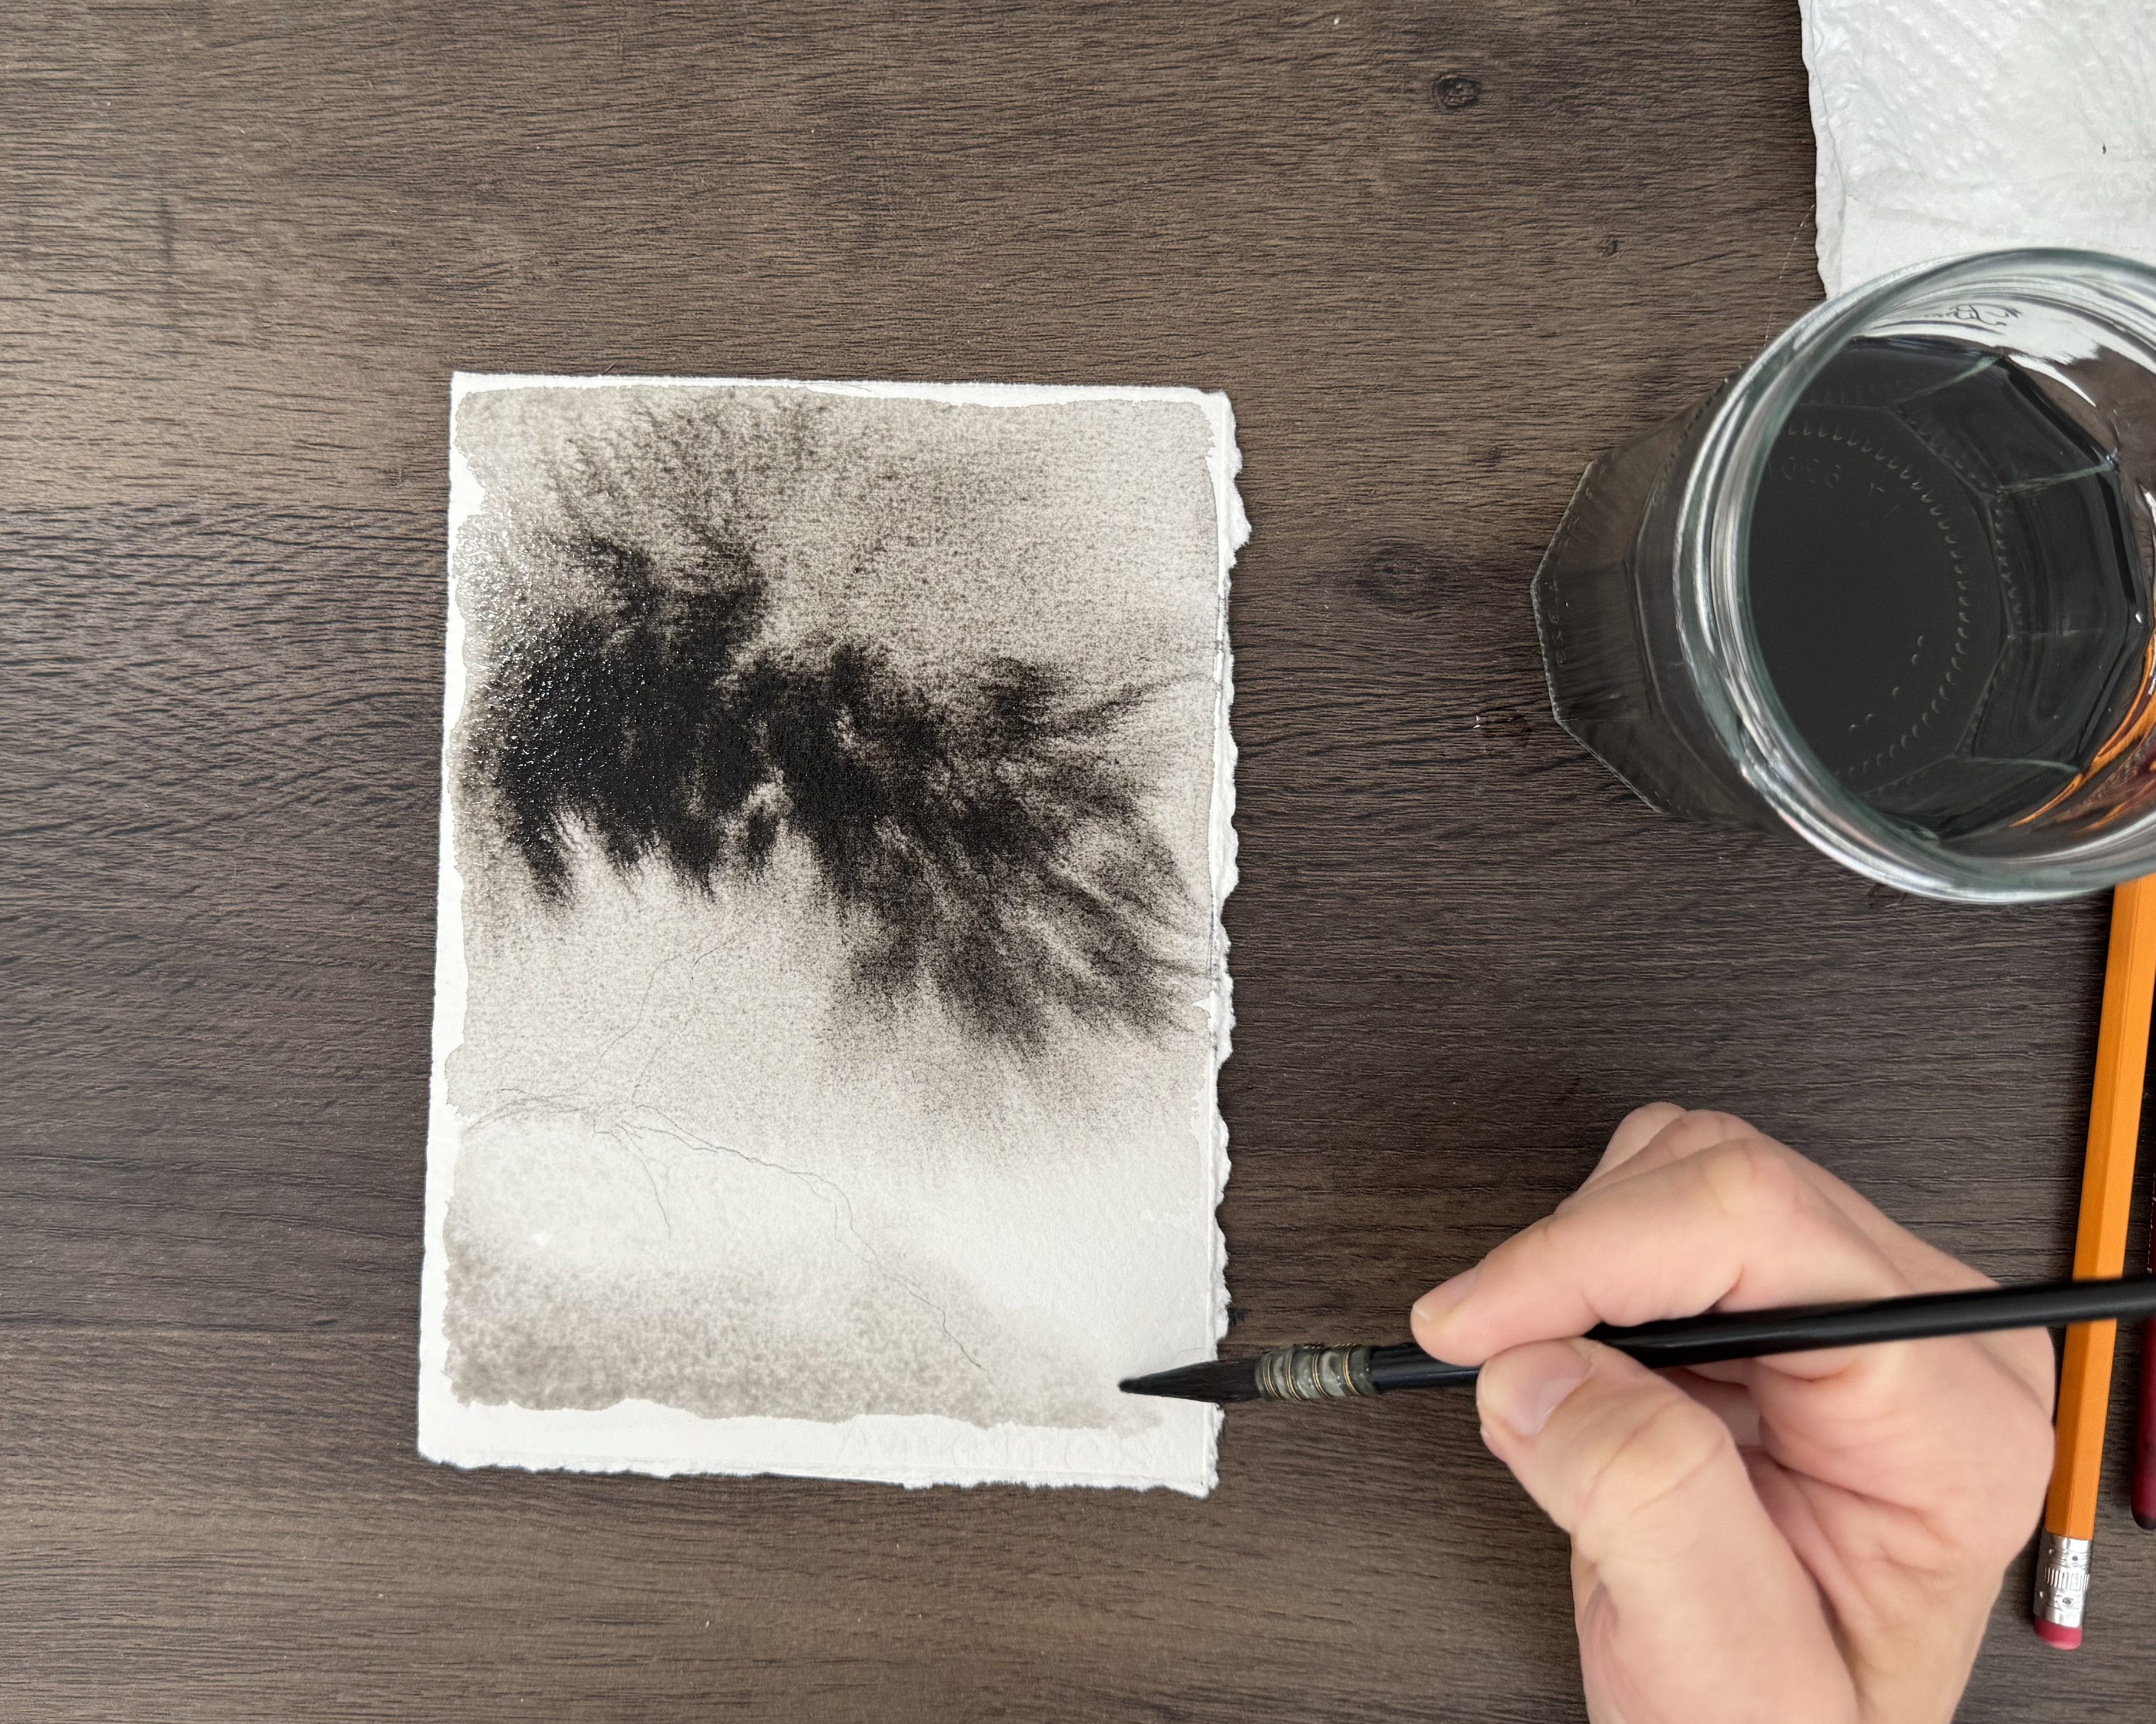
Step 6:
Once the layer is dry. Add a little clear water over your leaves again. In your palette, add more sumi ink to your initial wash. Dab the darker ink wash to the bottom of your leaves. Then take clear water and dab towards the top. Now you can start to make it look more like suggestions of little leaves forming. Let the top part dry and we will work on the bottom.
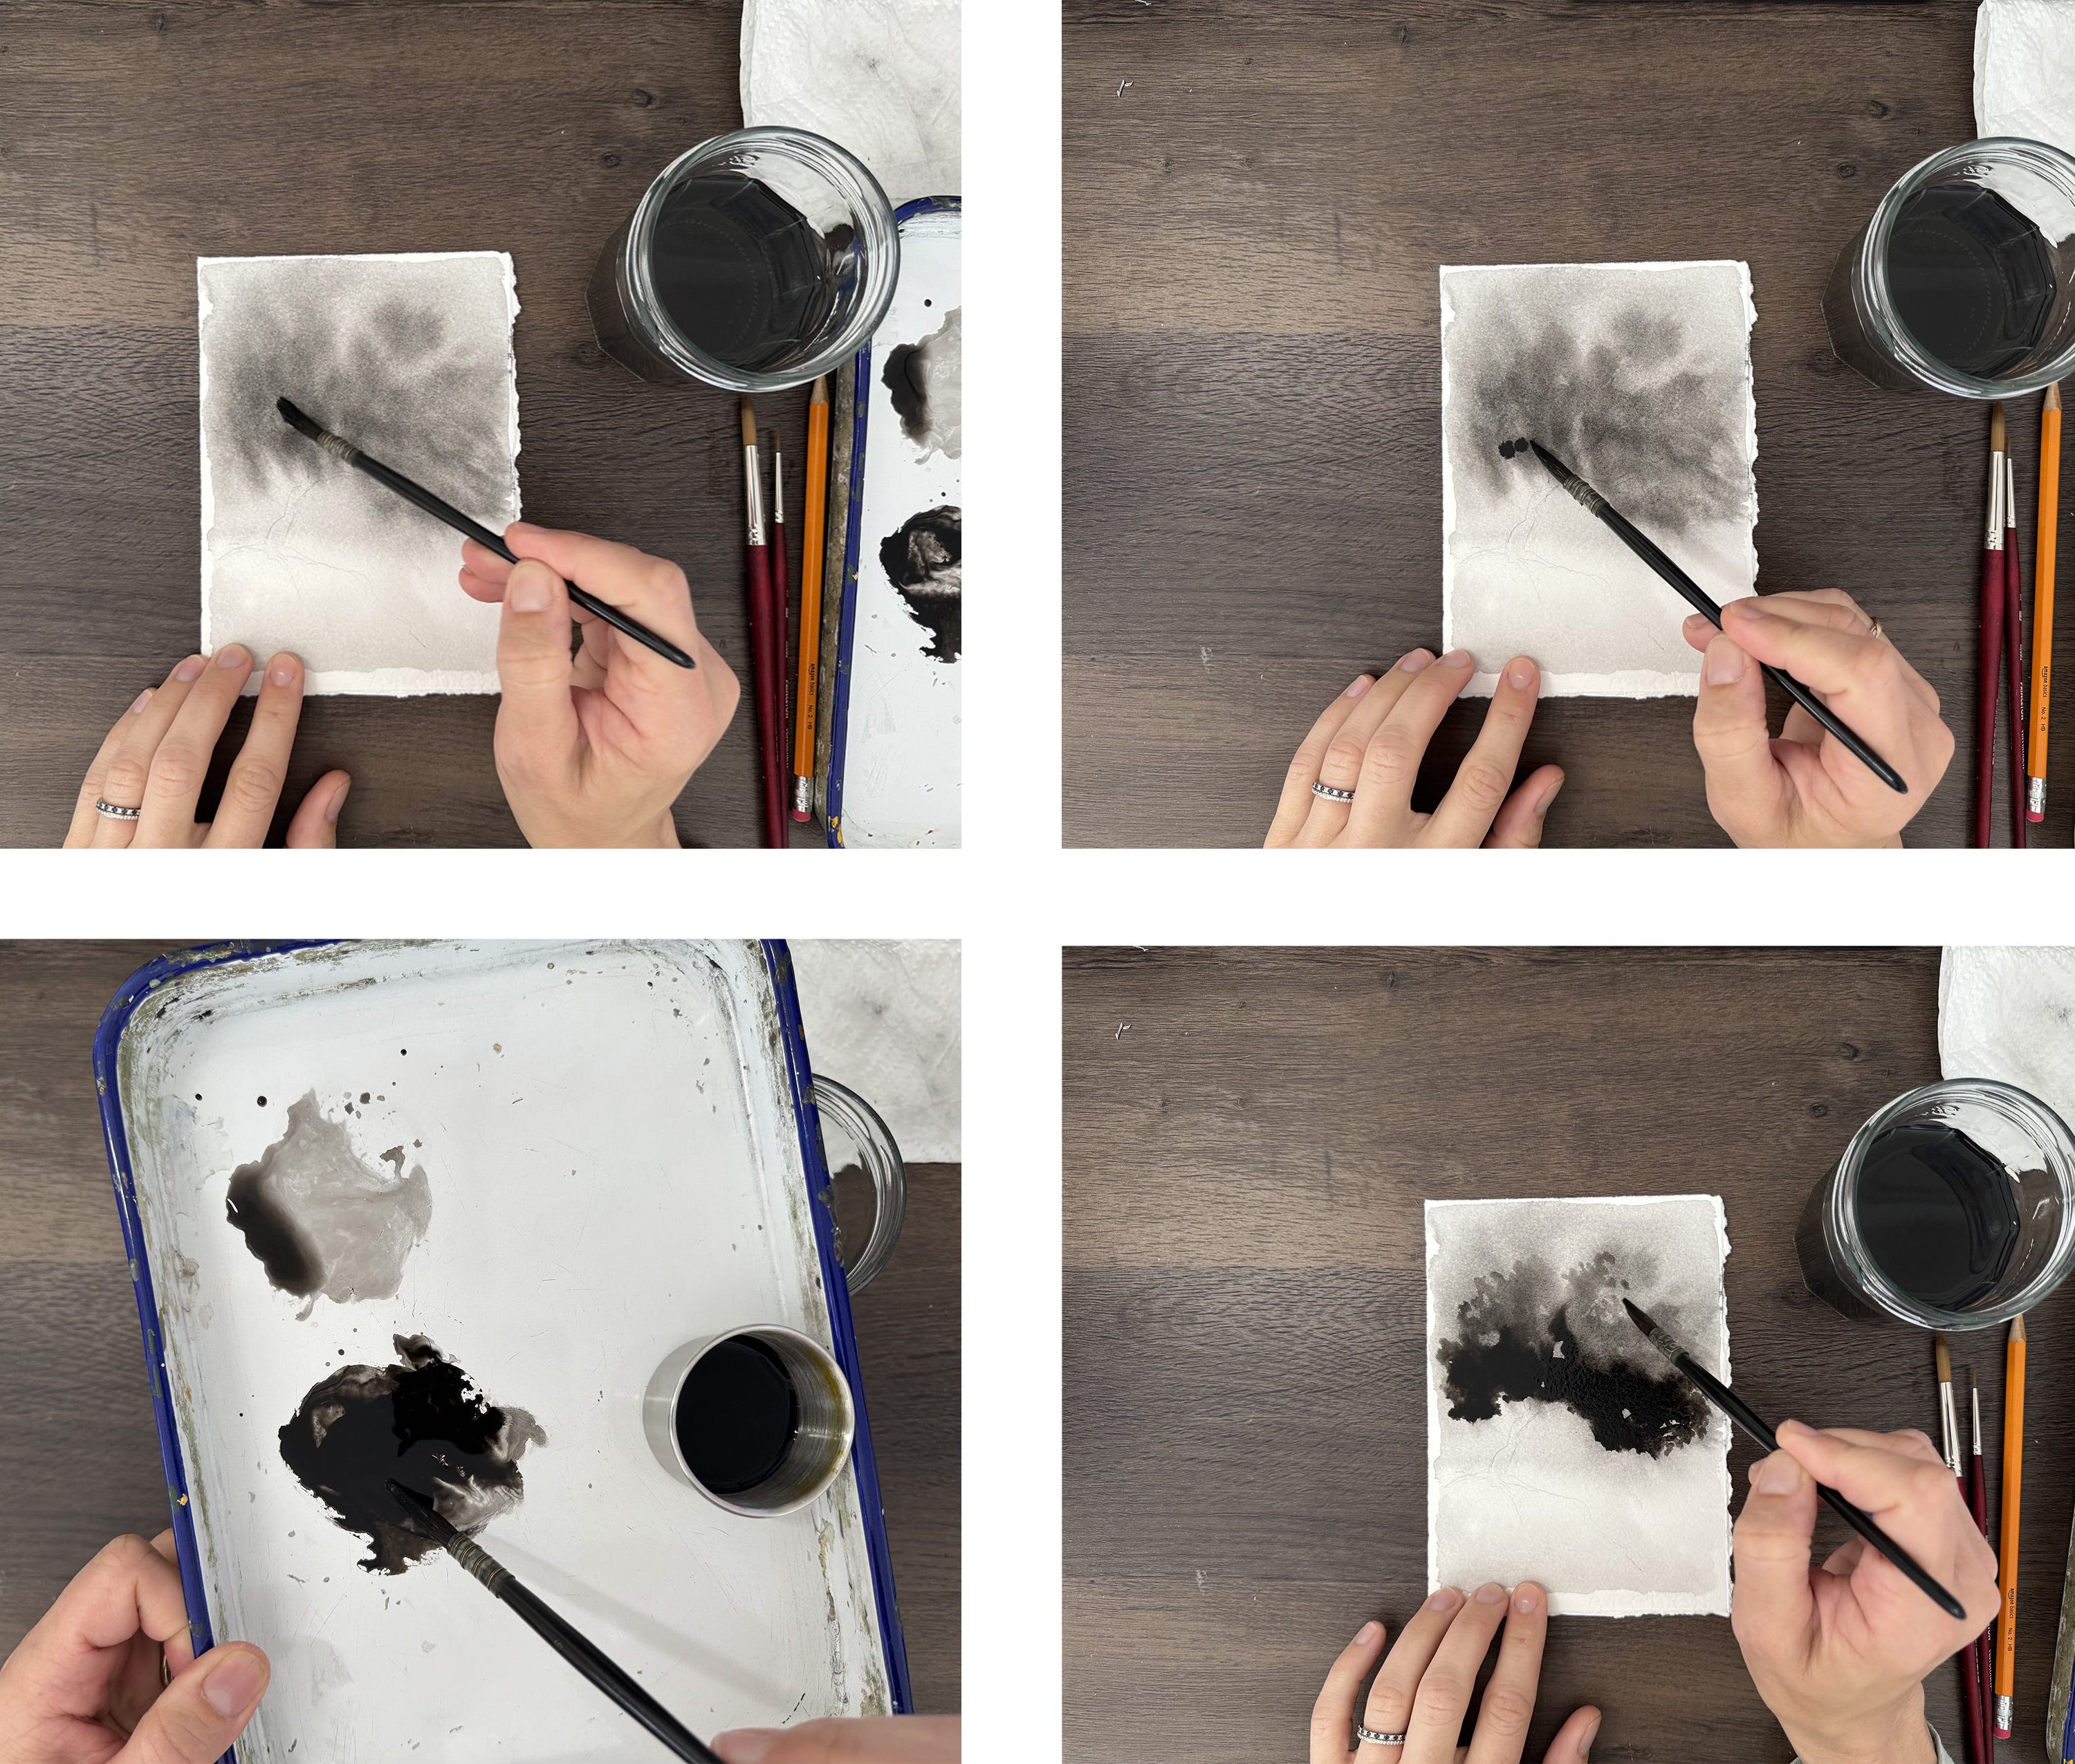
Step 7:
Now that your layers are dry, let’s work on the shadow. Use clear water at the base of the tree where the shadow would be. Dip into your lighter wash and paint the shape of the tree shadow underneath, it will be a mirror image of the leaves at the top. Drop in a bit of your darker wash and let it bleed
Step 8:
Let that layer dry. This is a good time to rinse your cup and get clean water. Then we can work on the branches and trunk. For this, use your smaller round brush. Start with painting clear water on your trunk and branches. Outline your trunk along the edges and let your ink bleed into the water that you painted.
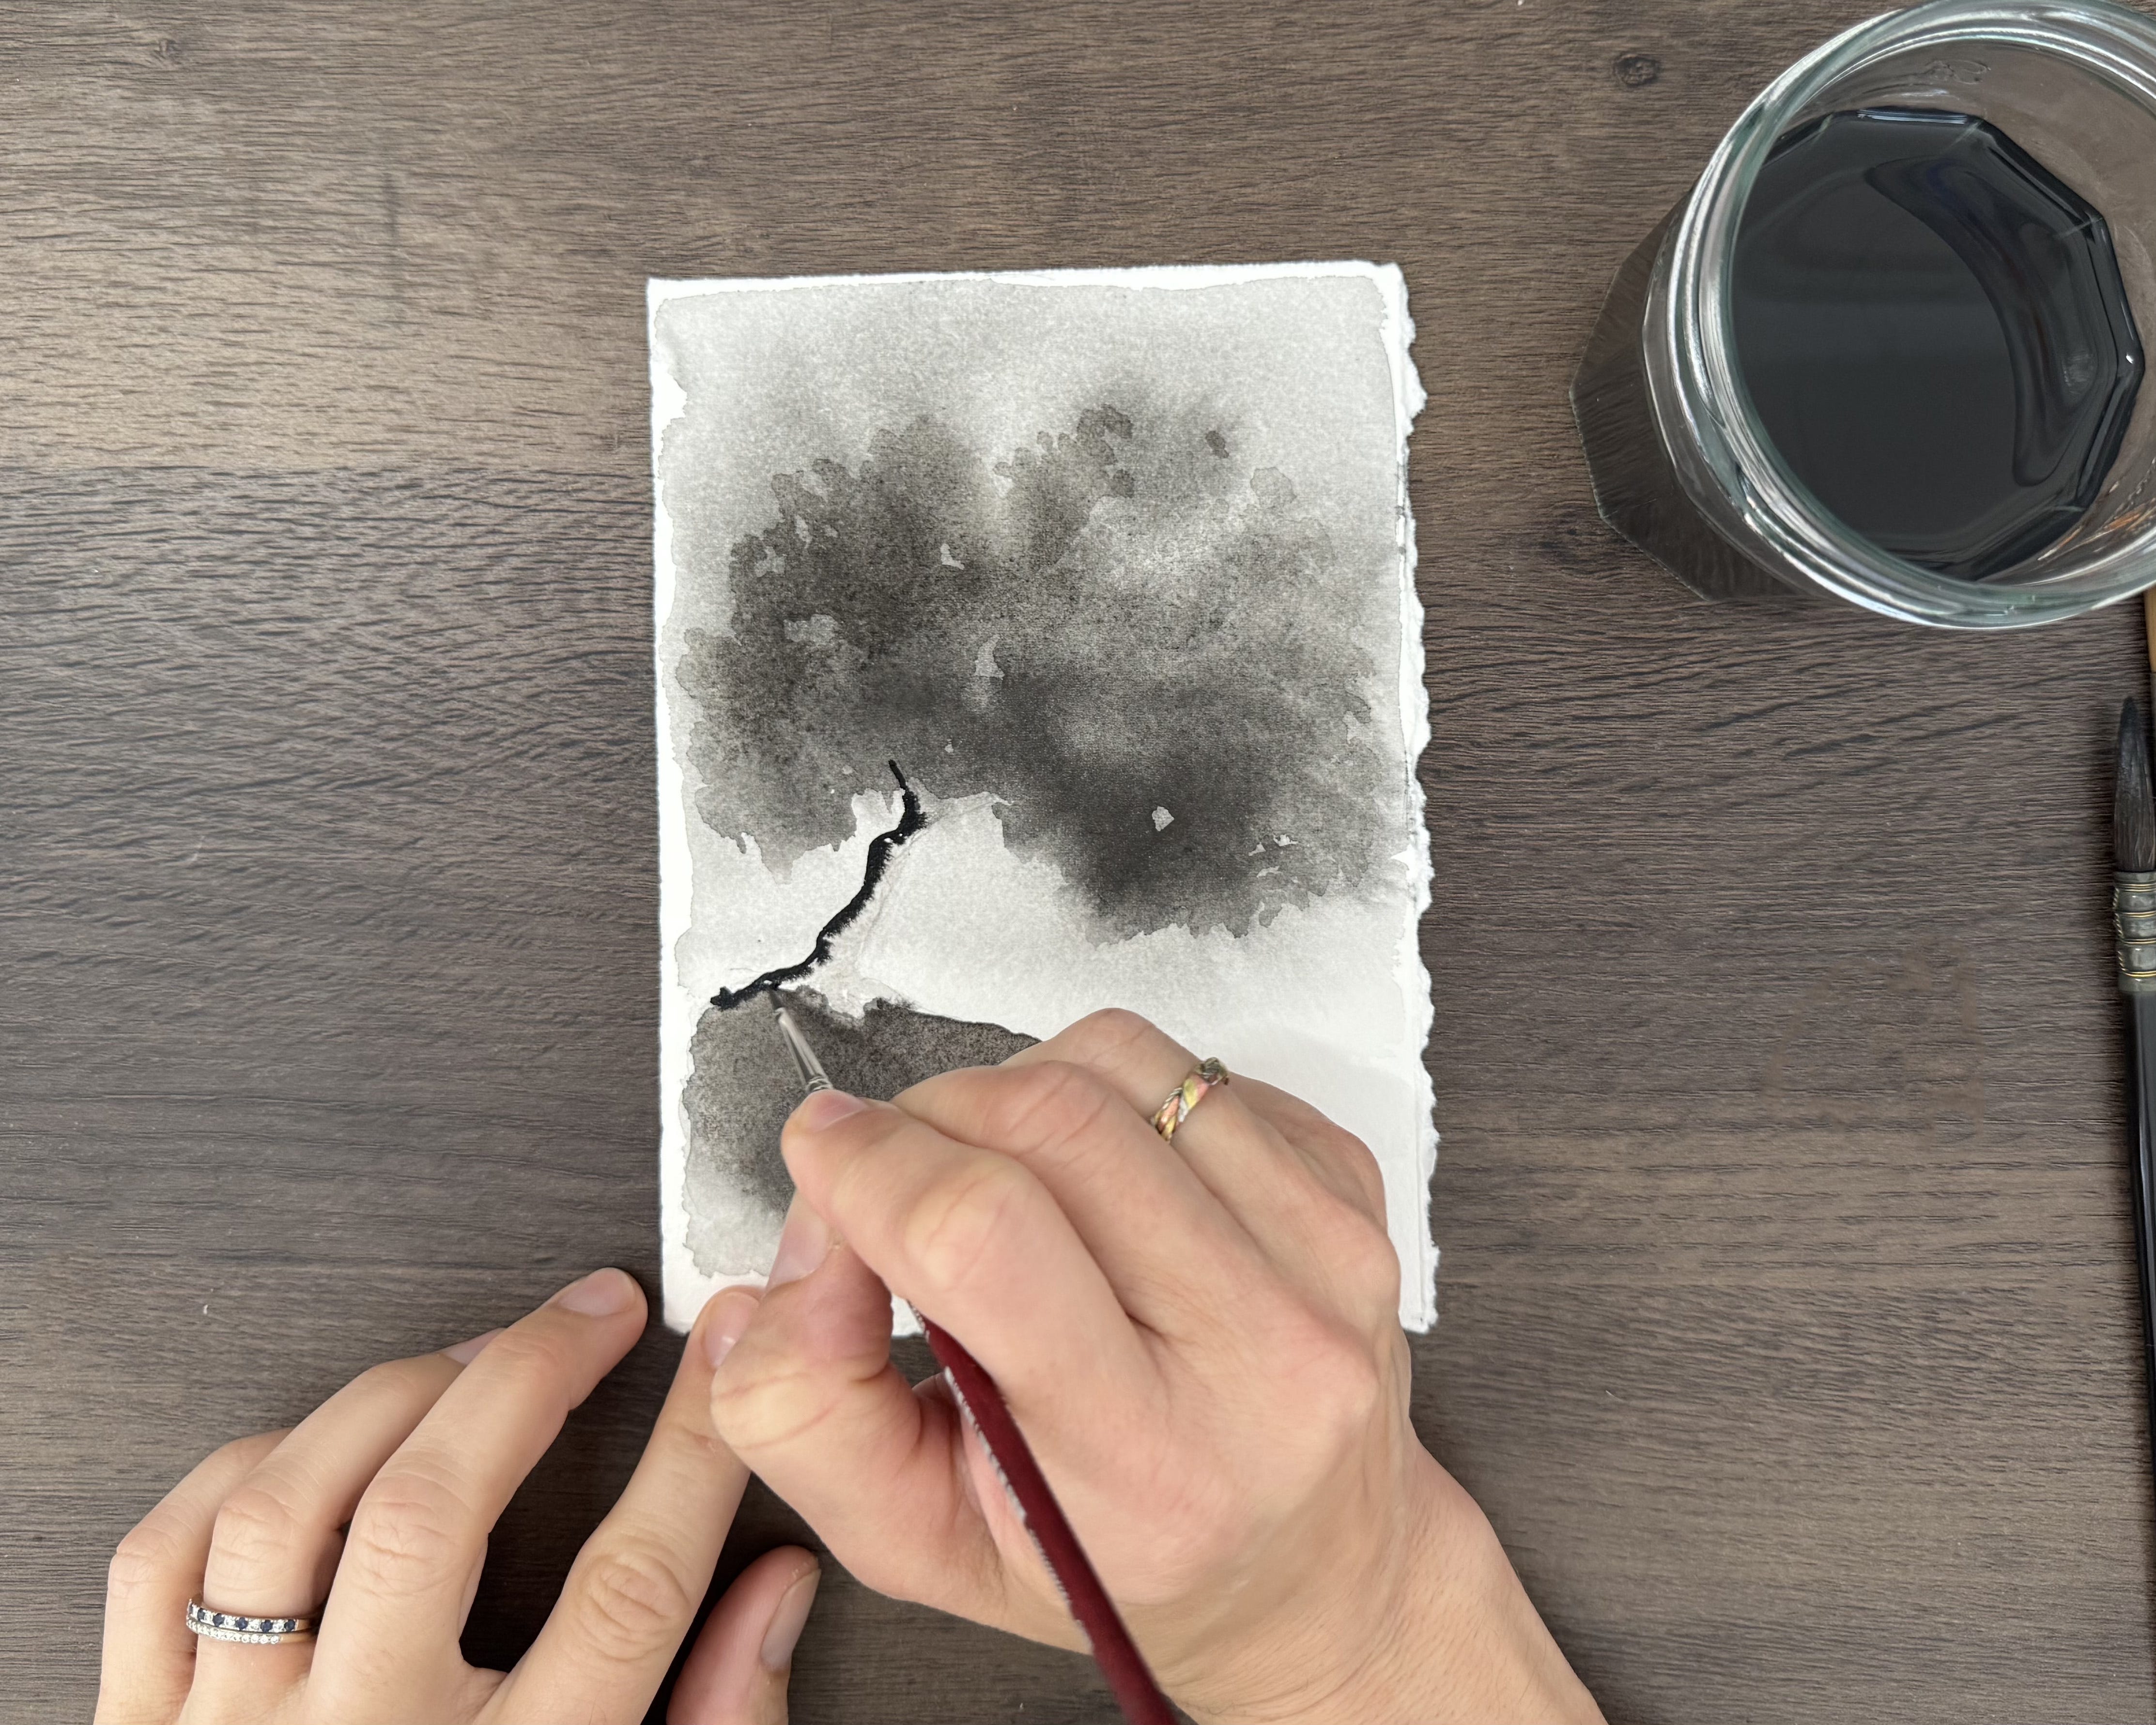
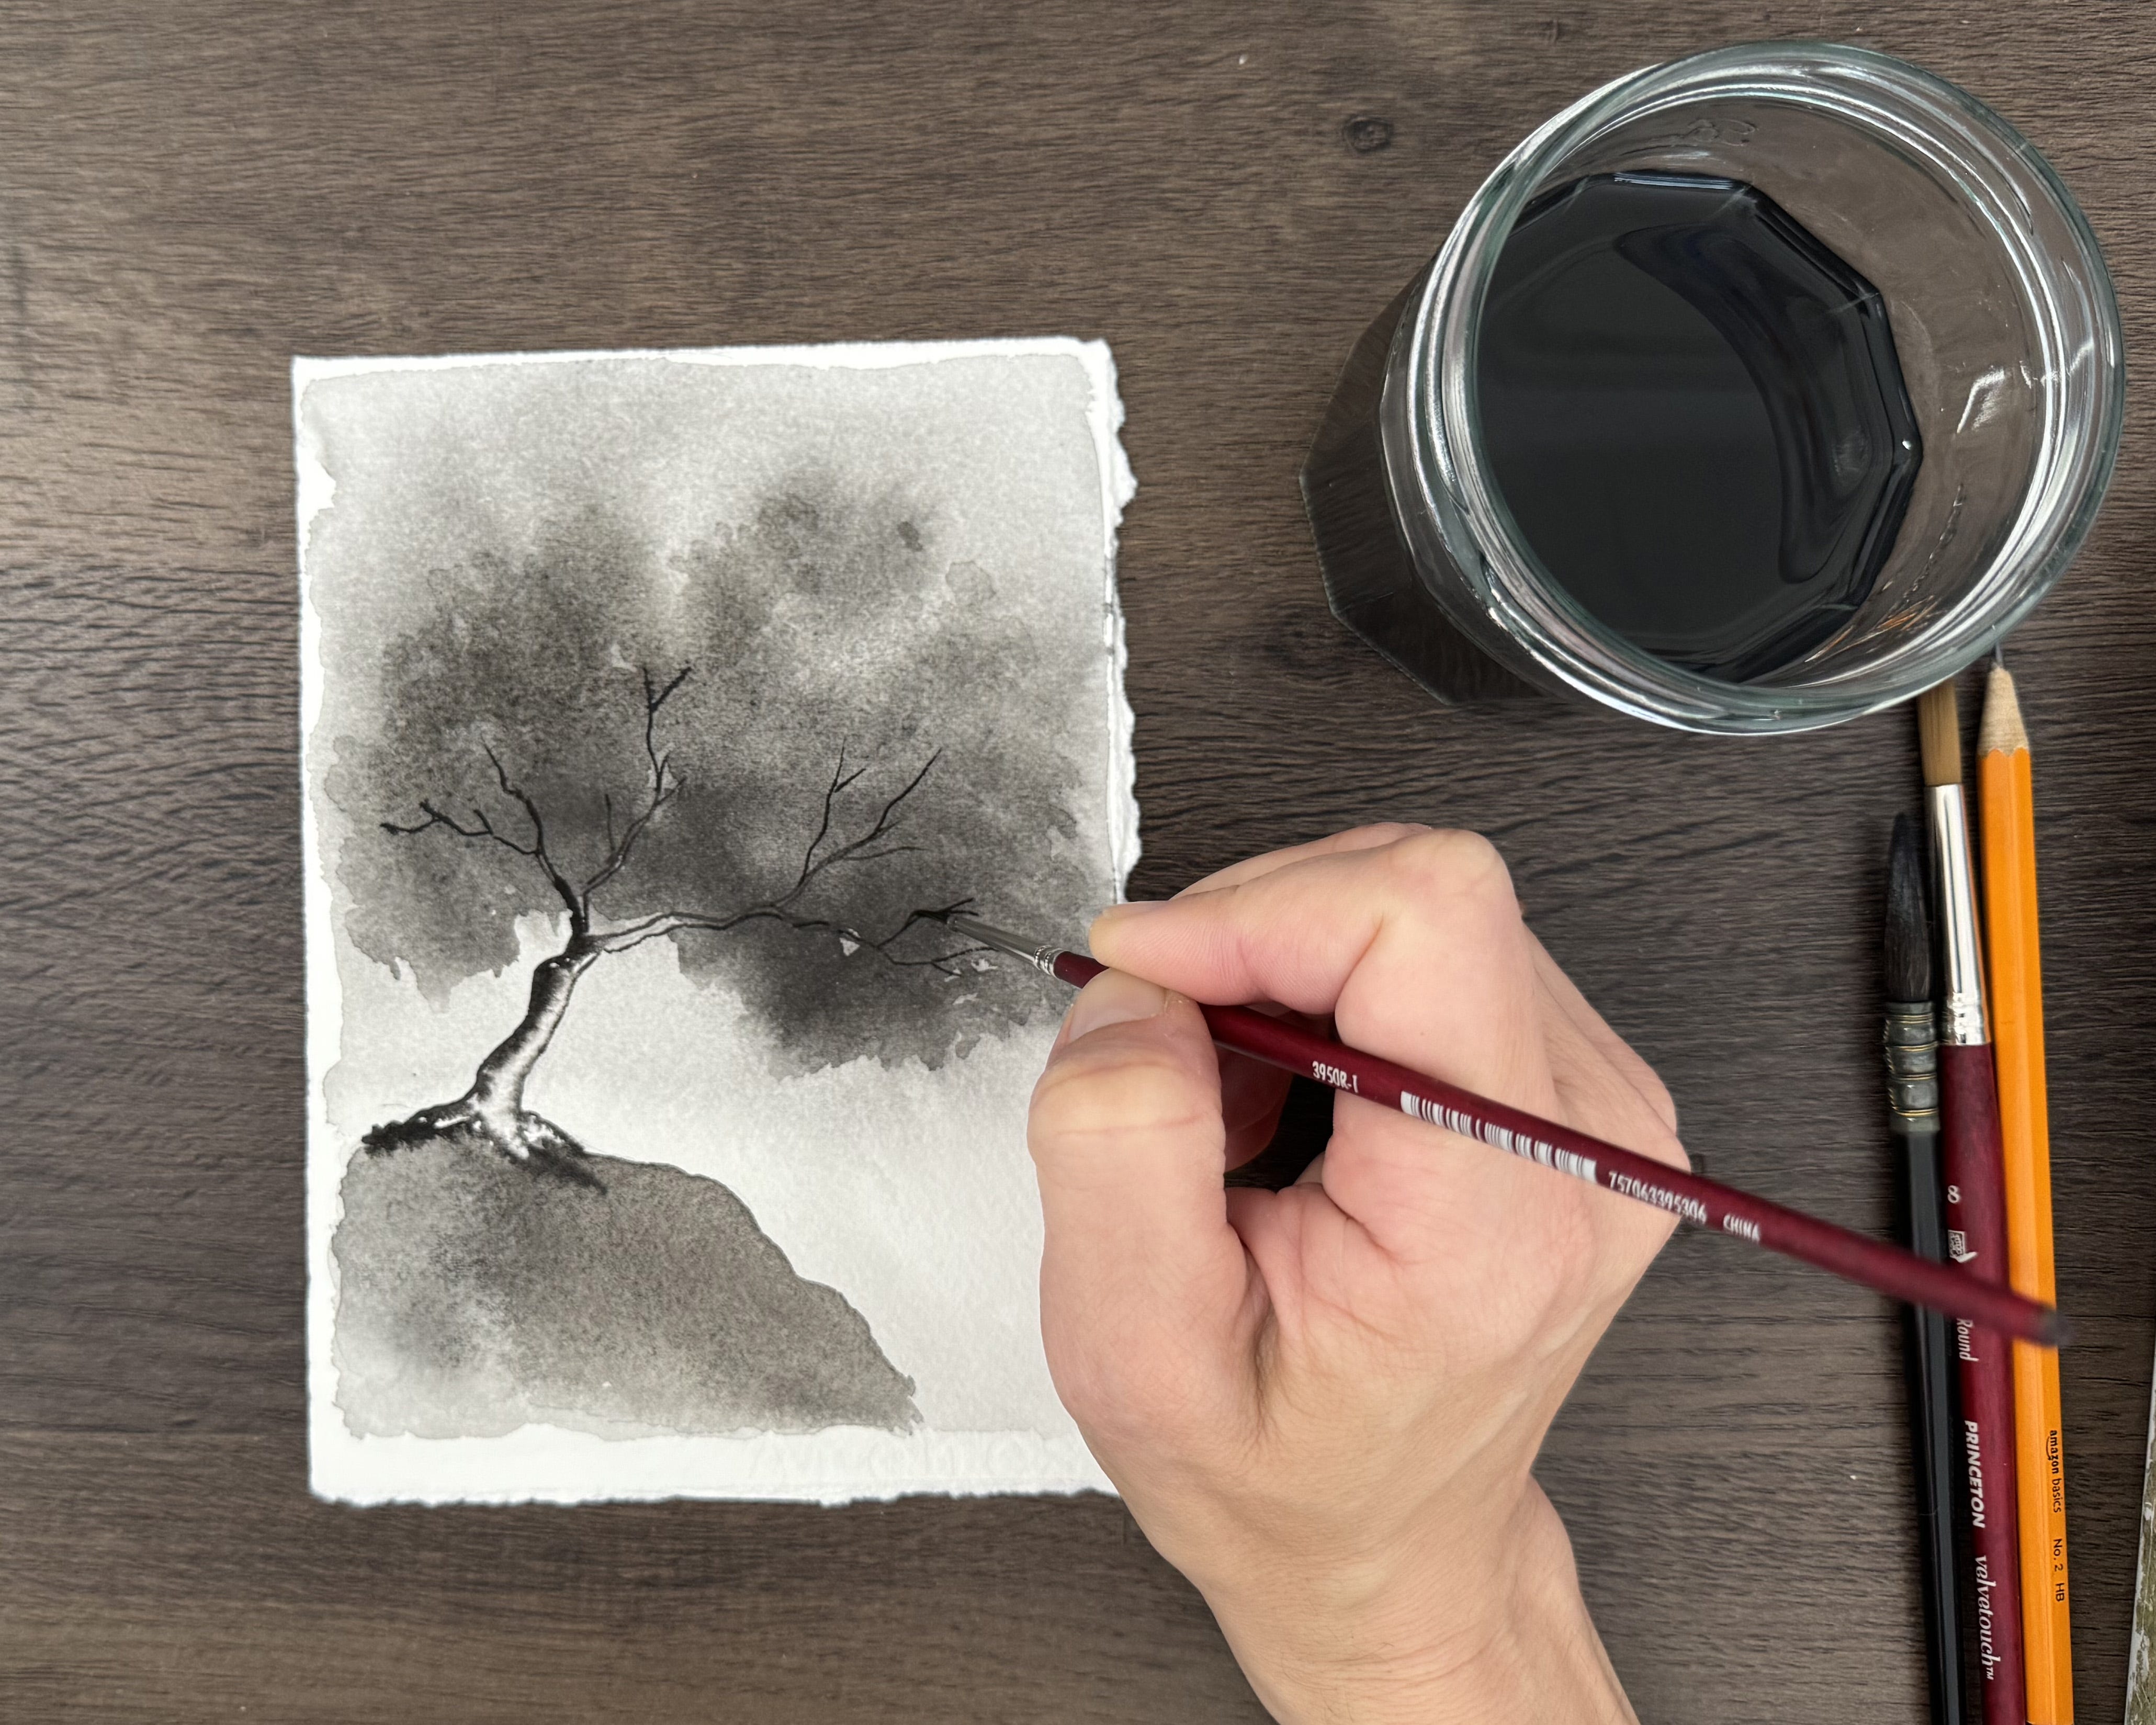
Step 9:
Do the same for the other side and roots. If you can’t see the pencil lines anymore, feel free to redraw them before you begin painting the branches. Using your small round brush, paint in your branches. It’s ok if your hand shakes because branches are not perfectly straight. They should be crooked.
Step 10:
For the final step, you can add in any final details that you like. That’s it!
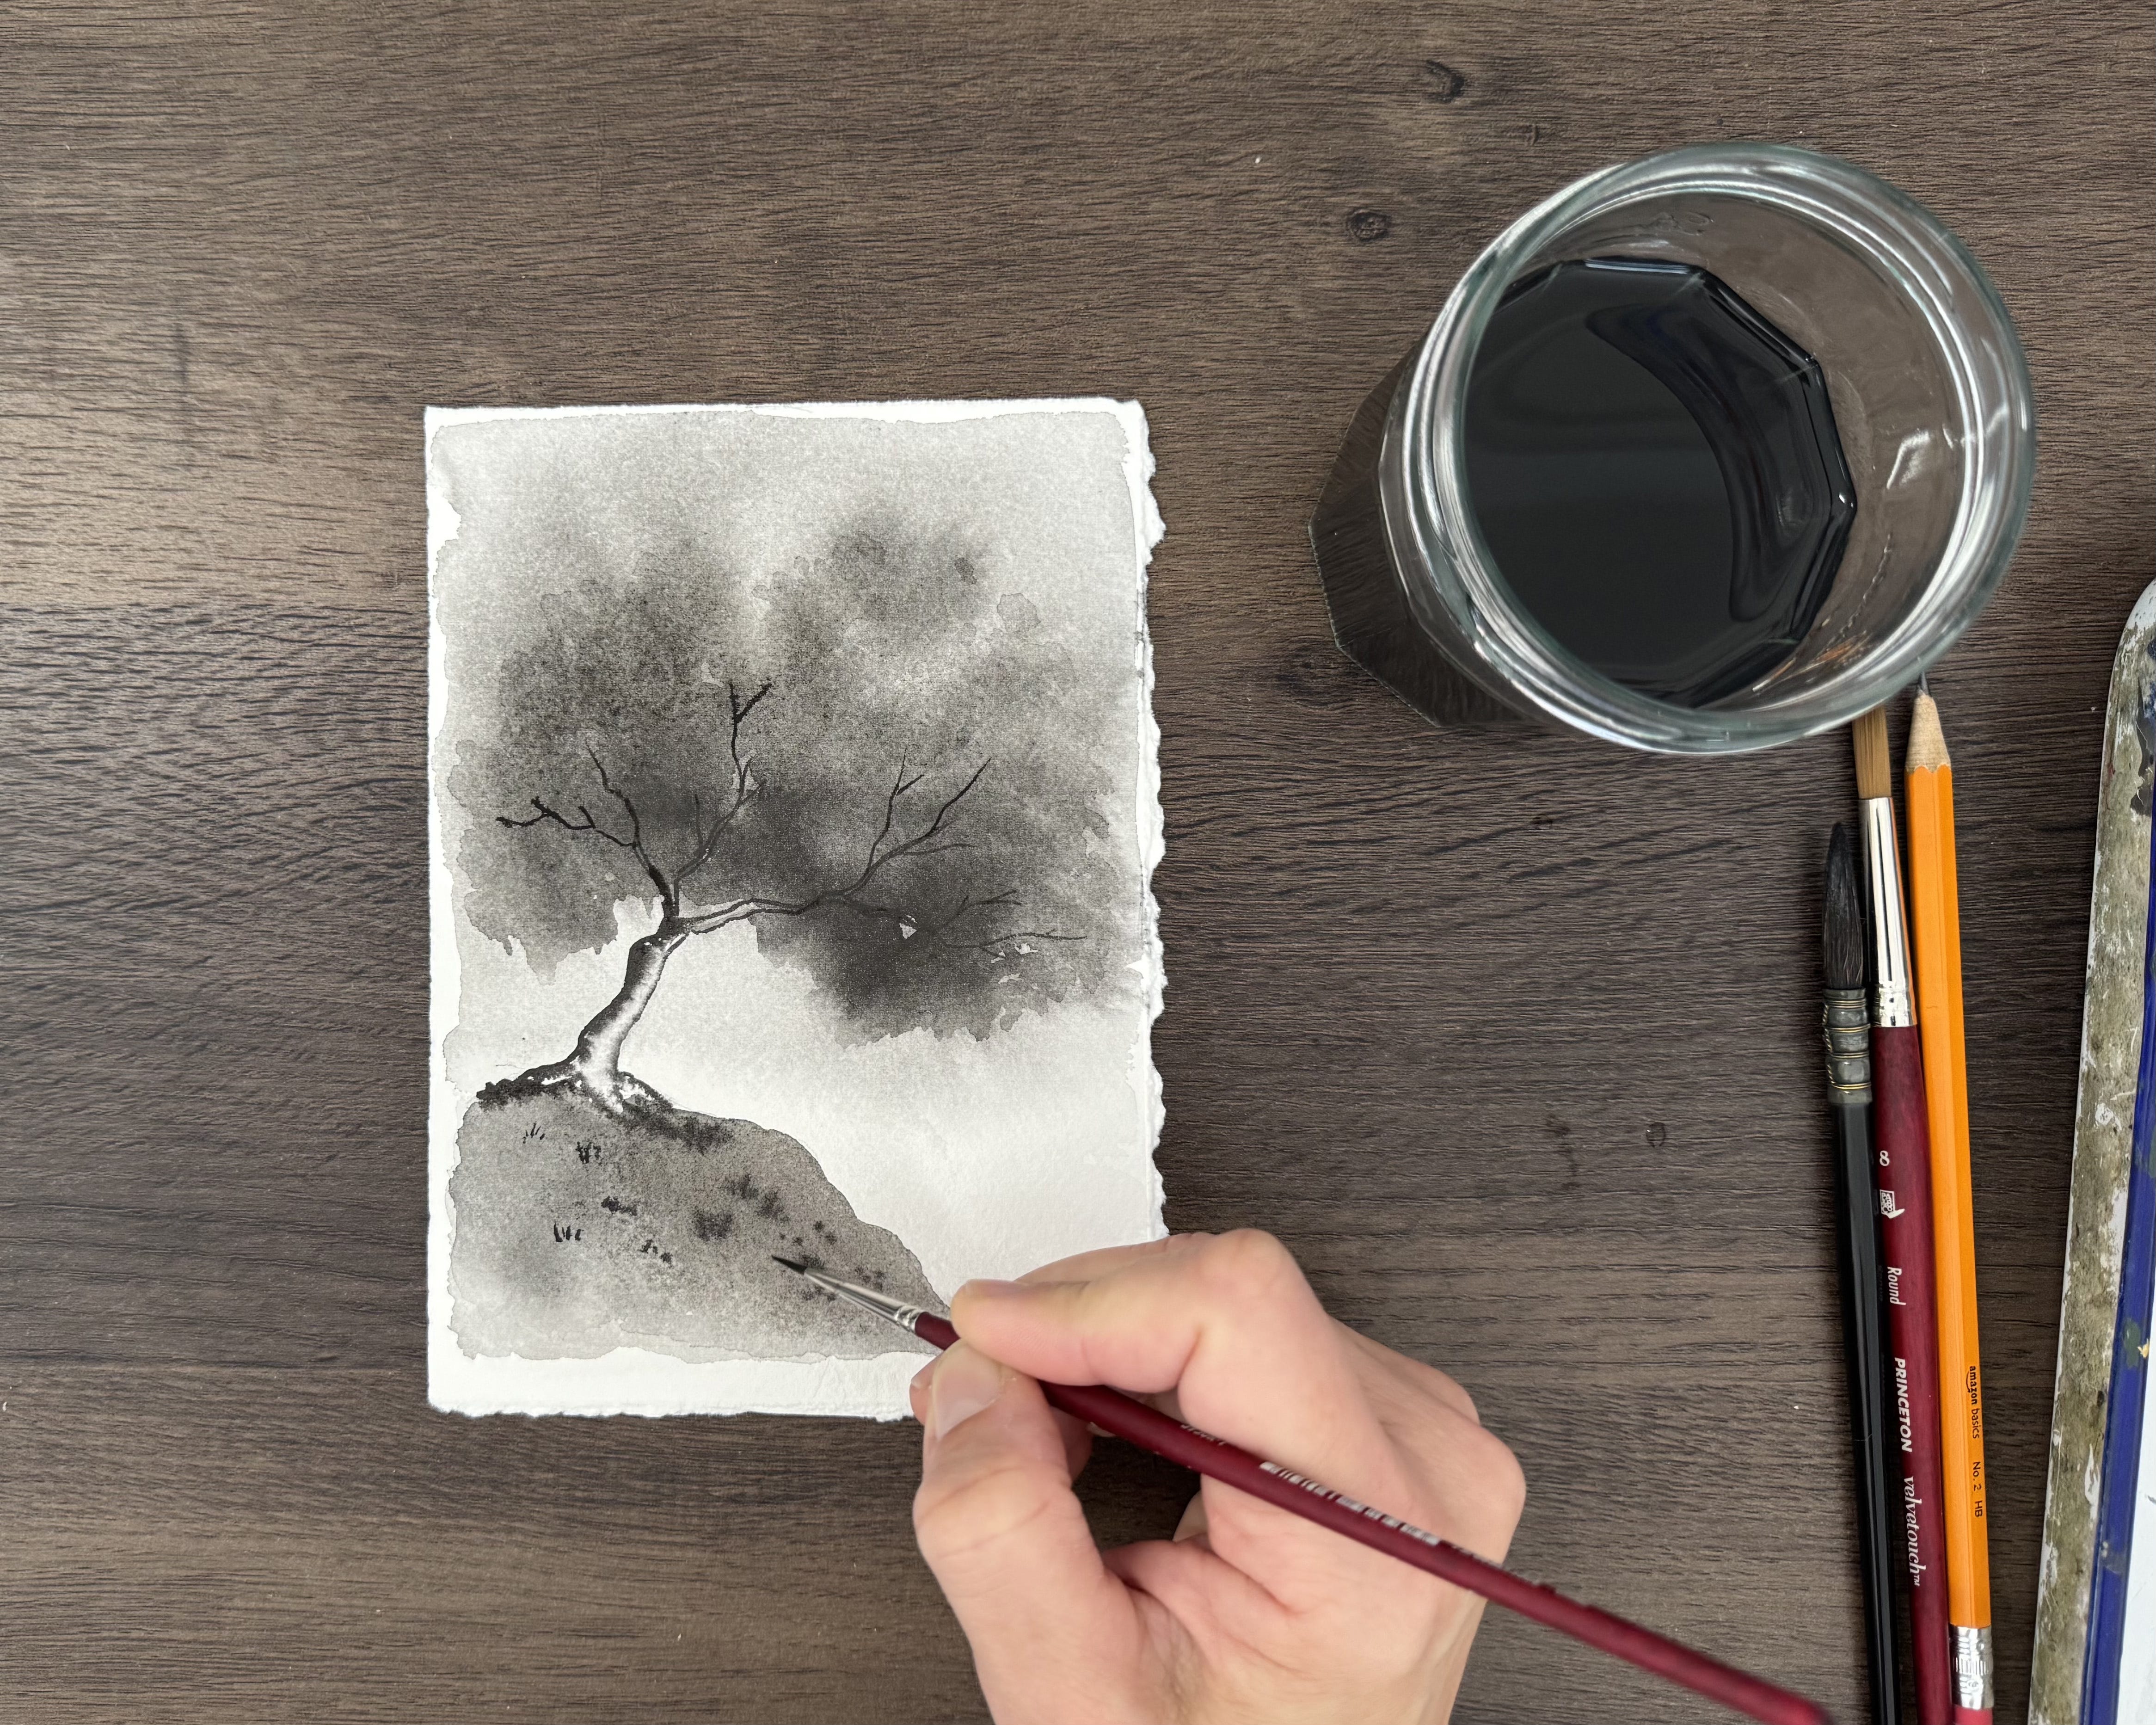
Thank you for reading! Happy creating. Until next time.

Thank you so much for the lovely mention Lisa! I’m super happy to see the prompts have resulted inspiring and you’ll be joining us! Looking forward to seeing your art☺️☺️☺️